Fixing My Daughter’s Jewelry Box with Tissue and Super Glue
A quick DIY repair using tissue paper and super glue brought my daughter’s broken jewelry box back to life. A simple weekend fix - and a happy one.

It’s Saturday - which usually means one thing for me: doing some hands-on DIY, whether it’s fixing something around the house or building something new (like my DIY tire table, for example).
This time, it was a small but sentimental item.
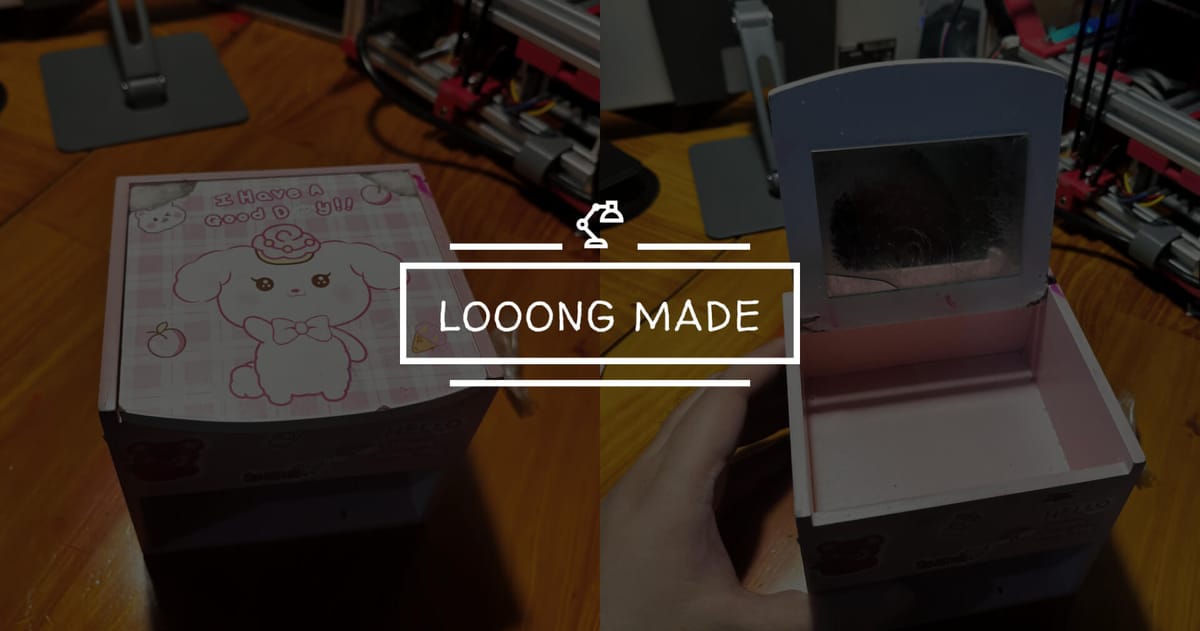
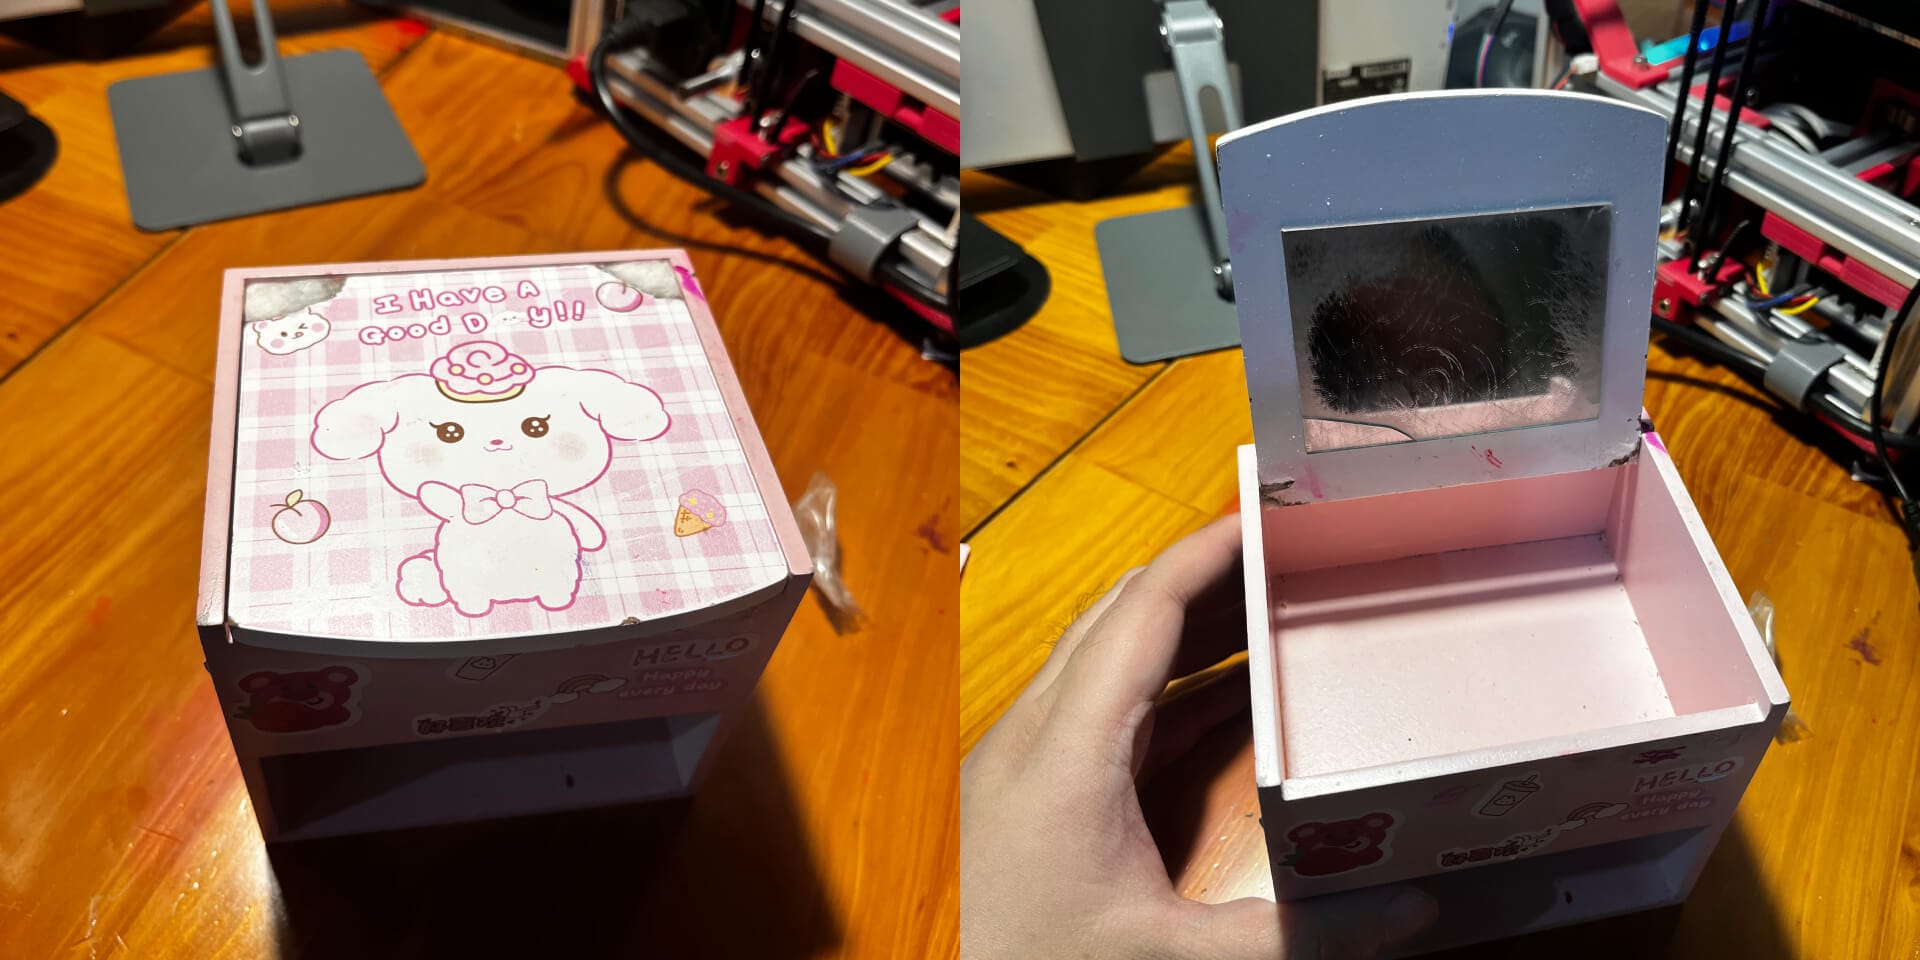
My daughter has an old MDF jewelry box that she absolutely adores. It’s not expensive or fancy, but it holds her "treasures," so when the hinge area broke, she was clearly sad. The damage? Typical cheap MDF - soft, crumbly, and totally unusable for screws once broken.
But I’ve seen enough "ramen + super glue" repair videos to get an idea.
Only this time, I skipped the ramen.
Repairing the MDF with Tissue & Super Glue
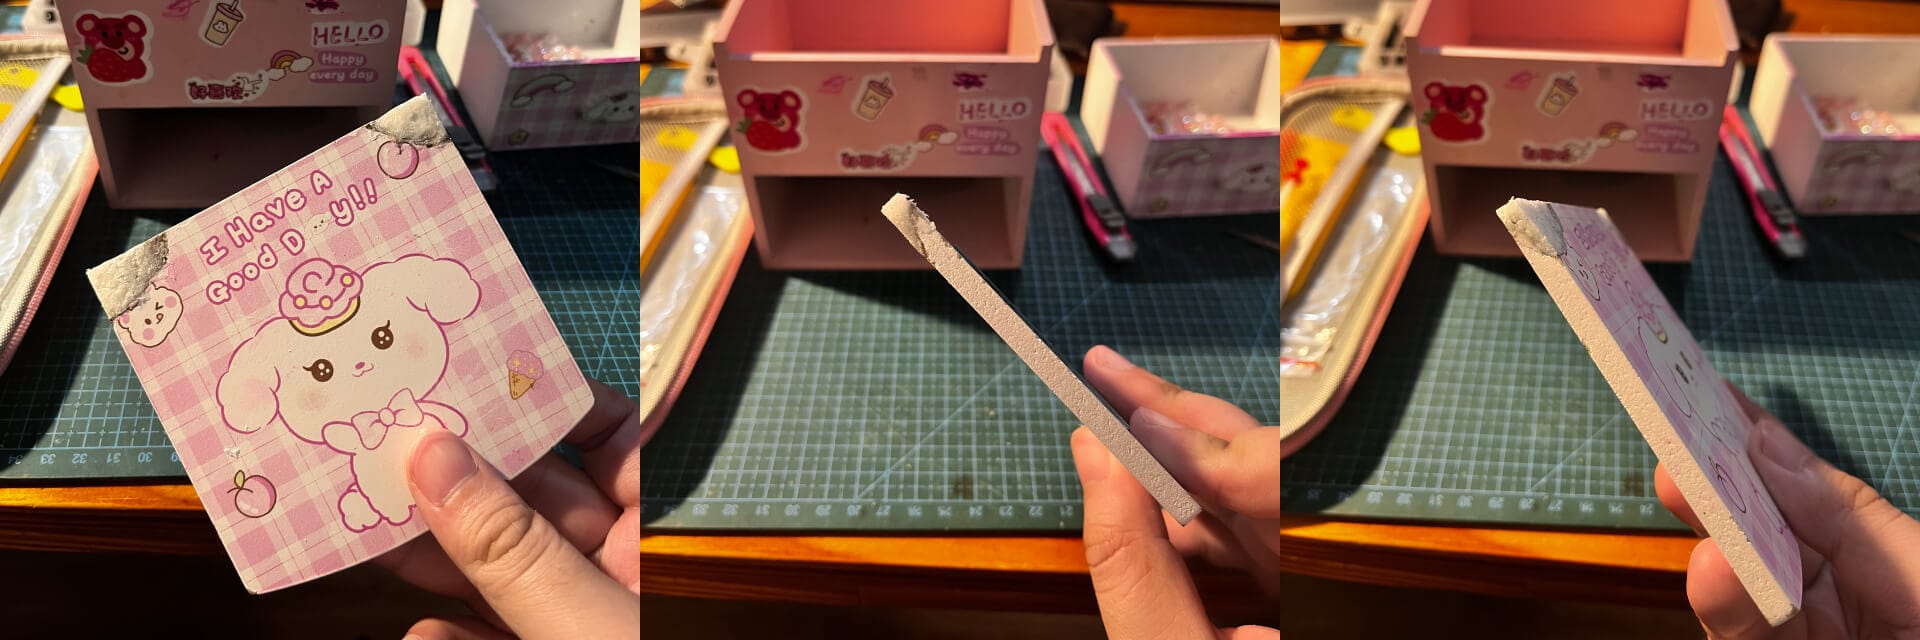
Instead of instant noodles, I used regular tissue paper. It might sound odd, but it works surprisingly well. Tissue absorbs glue, hardens into a solid mass, and can be shaped like filler putty.
Here's what the process looked like:
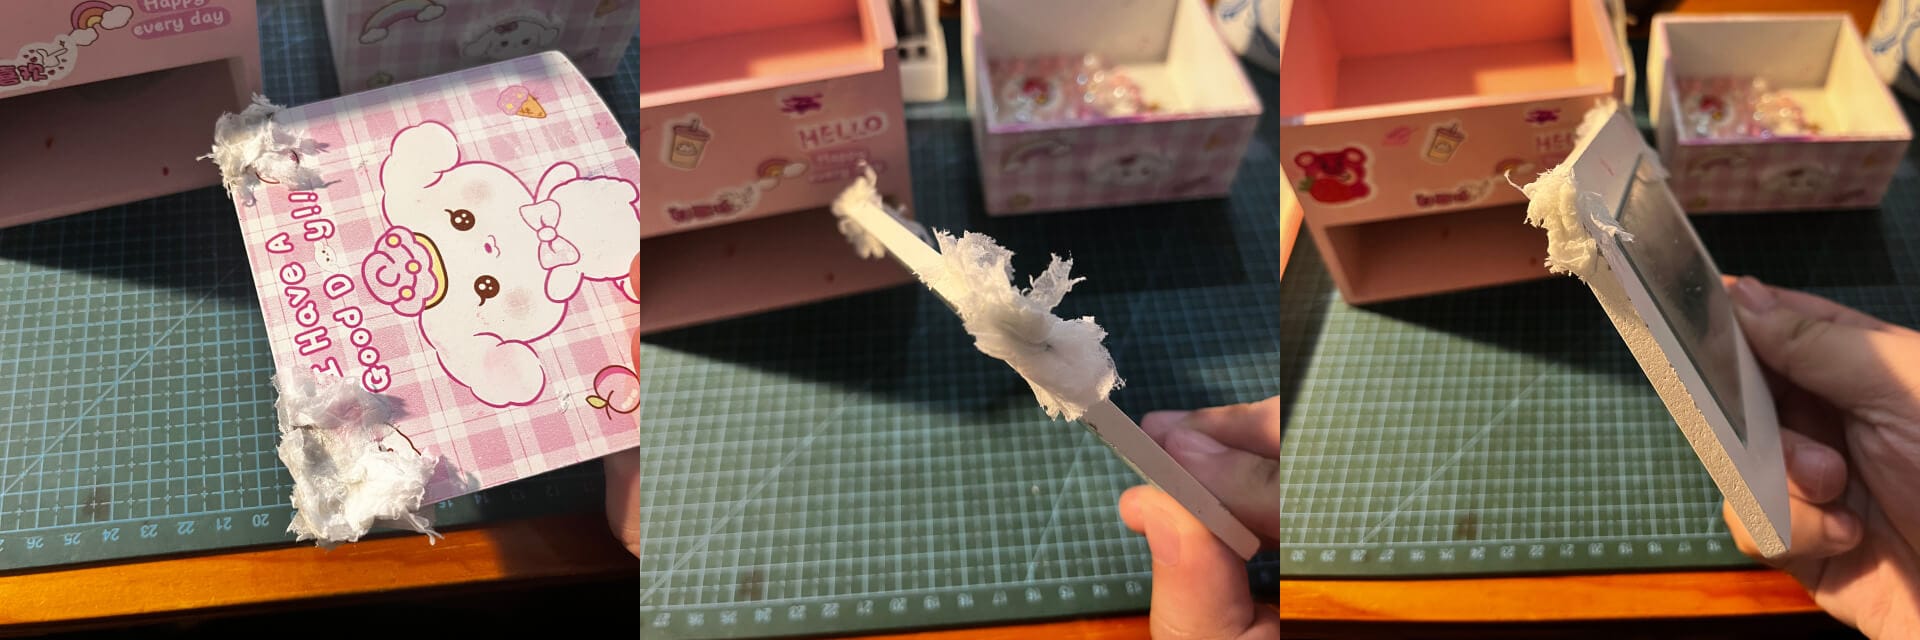
The steps:
- Tear tissue into small strips.
- Layer them into the broken area.
- Apply super glue between layers.
- Let it fully harden.
It's quick, cheap, and surprisingly solid.
Shaping & Prepping for Hinges
Once the patch hardened, I shaped it using one of my favorite tools: the Scalpel Blade No. 11. If you enjoy DIY repairs or small builds, this tool is a must. It’s perfect for precise trimming, scraping, and shaping awkward corners.
Next, I used my Dremel rotary tool to drill clean new holes where the hinges would go. No struggle, no tear-out - the repair held strong.

The Result: Function Restored
I screwed the panel back to the box - and that was it.
The hinge works again, the lid opens and closes, and my daughter was happy.
She even asked if she could repaint it herself. That’s the part I love most - fixing things that still have life left, and turning it into a shared moment.
Tools That Saved the Day
You don’t need a fancy workshop to fix something meaningful. A bit of patience, a few simple tools, and the mindset to try anyway - that’s usually enough.
Here are the tools that helped me out this time. Nothing expensive, just solid basics that every DIYer should keep around:
- Scalpel Blade No. 11 - super precise for trimming and shaping small areas
- Dremel Rotary Tool - the Swiss army knife of DIY tools
- Super Glue + Tissue - cheap, effective, and weirdly satisfying to use
Another happy little fix. Another reason I love weekends.