I Made a DIY Tire Table (In About 2 Hours)
A fast and practical weekend build using old car tires and a round tabletop.

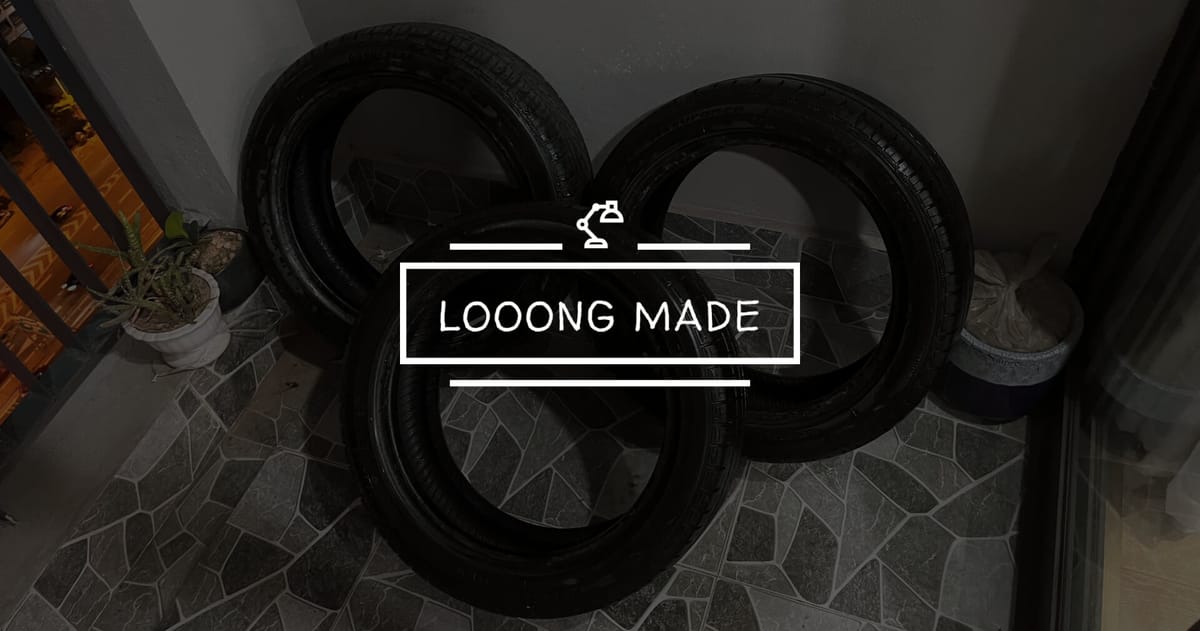
Sometimes when I have leftover parts, I can't just throw them out. Especially when those parts are tires. After replacing my car's set, I kept a few of the old ones - still in good shape. They sat around for a while, until the DIY itch hit.
The Plan
Make something useful. Something simple. Something with a bit of style.
A table.
The Materials
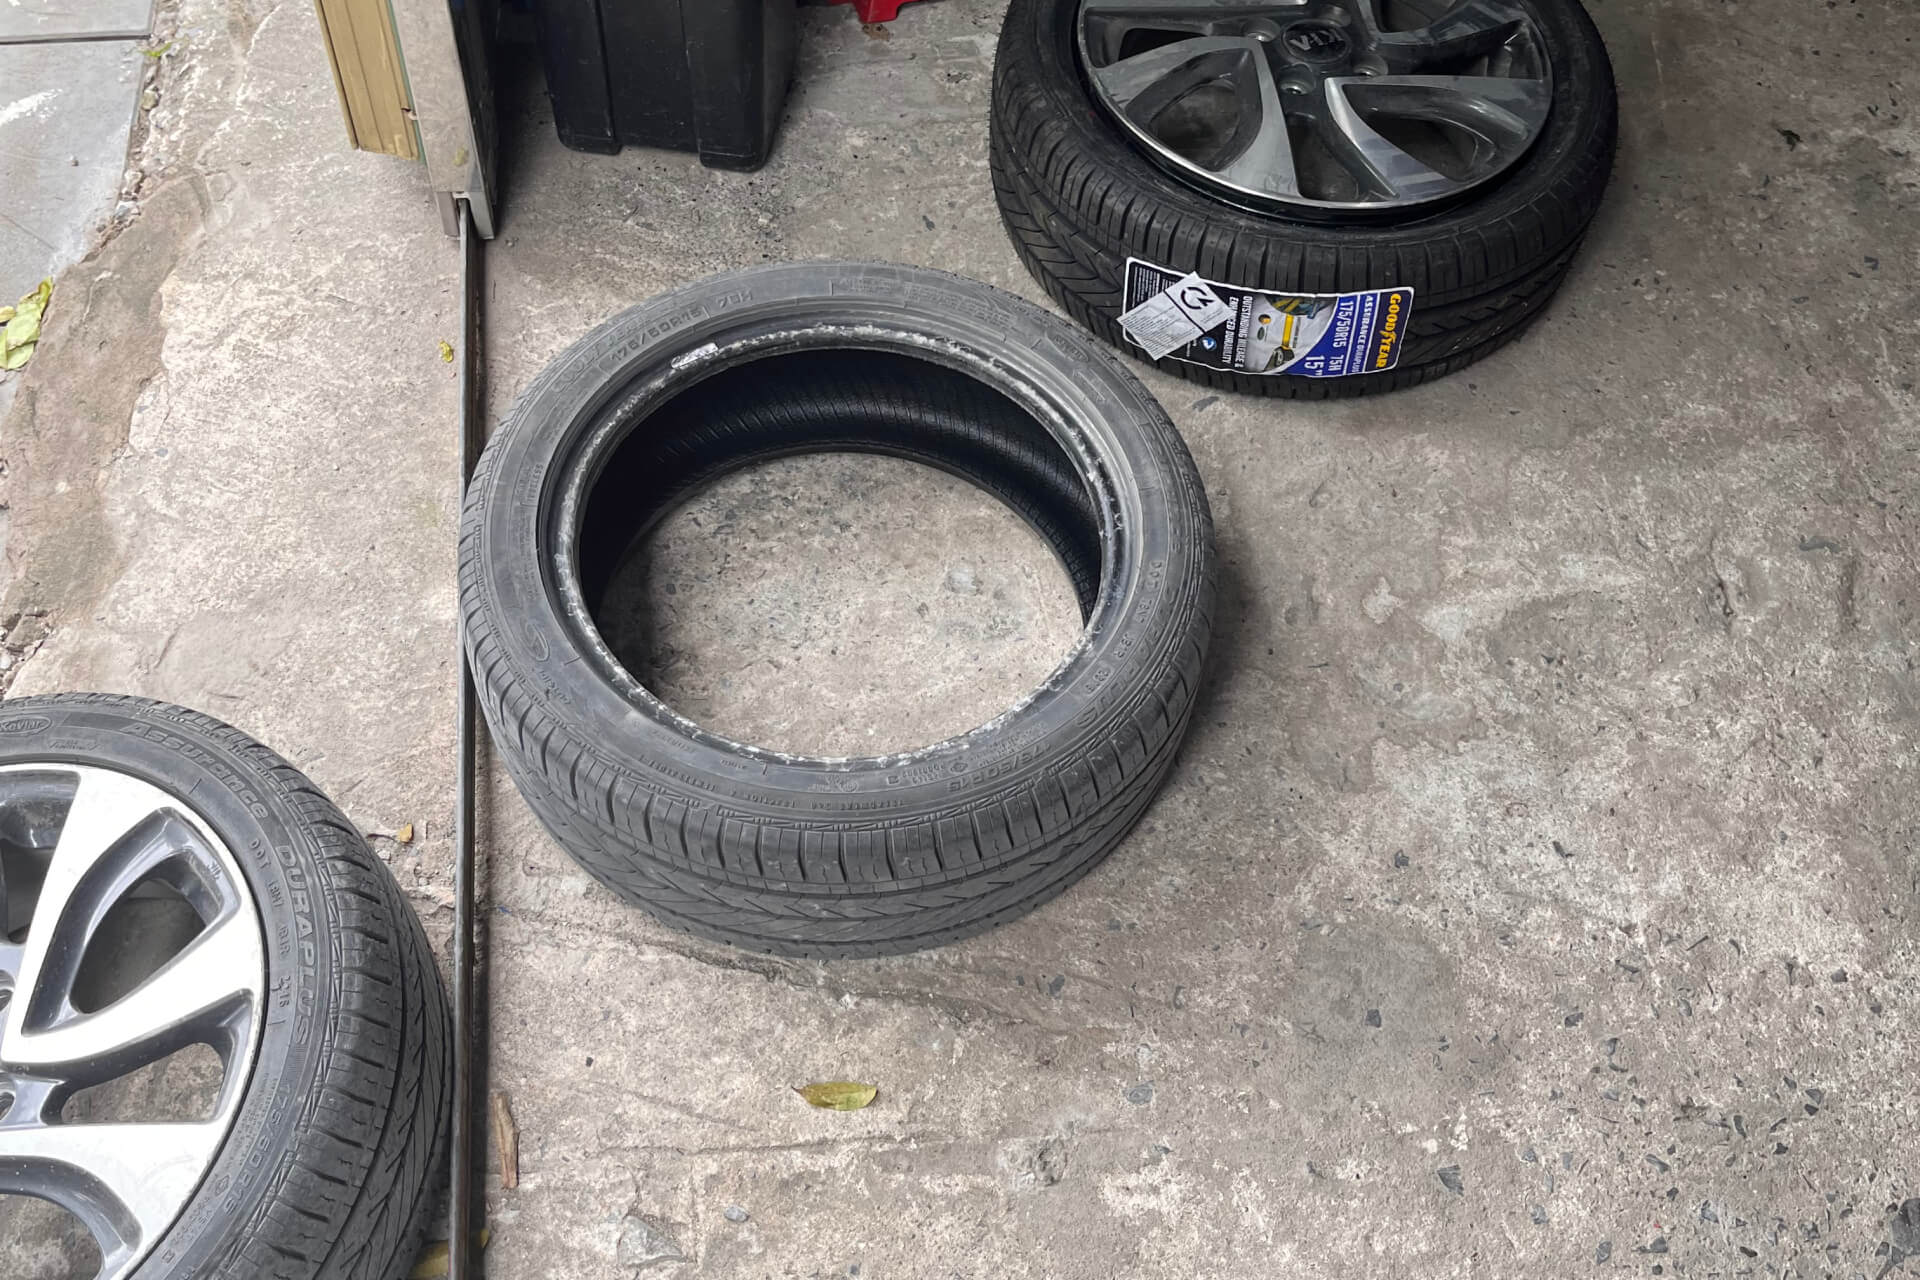
- 1 old car tire
- A round wood board (with marble-patterned vinyl on top)
- 6 rubber feet
- Screws, hex bolts, and anchors
- A marker and string for layout
Laying It Out
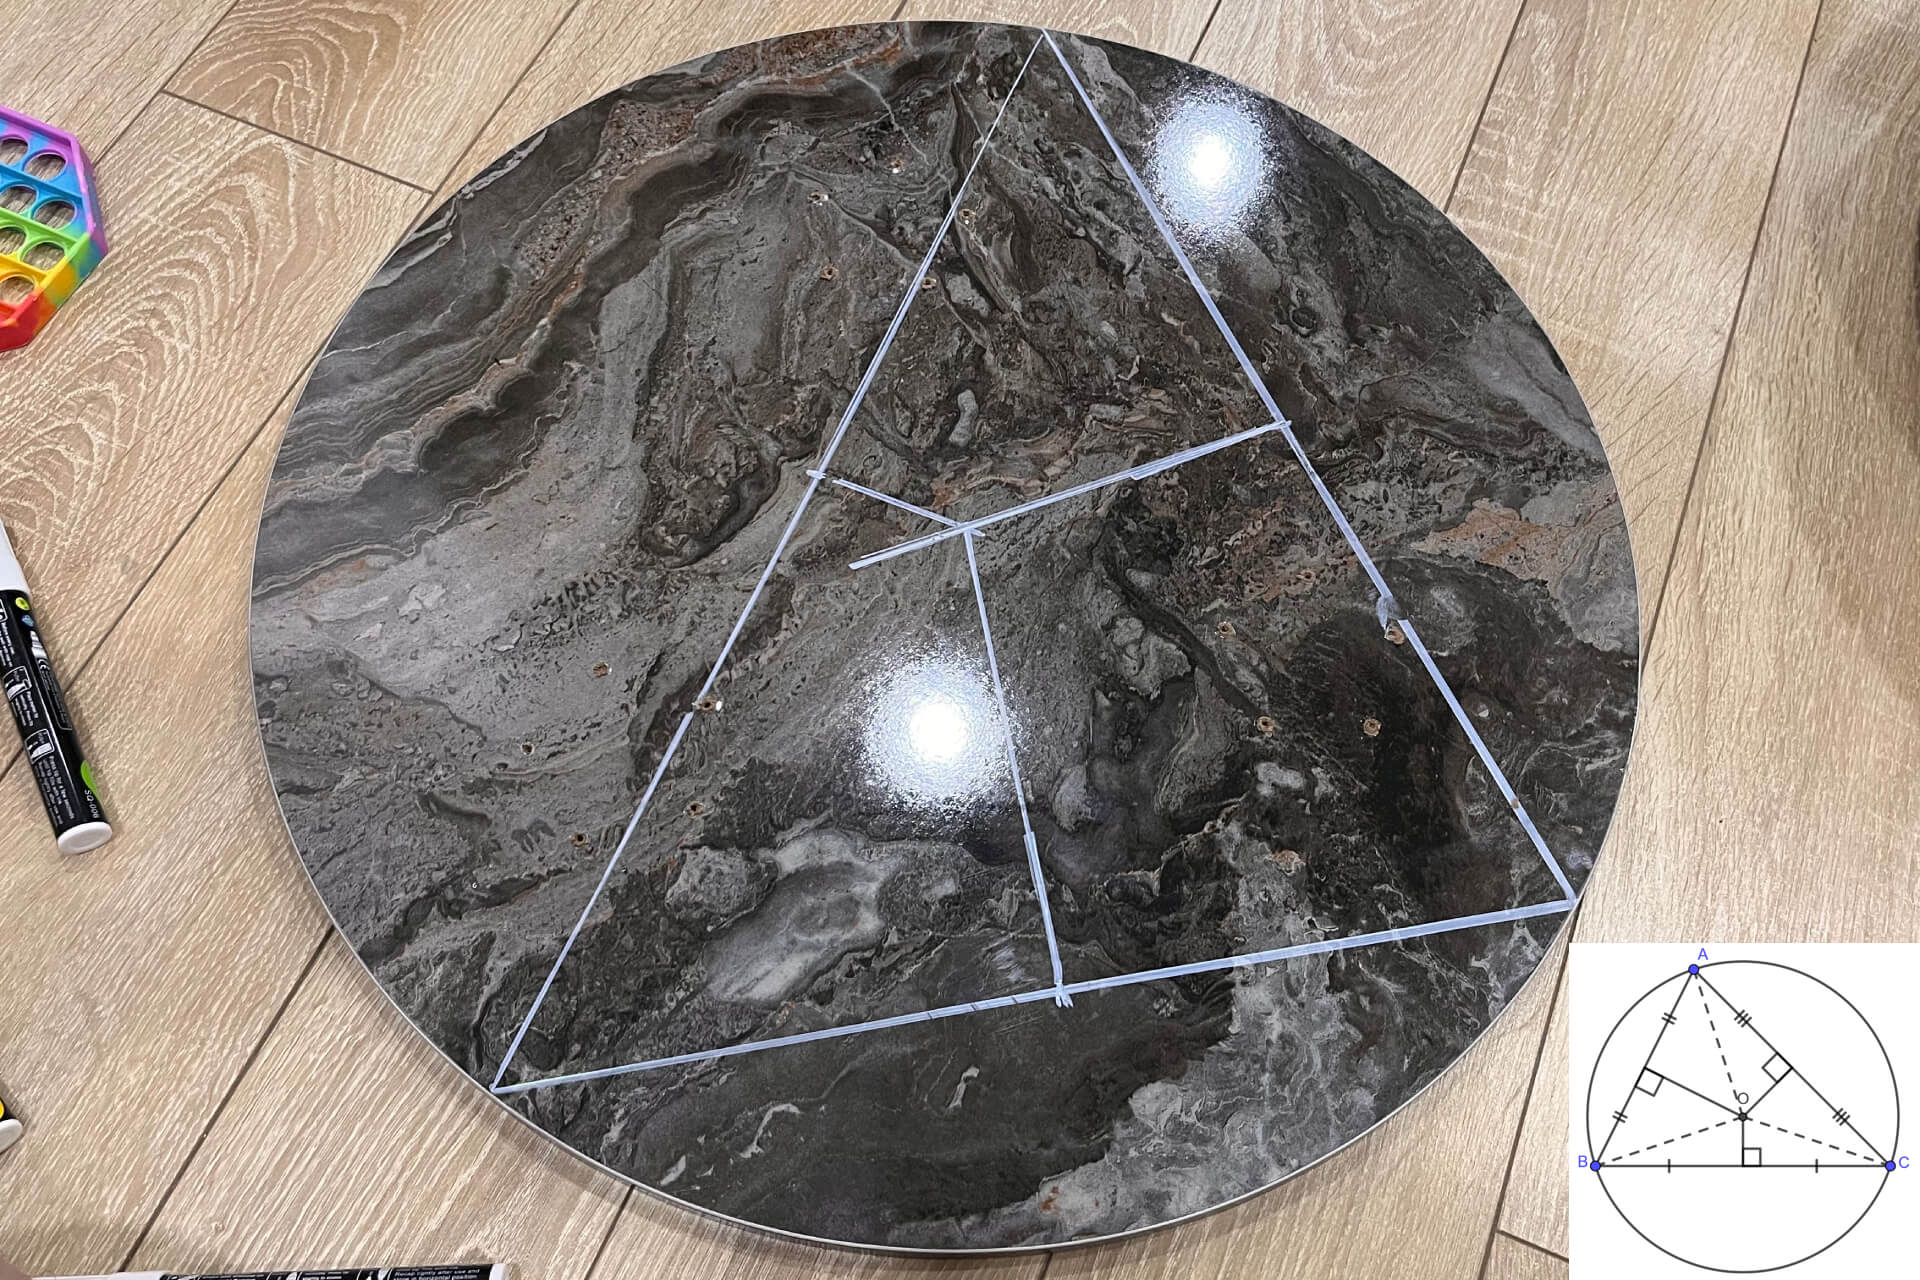
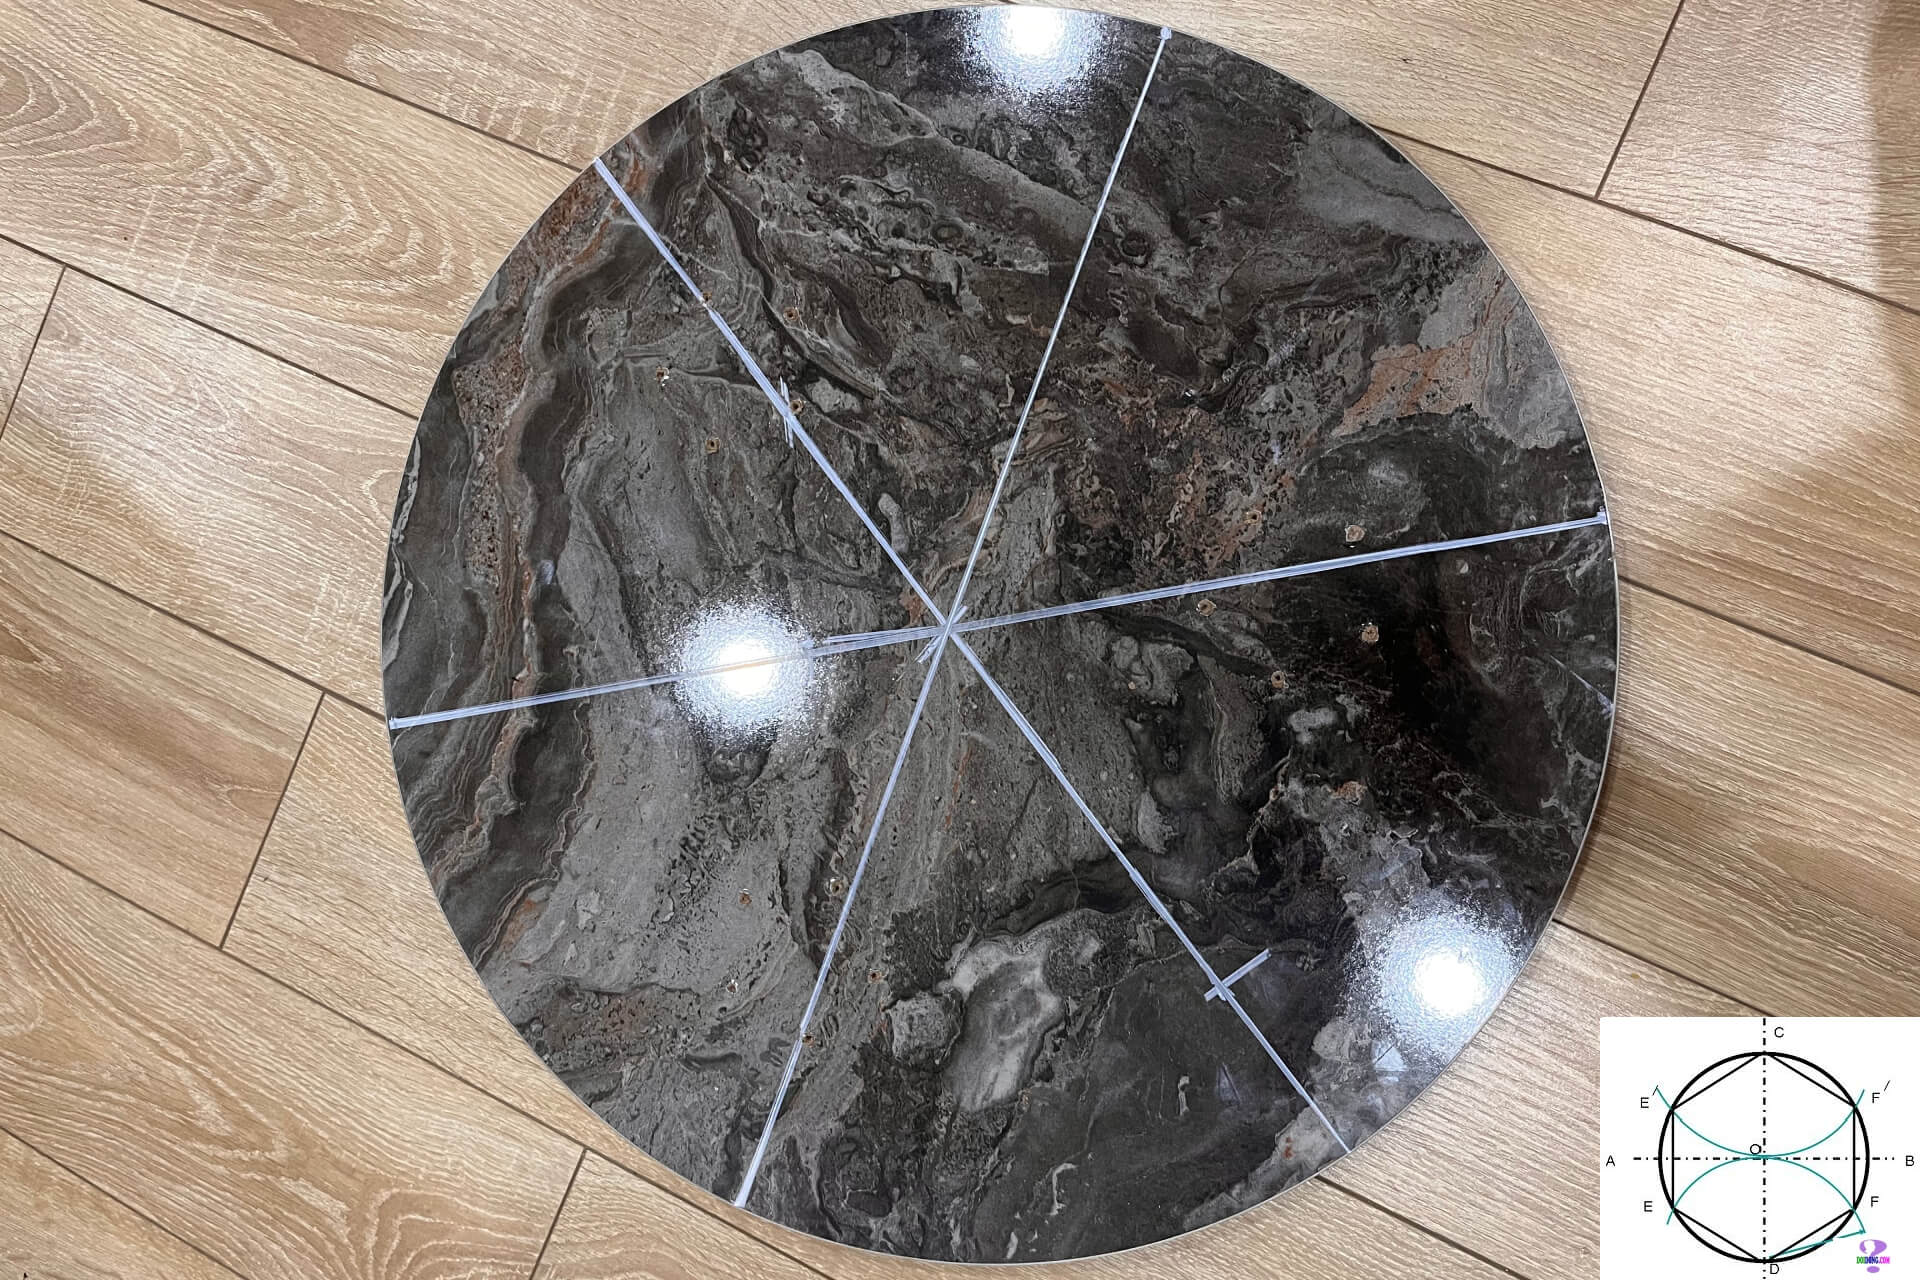
To place the rubber feet evenly, I needed to divide the round tabletop into six equal sections. Just a little geometry.
I drew two perpendicular lines to find the center, then used equilateral triangle construction (and a quick hexagon trick) to mark out 6 points. No CNC, no templates - just a marker and some measuring.

Assembly
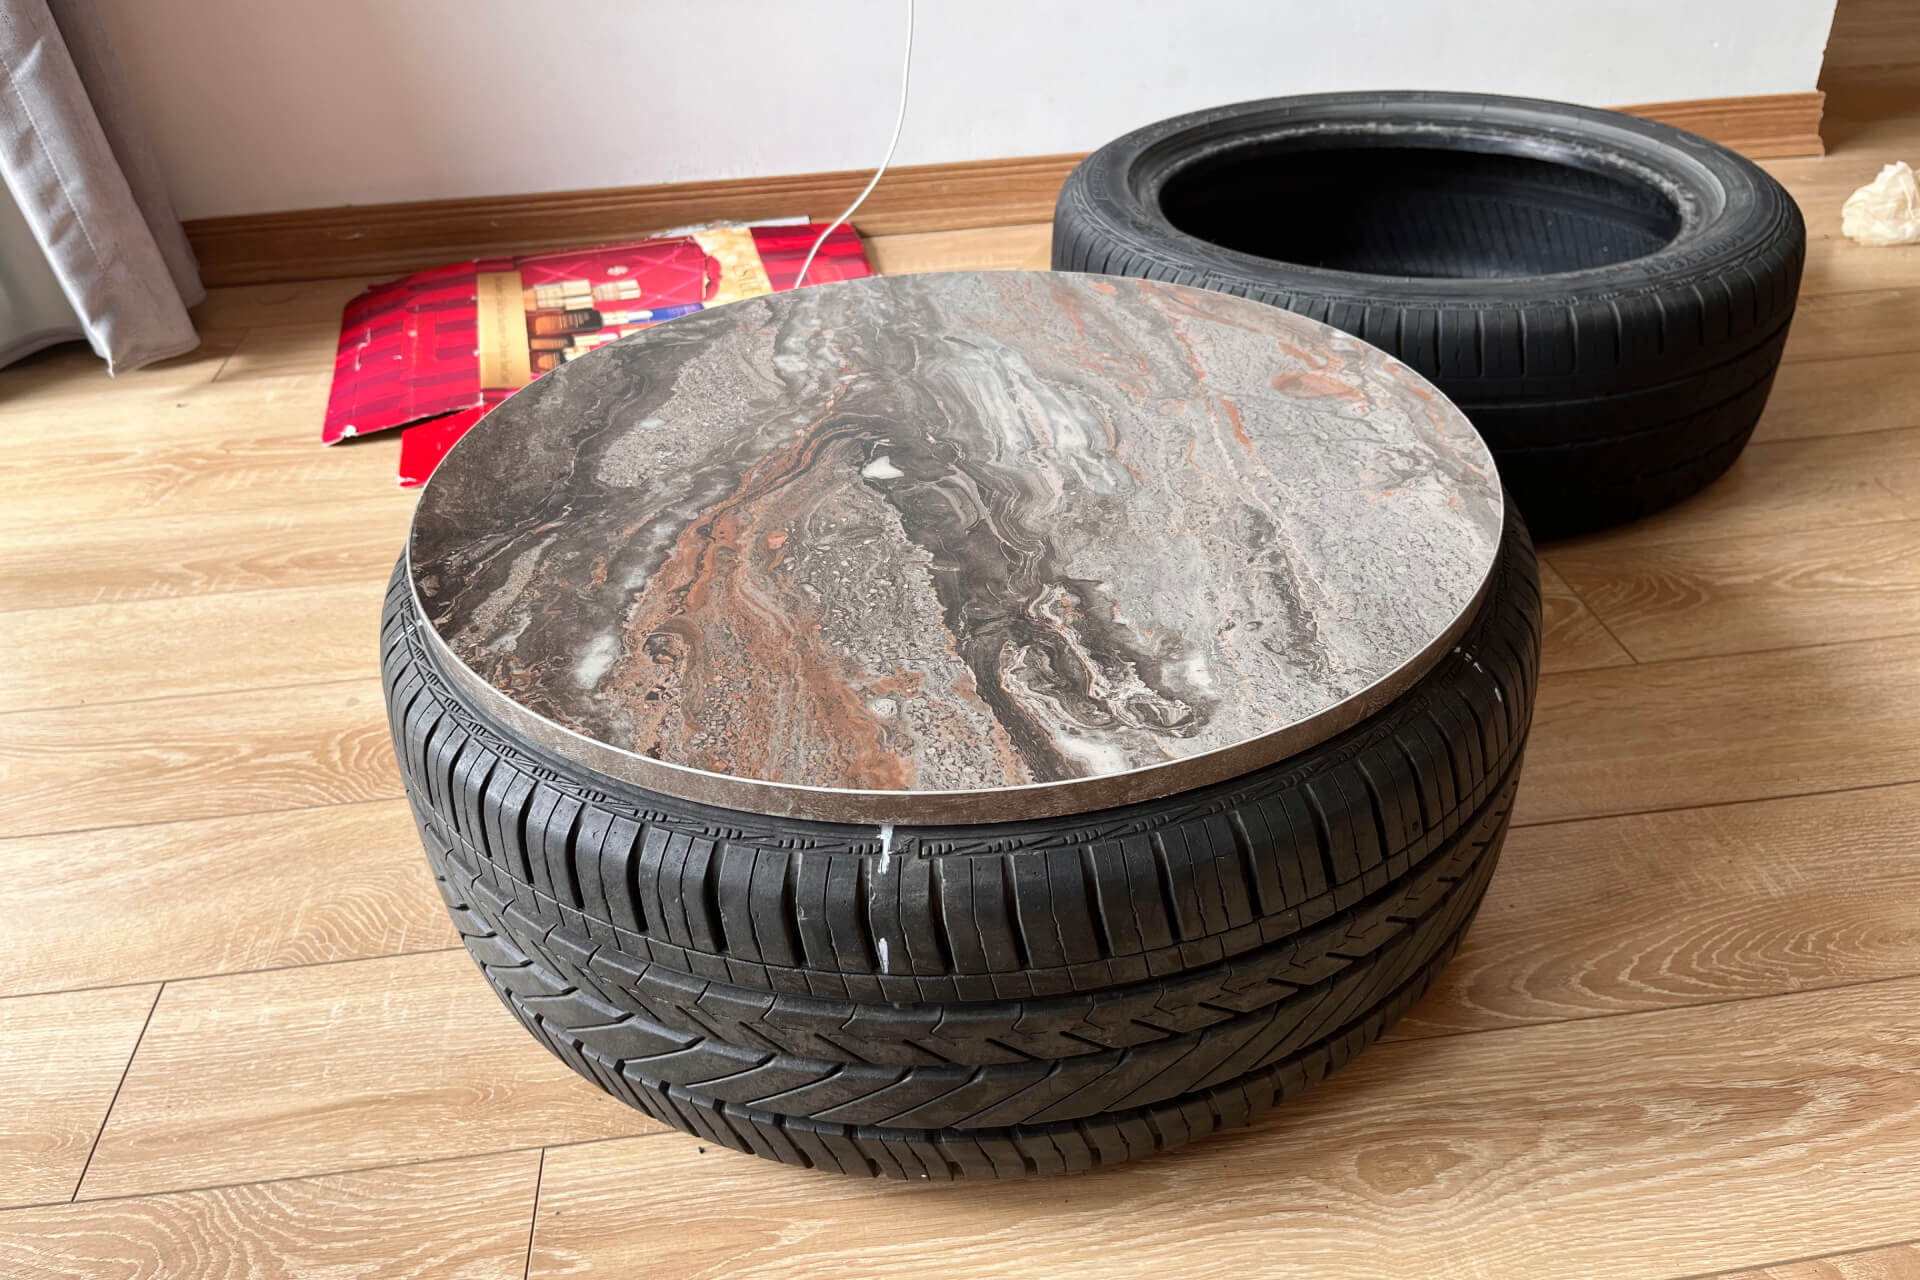
I attached the rubber feet around the tire using screws and anchors, lining them up with the markings from the tabletop. Then I stacked the tires and laid the top on.
Boom. Done.
It took just around two hours, including cleaning, measuring, and test fitting. Surprisingly stable, looks better than I expected.
The Result
It now sits in my living room as a sturdy side table. I kept the other two tires in storage - still waiting for new ideas. If you have suggestions, I’m all ears.
DIY projects like this remind me how fun it is to mix upcycling with a little planning. It's cheap, hands-on, and oddly satisfying.
Would I do it again? Absolutely.
Would I use a laser level next time? Maybe.