A DIY 3D Printer Powered by USB-C, Built for Less Than 2M VND
I challenged myself to build a 3D printer that runs on a laptop charger. Here’s the start of that journey.

I didn’t plan to build another 3D printer. I already have a few, and they work just fine. But one evening, while cleaning up old parts and scrolling through leftover listings on Shopee, I started to wonder: could I build a fully functional 3D printer… that runs on a laptop charger?
It sounded silly at first - not because it couldn’t work, but because I had never seen anyone actually do it.
Still, I sketched the first few ideas on paper. The rules were simple:
- It must be powered by USB-C
- It must cost no more than 2 million VND (about $78–80 USD) (later adjusted to 2 million VND, mainly because good electronics are expensive and I wanted to maintain acceptable quality)
- It must use parts that are easy to buy locally, so anyone can get them
- It must require almost no custom parts or complex modifications, so it's truly DIY-able
Not because I needed it, but because I wanted to see how far I could go within real-world limits.
And also because I want anyone who reads my blog to feel like they can build a 3D printer too - without needing a workshop, special tools, or expensive parts.
Starting with the Power
Most 3D printers rely on chunky power supplies and heated beds. Those two things alone account for a big portion of the cost. If I remove them, I also remove the biggest power demands - which suddenly makes USB-C not so unrealistic.
My MacBook Air charger - a common 20V USB-C adapter - provides exactly 30W (20V at 1.5A). That’s not much, but it's enough to heat a hotend and move some motors - if everything else is tuned for low consumption.
Shrinking Everything
With power limited, the rest of the printer had to scale down too. So I designed it around a 100x100x100 mm print volume - just enough to make small tools, brackets, or gifts.
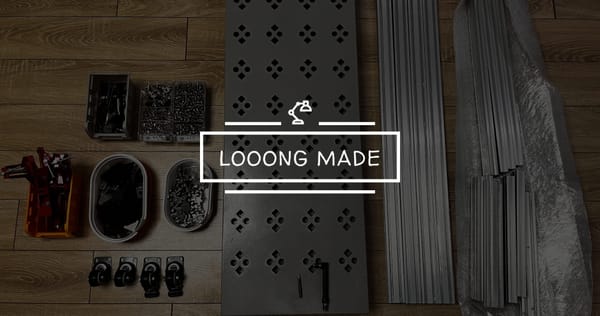
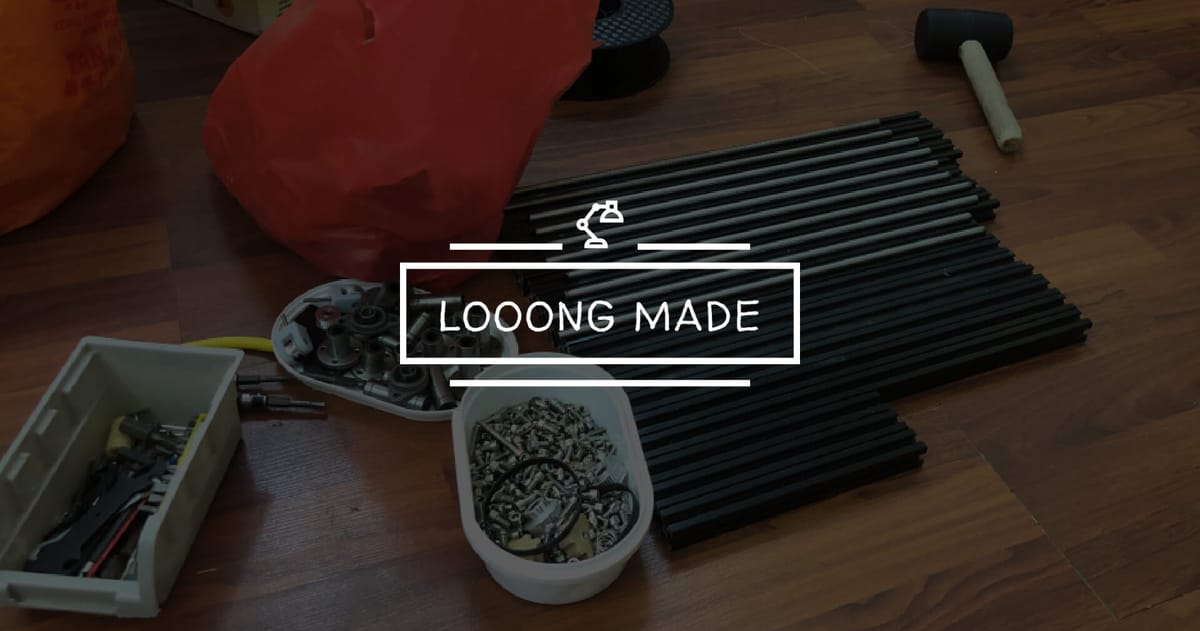
To reduce cost and keep the build accessible, I chose components that are easy to source and require no special tools. It might not follow standard conventions, but it's enough for a small printer like this. I’ll try to find the best possible options from what’s commonly available.
The First BOM
I set the target cost to 2M VND (about $80 USD). That’s tight, but doable. I plan to use all-new parts, but I might try some spare components from my storage - including a SKR Pico board, which is a bit expensive. Most of the budget went into electronics, because I wanted the print quality to be acceptable. These parts are more universal, so even if I upgrade or rebuild later, they’ll still be useful.
I’ll share the detailed parts list in a future post, once I’ve tested everything a bit more.
What's Next
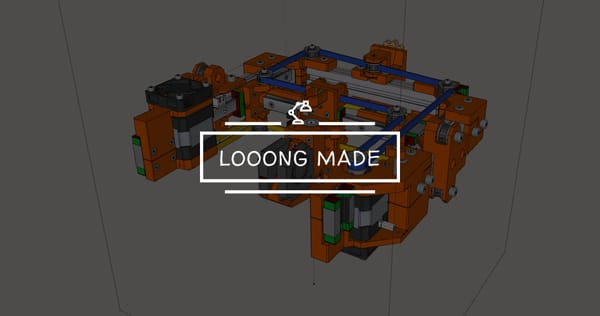
Right now, I’m modeling the printer in SketchUp and preparing a build log. I want to make this project doable for others - especially beginners or students who might only have a laptop and a bit of curiosity.
It’s not meant to be a perfect printer. It’s meant to be possible. I’ll continue to update the progress as I go, so others can follow along.