So You Want a 3D Printer?
After years of getting the same question — “Should I get a 3D printer?” — I finally wrote my full answer. A guide for curious builders and cautious buyers alike.

Here’s what I usually tell my friends (instead of repeating myself)
The Question I Keep Getting
It’s been five years since I got into 3D printing. At first, I just wanted to make some custom brackets for a dual-GPU setup. I didn’t plan to become “the 3D printer guy.” But after setting up my own machine, printing lots of parts, and even designing my own printers, people started asking questions.
And they still do.
“How can I build a 3D printer like yours?”
“Is it worth getting one just to print a small thing?”
“Can I print something without knowing anything about CAD?”
Most of the time, I offer to print the thing for them - because I know how steep the curve can be.
But after answering the same questions for years, I figured it’s time to write this post. So if you’ve ever asked me about 3D printers - or thought about getting one - here’s what I’d tell you.
Before You Begin: Two Things You Need to Understand
Getting into 3D printing isn’t just about owning a printer. It’s about operating one, too.
These are two different skills. One is about choosing and assembling hardware. The other is about making that hardware produce the result you want: reliably.
If you’re not ready for both, chances are high you’ll waste time, money, and energy.
How to Own a 3D Printer
You have a few ways to get a 3D printer into your life. Each one suits a different kind of person.
🛒 Option 1: Buy a Pre-Built One
This is the easiest path. You order a printer online, take it out of the box, and start printing.
Sort of.
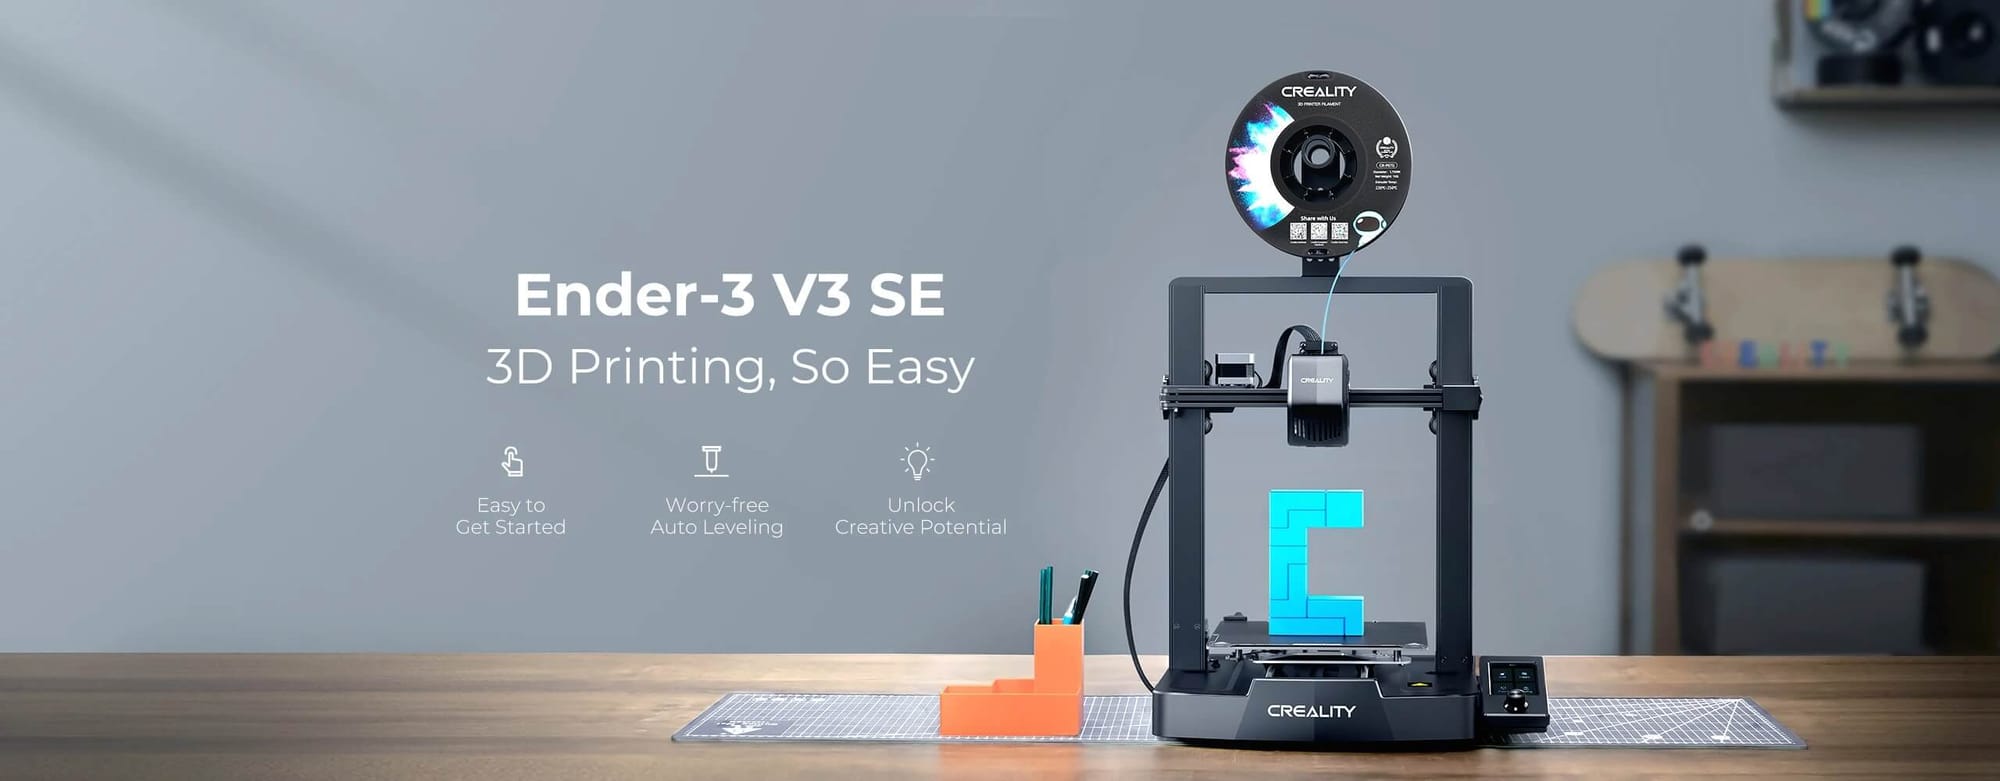
Even pre-built printers need calibration and occasional tweaking. But if you’re not into the building part, and just want results, this is your best bet.
Who this is for:
- Hobbyists with little interest in hardware
- People who value time over control
- Anyone who wants to print quickly with minimal fuss
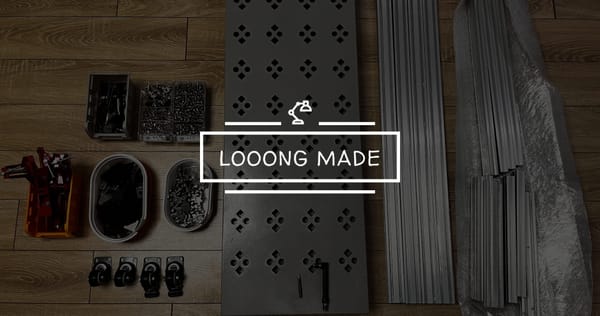
🛠️ Option 2: Buy a DIY Kit
This is how I started. It’s usually cheaper than a pre-built printer, and more customizable - but it comes with more responsibility.
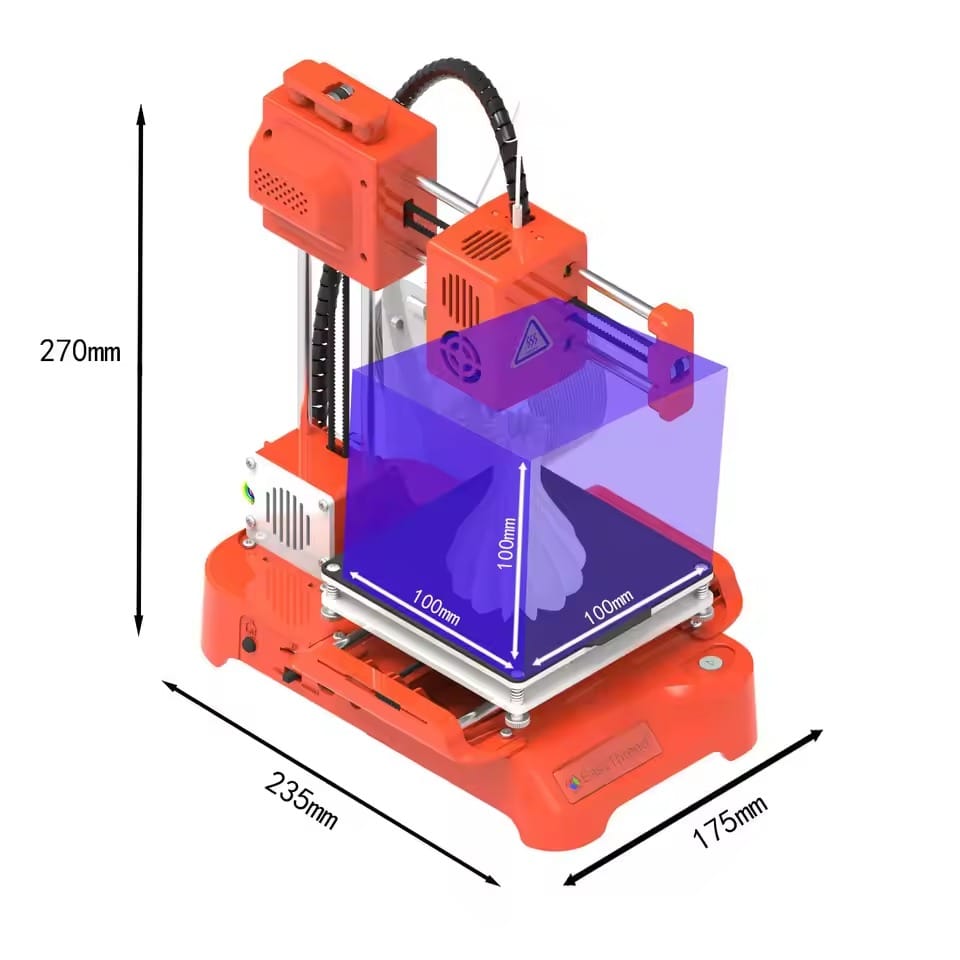
You’ll need to assemble the frame, wire the components, install firmware, and troubleshoot early failures. But if you enjoy building stuff, it’s part of the fun.
I chose this path because it felt like the right balance:
- I had a limited budget (pre-built printers were out of reach)
- I had some tech knowledge and DIY experience - just enough to try, but not enough to build one from scratch
- And, to be honest, I liked the idea of building something with my own hands
As I went further down this path, my hand-held tool collection quietly grew: Allen keys, screwdrivers, calipers, multimeters… I didn’t plan it, but it happened.
⚠️ Kits are not for everyone. They bring joy to builder-in-blood types - but frustration to everyone else.
🔩 Option 3: Build From Scratch
This is full DIY. You source every part yourself: extrusion, motors, hotends, electronics, display. You design your own frame, wiring, and firmware settings.
That’s where I am now. I’ve designed and built several custom printers from scratch - and made them work. It’s satisfying, but it’s also obsessive.
Who this is for:
- Control freaks (hi)
- Deep tinkerers
- People who want to create something truly their own
I’ll share more about my custom builds in future posts.
How to Operate a 3D Printer
Most people think owning the printer is the hard part. It’s not. Operating it well is what takes time.
I’ve spent hours watching prints - literally sitting there, observing the first few layers and adjusting live settings on the screen. Trial and error is part of the game.
Here’s what goes into the daily use of a 3D printer:
📐 Step 1: Get a 3D Model
You can:
- Download ready-made designs from Thingiverse, Printables, etc.
- Or design your own using SketchUp, Fusion360…
Either way, you’ll need an STL file as the starting point.
🧩 Step 2: Slice the Model
A slicer turns your 3D model into instructions (G-code) that your printer understands.
Popular slicers: Cura, PrusaSlicer, Bambu Studio…
You’ll tweak:
- Layer height
- Print speed
- Infill pattern
- Support structures
- And much more
Getting the slicer settings right can make or break the print.
⚙️ Step 3: Prepare the Printer
Before every print:
- Level the bed
- Clean the nozzle
- Check filament tension
- Make sure your bed is clean
- Heat everything to the right temperature
Sometimes, I sit and watch my printer run for 3 hours straight. Not because I have to - but because I want to catch problems early. That’s how deep it gets.
Operating a printer takes effort. You’ll need to study new terms, test different settings, and stay curious. Every failure teaches something - if you’re willing to learn.
Why I Still Offer to Print Things for Friends
Because I know what it takes.
Operating a 3D printer is like having a stubborn, brilliant pet. It does amazing things - but only if you understand its moods.
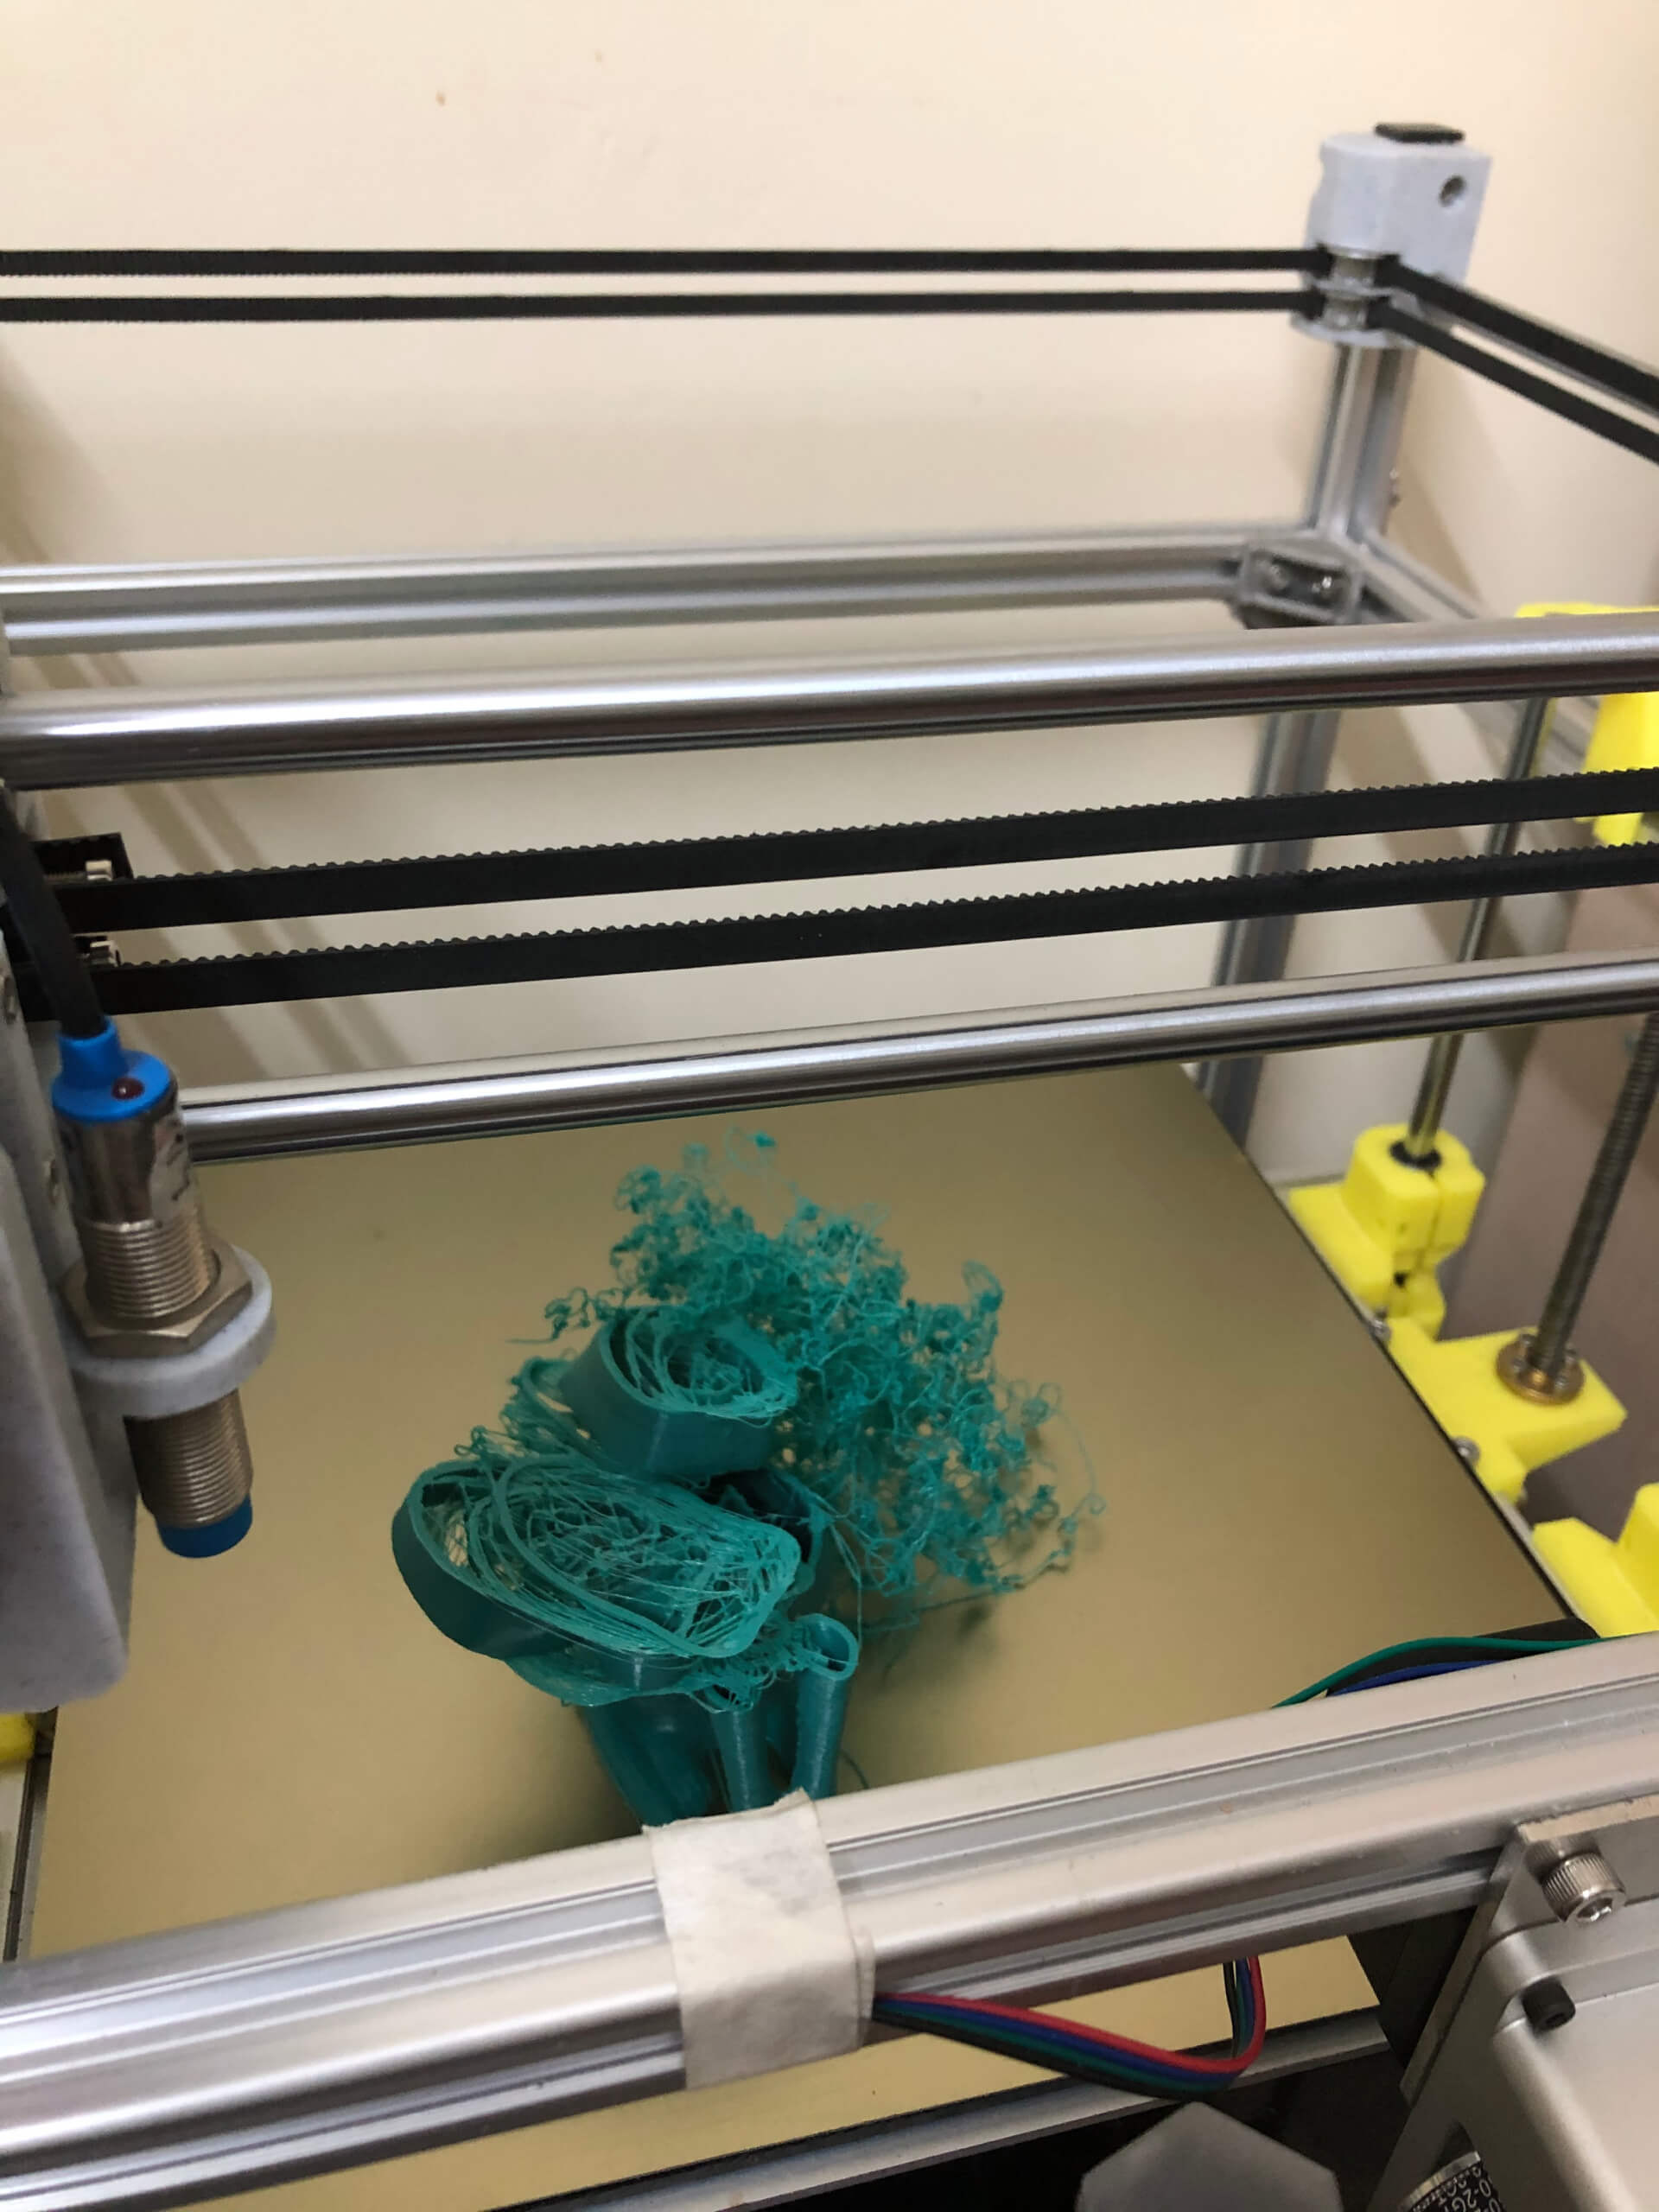
You’ll spend hours tweaking small details, googling cryptic errors, reprinting failures, and learning strange things about flow rate and retraction.
If you can’t put in the effort to learn how to operate it properly, you’ll end up with bad prints, wasted filament - or a dusty machine in the corner.
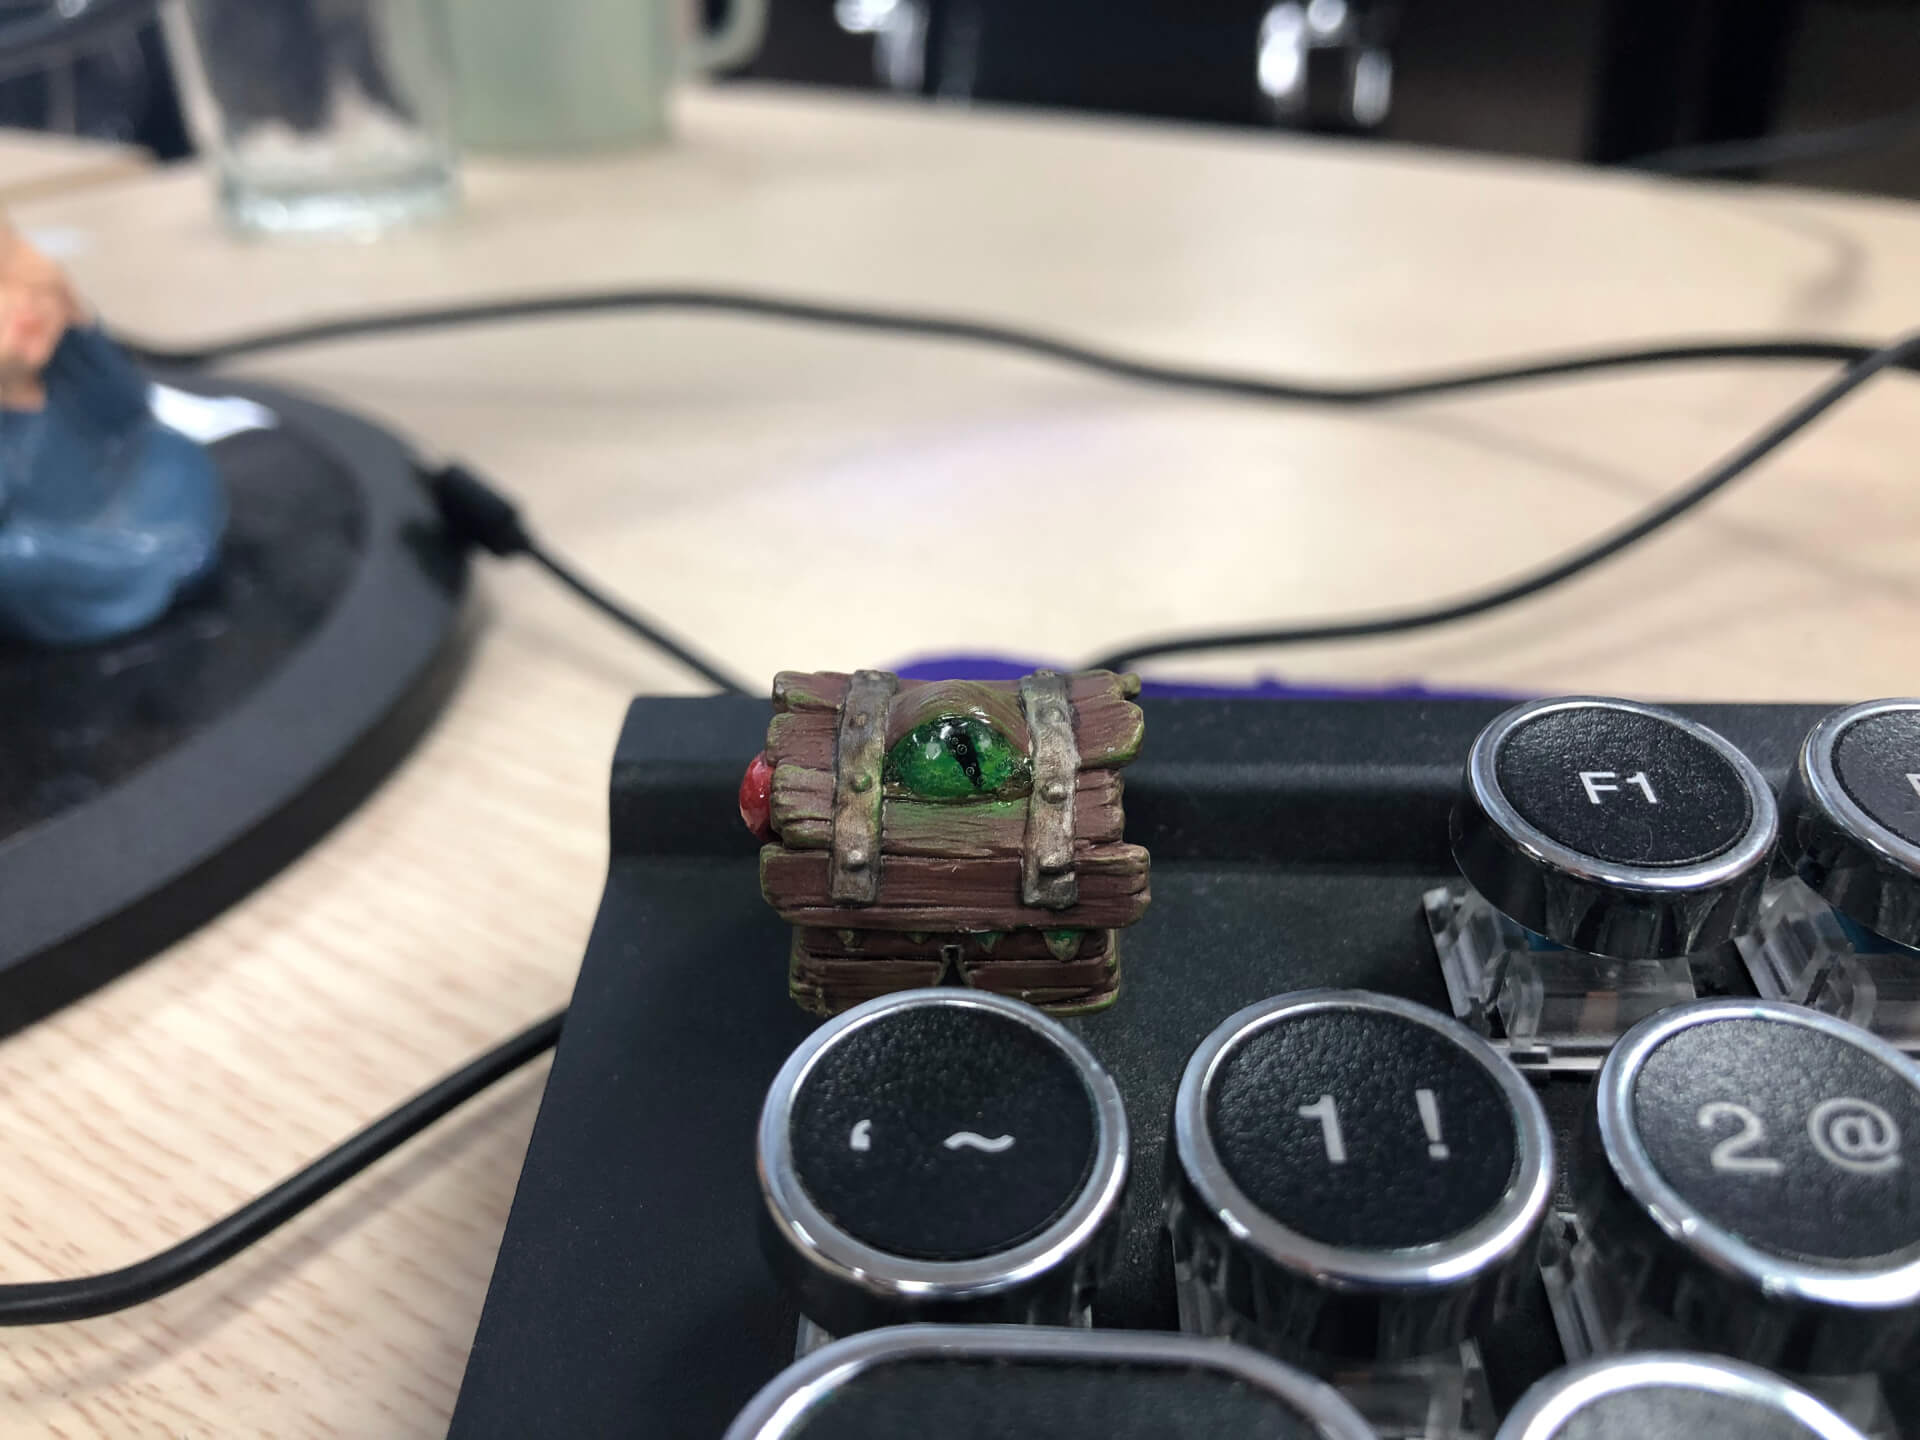
But if the process excites you - if you’re the type who enjoys debugging, tweaking, and building - it can be incredibly rewarding.
Final Thoughts
3D printing has shaped the way I think about making things. It’s a mix of software, hardware, and problem-solving - the kind of intersection I love.
If you’re reading this and still thinking about getting one: go ahead. But go in with eyes open.
Or, if you just want a bracket, let me know. I might still print it for you.