Building a Mobile Workbench from Leftover Desk Parts
I promised those spare desk materials wouldn't go to waste. Here's how leftover metal sheets from my workspace upgrade became a mobile workbench that rolls where I need it and stores under my desk.

In my last post about upgrading my workspace, I ended with a promise: "The spare frames and metal parts won't go to waste - I'll find ways to upcycle them for future projects."
This is that project.
When I bought those four used office desks, I only needed their tabletops for my workspace upgrade. That left me with spare side panels (perforated metal sheets) and legs from each desk. The legs are still waiting in storage for their next purpose, but those metal side panels? They were practically begging to become something useful.
Enter my latest build: a mobile workbench that transforms those "leftover" materials into a rolling workshop essential. Combined with 2040 aluminum extrusion, it stores neatly under my newly upgraded workspace when not in use.
The Challenge: Finding Purpose for Everything
After completing my workspace upgrade with those salvaged desk frames and new tabletops, I had a collection of perforated metal sheets that felt too valuable to toss. My workspace was perfect now, but I still needed somewhere to actually work on projects - somewhere I could make noise, mess, and mistakes without cluttering my clean computer setup.
The requirements wrote themselves: reuse those perforated metal sheets, keep it mobile enough to roll where needed, make it fit under my upgraded L-shaped desk when stored, and give my tools a proper home at working height.
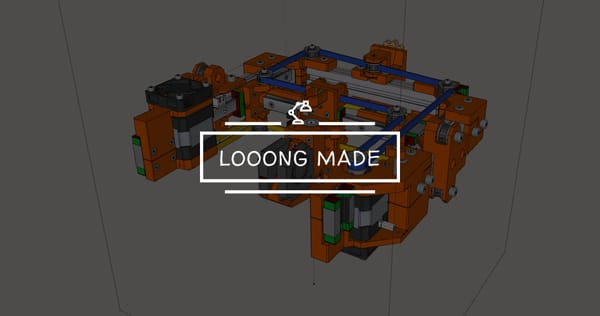
I opened SketchUp and started designing. This wasn't just about avoiding waste - I needed exact dimensions to ensure the finished workbench would slide perfectly under my main workspace and work with the materials I already had.
Why 2040 Aluminum Extrusion Made Sense
I'd worked mostly with 2020 aluminum extrusion before, so I had stocked up on plenty of hardware for that system. 2040 is stronger than 2020, and the best part? It can share the same bolts, nuts, and brackets. I could get a stronger, more robust frame for the workbench while still using my existing hardware stash.
What I Actually Built
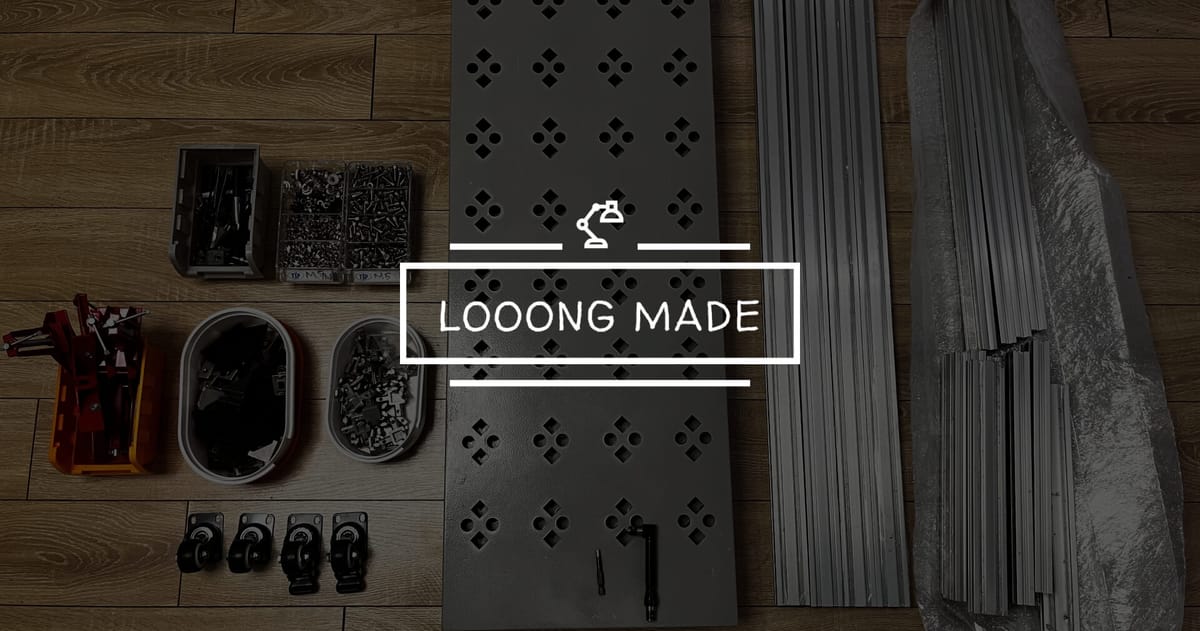
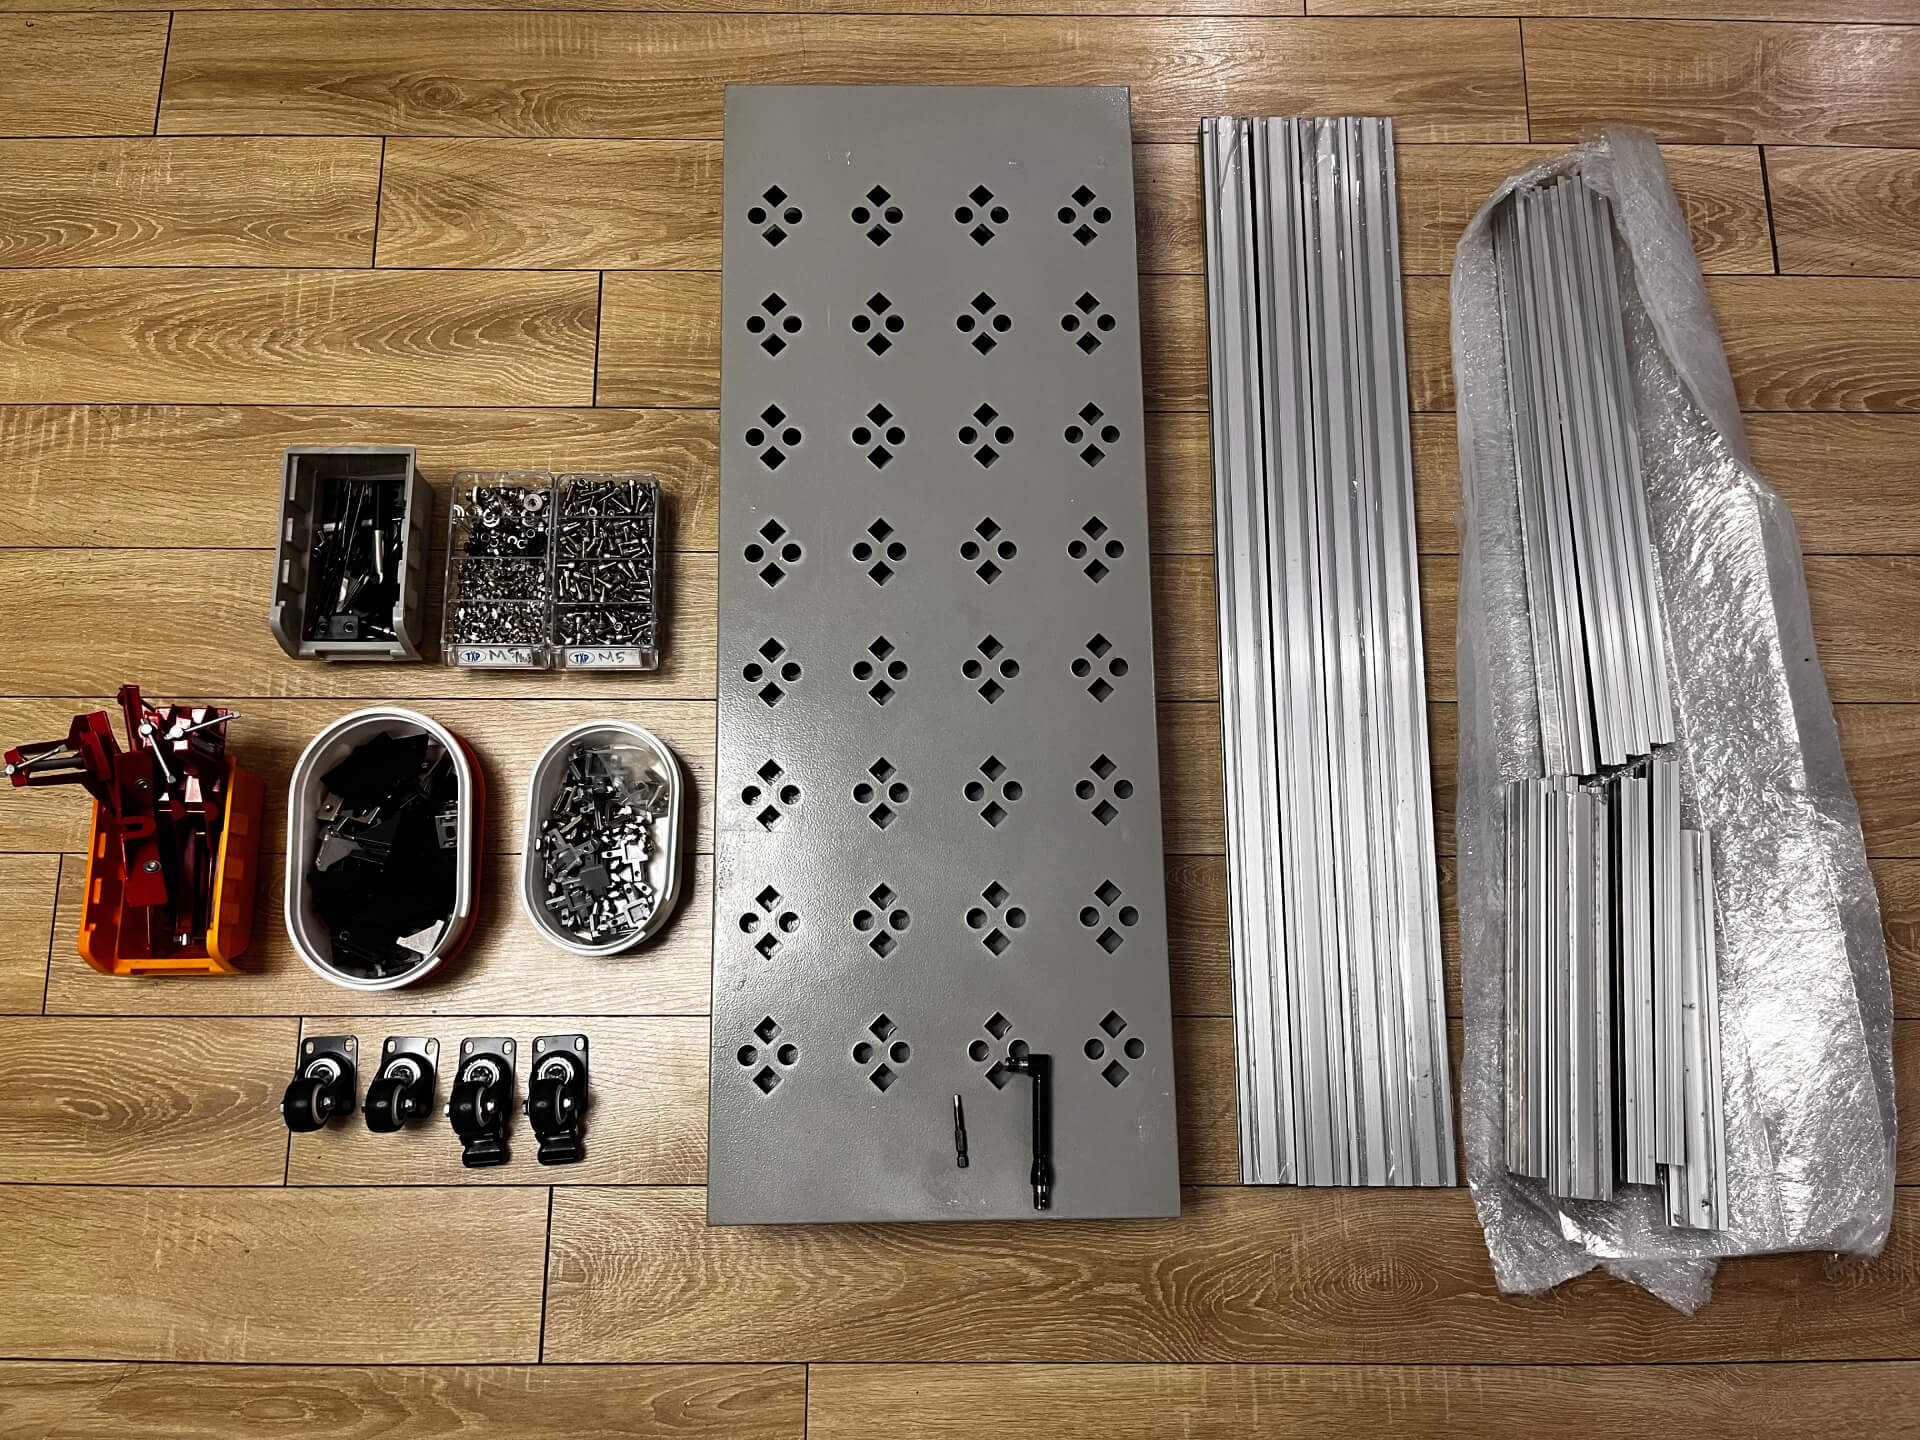
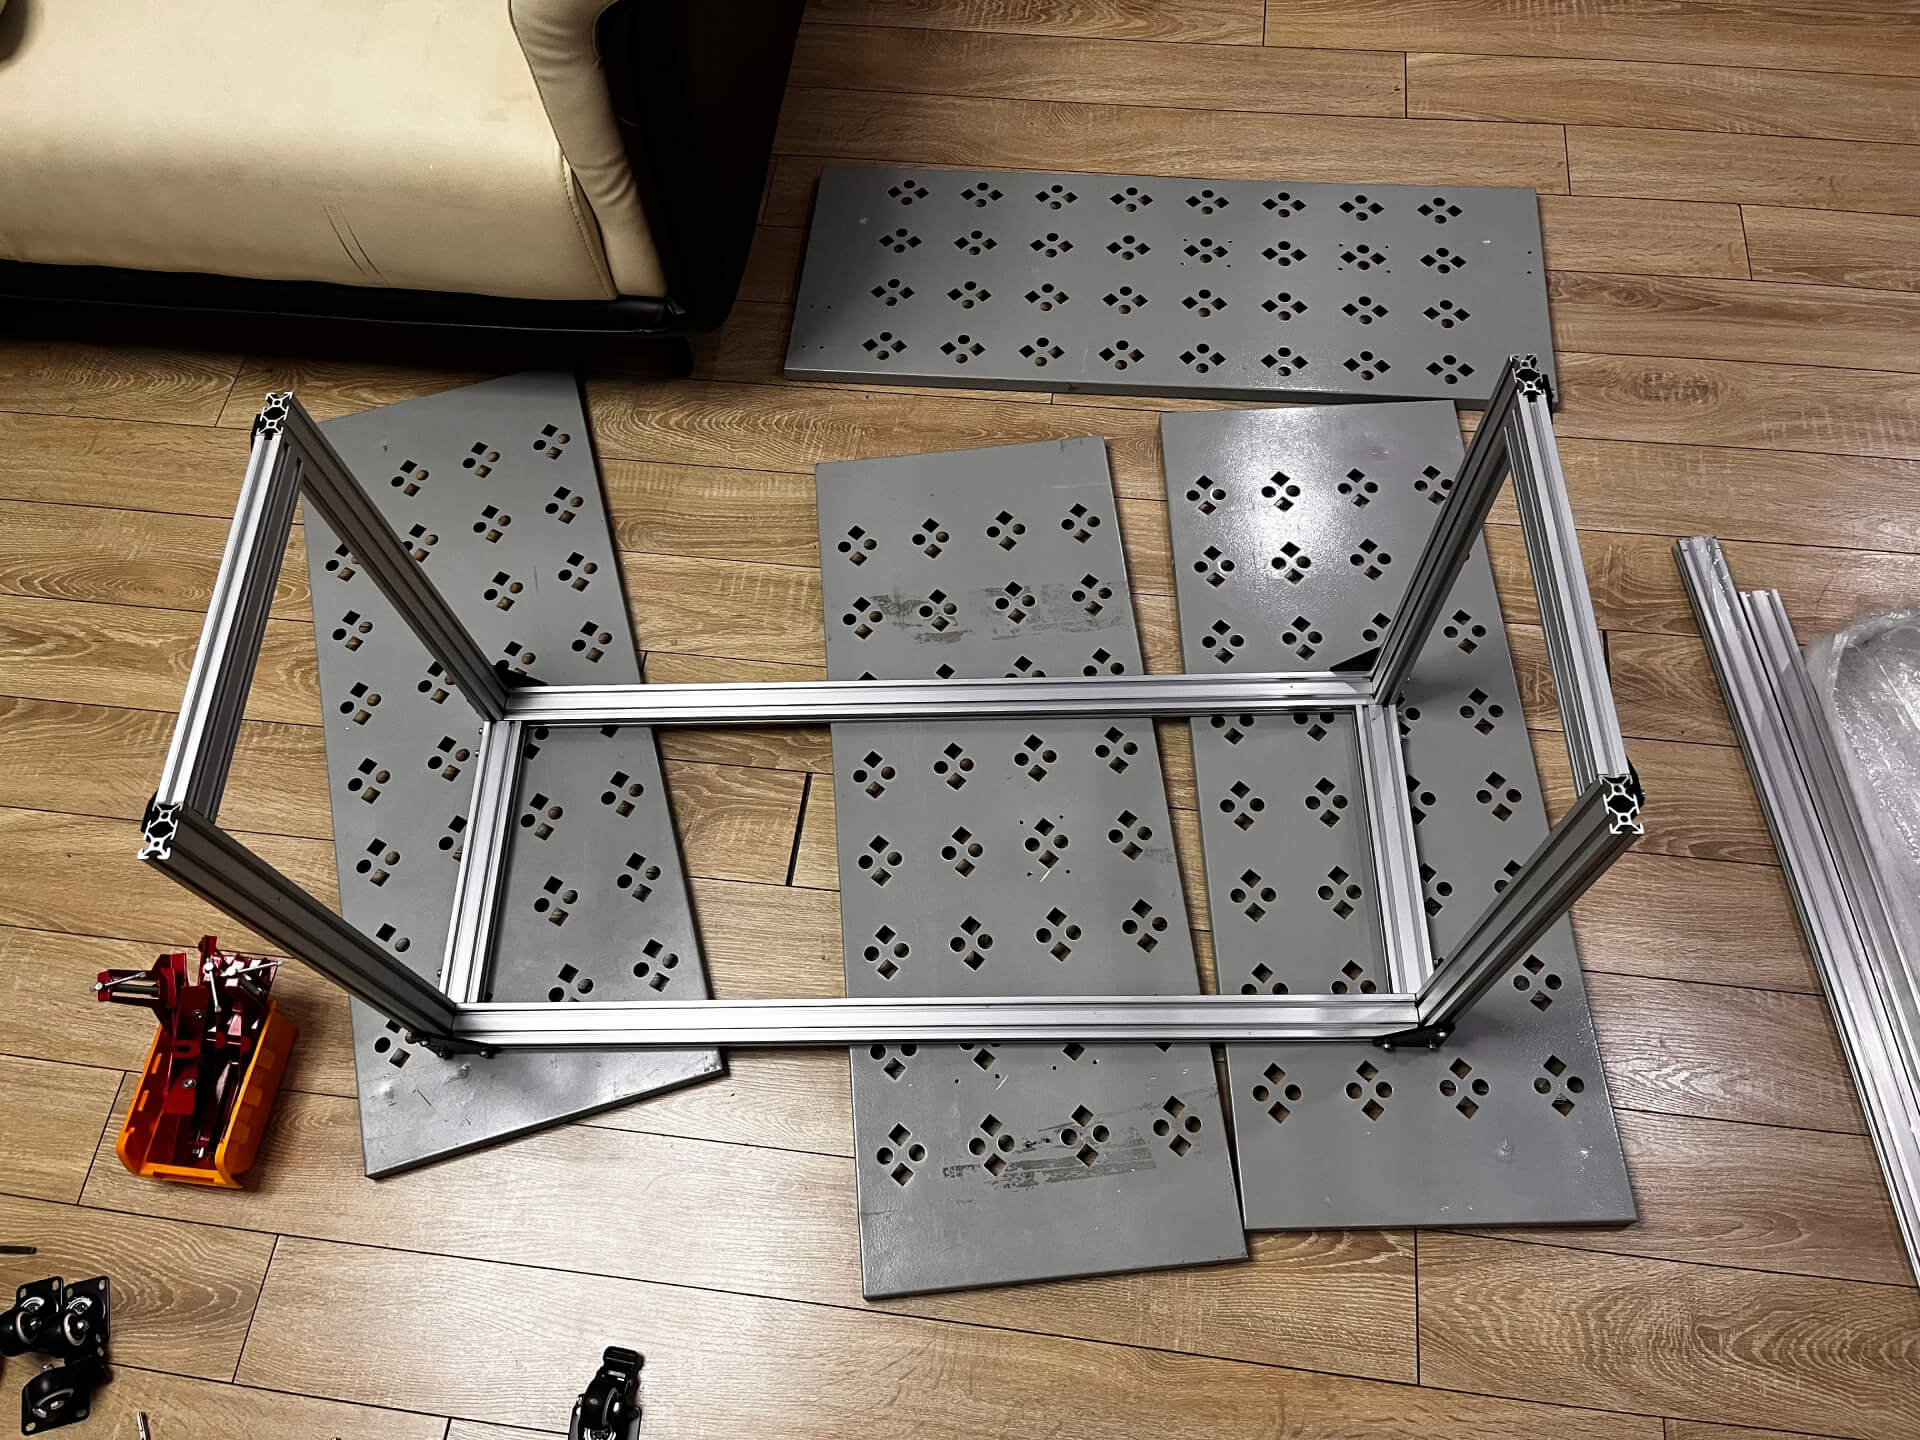
The materials list was straightforward:
8 meters of 2040 aluminum extrusion from Shopee, cut to my exact specifications:
- 90cm × 4 pieces (main horizontal beams)
- 50cm × 4 pieces (vertical beams)
- 30cm × 8 pieces (side horizontal beams)
Plus 4 PVC trolley wheels and those perforated metal sheets from my desk upgrade project. All the bolts, nuts, and brackets came from my existing hardware stash.
Out-of-pocket expenses: 750,000 VND ($30) for the extrusion, 60,000 VND ($2.50) for wheels. Total: $32.50.
Having everything arrive cut to exact specifications from Shopee was supposed to save time, but they shipped incorrect cuts the first time. I had to return and re-order, which extended the project timeline. The experience made me consider getting my own aluminum cutting machine for future projects - sometimes self-reliance beats convenience.
Two Weeks of Evening Sessions
Working 1-2 hours each evening, the build stretched across two weeks. Most of that time was waiting for deliveries rather than actual work. The aluminum extrusion system made assembly surprisingly straightforward once I had all the parts.
The perforated metal side panels from my desk purchase turned out to be close but not exactly the right dimensions. My solution? A hammer. Sometimes the most direct approach works best - I hit them until they fit into the right places. They provided sturdy surfaces while the diamond-shaped holes added ventilation and gave the whole workbench that industrial look I was after.
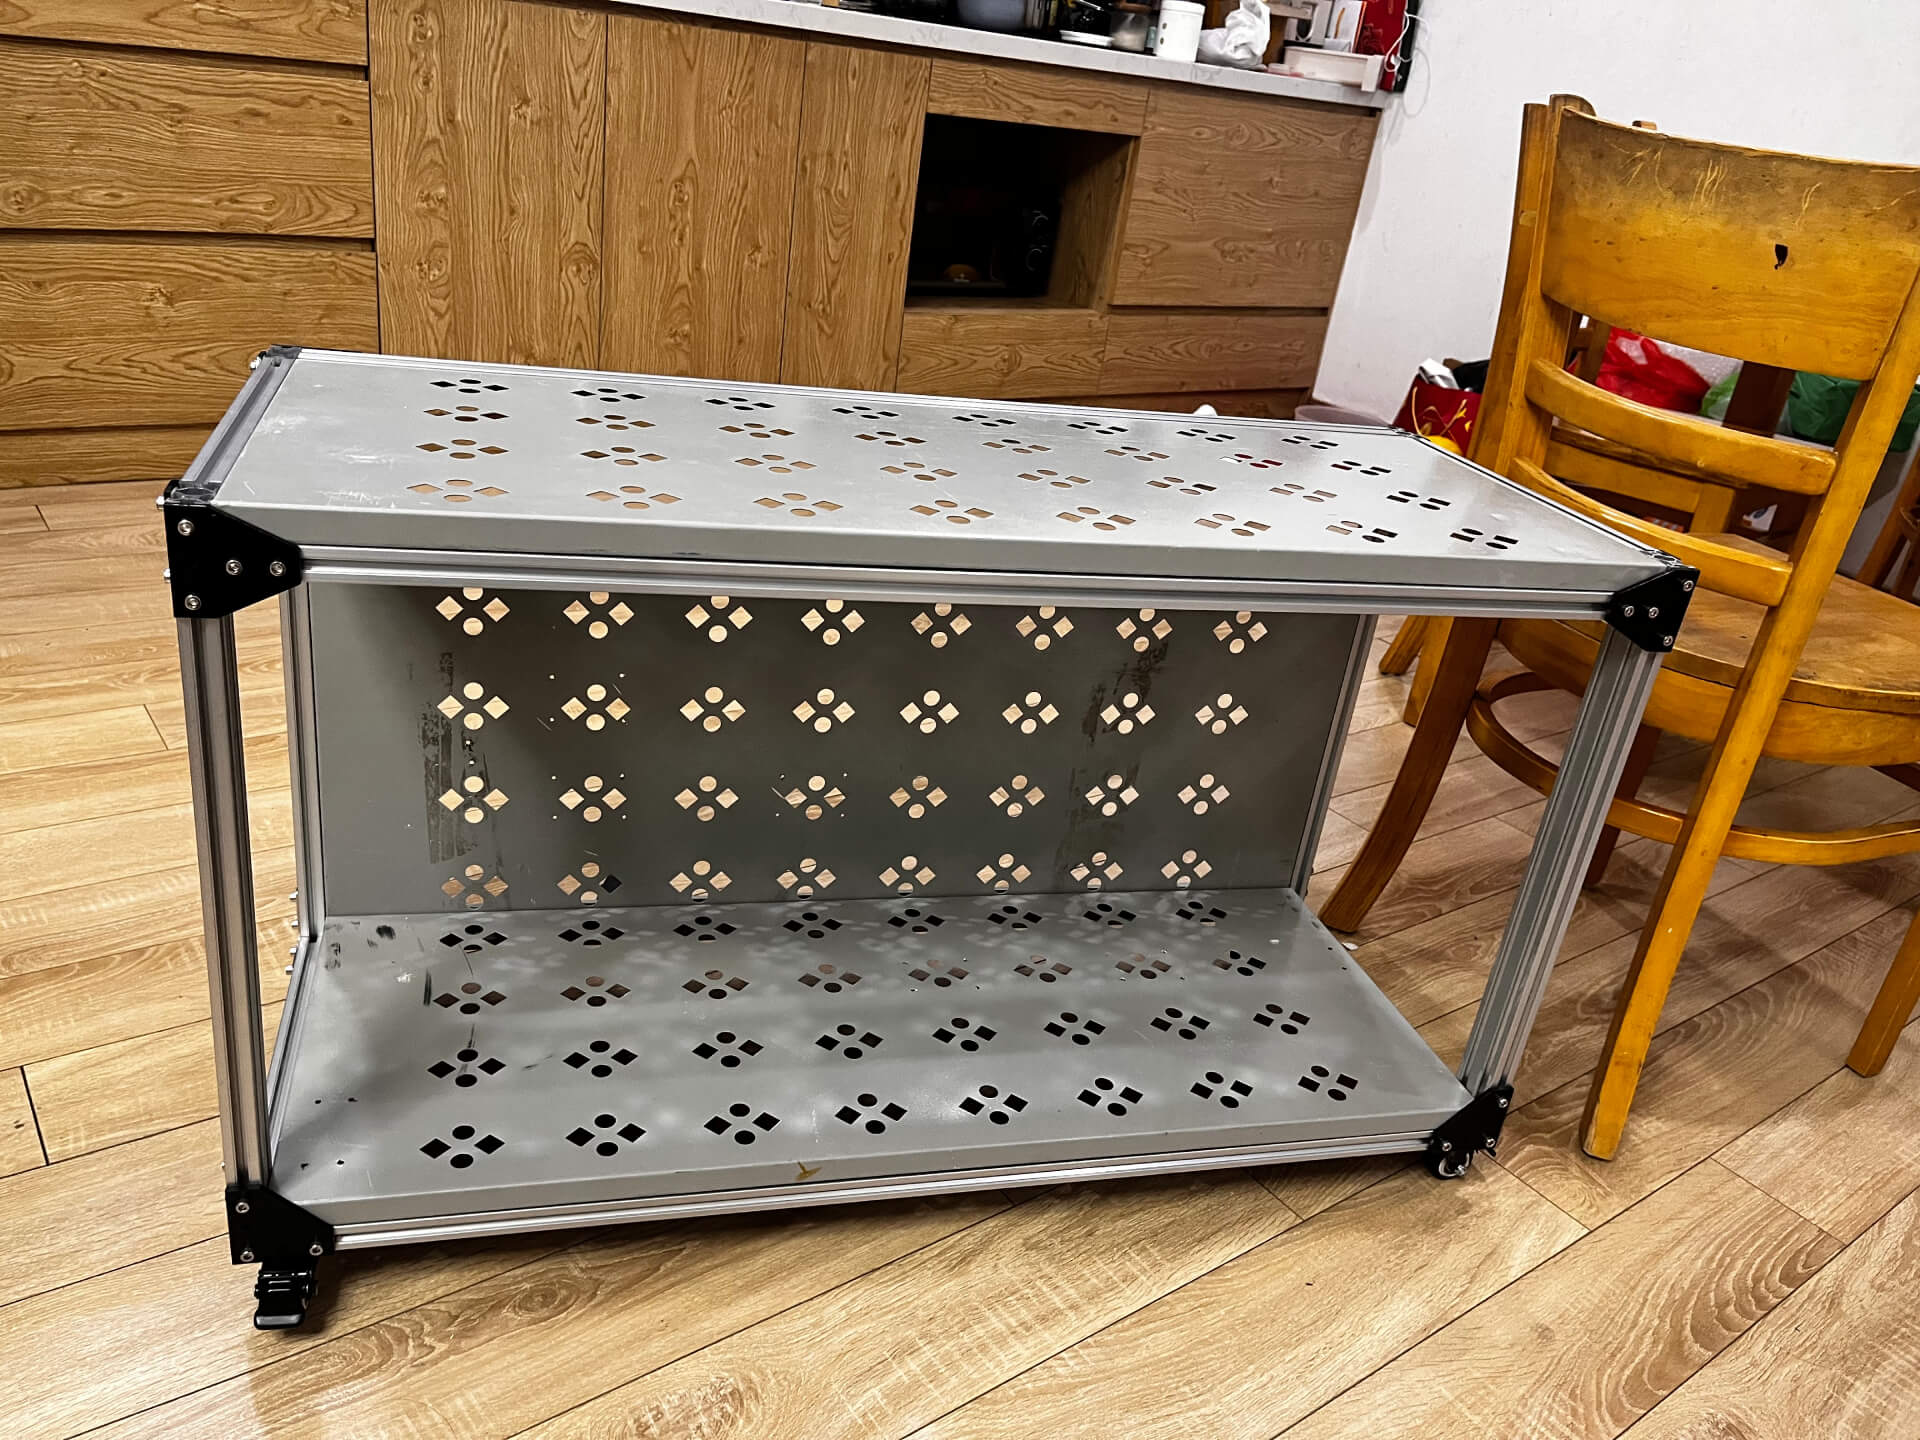
The 60cm Compromise
At 60cm high, this workbench slides perfectly under my upgraded L-shaped desk for storage. Since standard working desk height is about 75cm, I left 15cm as clearance in case I have things on the desk surface. When I'm actually working at it, I need a lower chair to get comfortable. It's a trade-off that made sense for my space - seamless storage when not in use, even if it means adjusting my seating when I am using it.
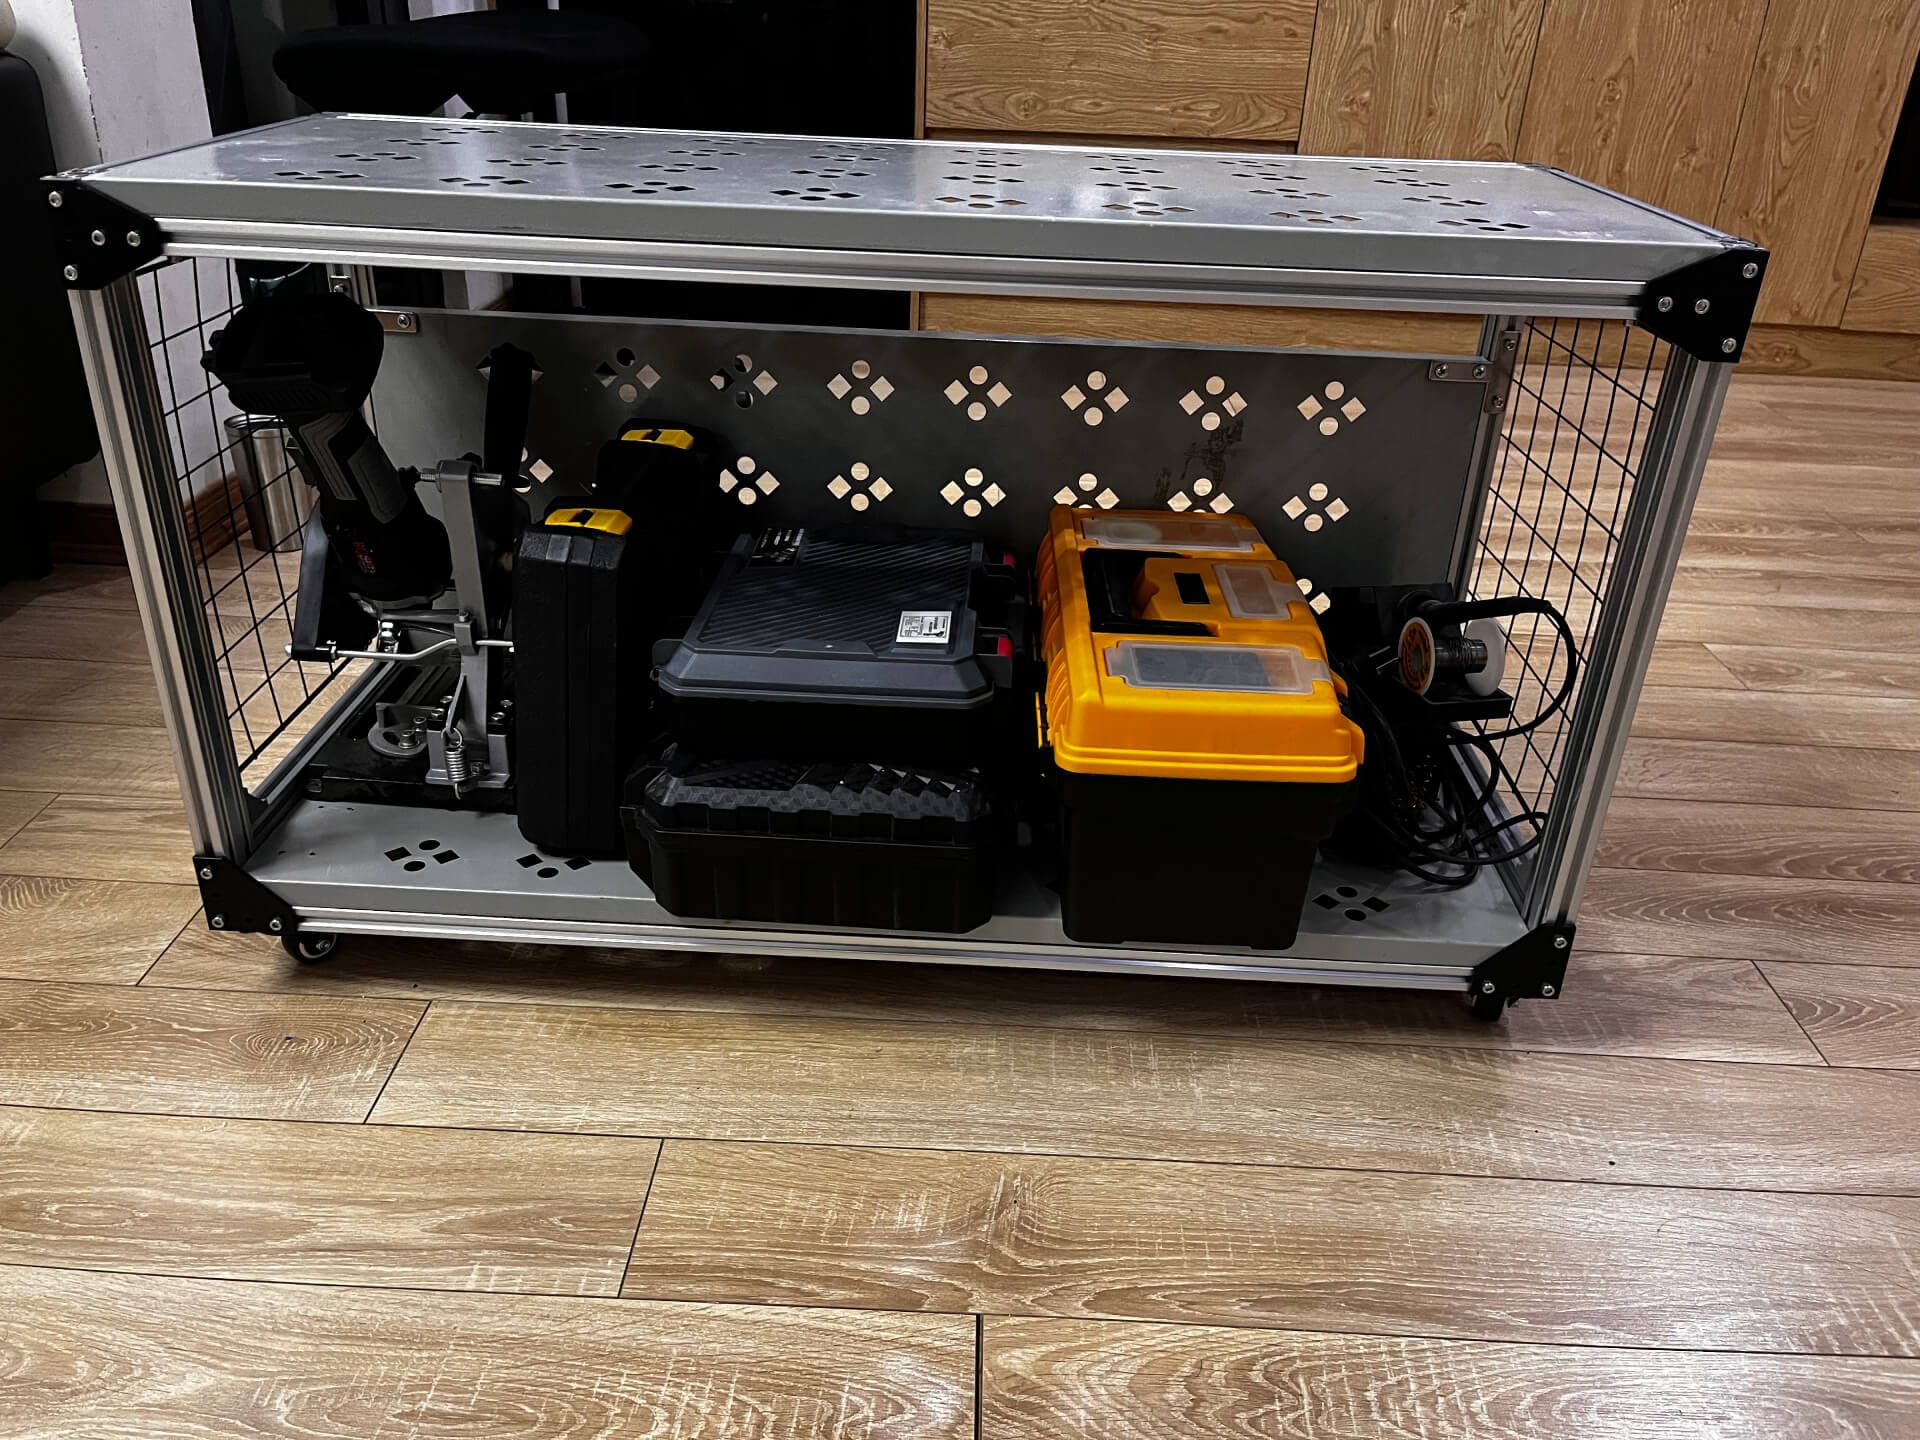
How It's Working Out
The lower shelf has become home for my most-used tools: electric drill, angle grinder, soldering station, and various project boxes. Everything stays organized and visible on the main surfaces.
What I appreciate most is the mobility. Need to work on something in another room? Roll it over. Want my main desk clear for computer work? Slide it underneath. The aluminum extrusion means this is definitely version 1.0 - I can modify and expand as needs change.
What's Next
My next upgrade is already planned: adding a sacrificial wood sheet on top for woodworking projects. The space below the tabletop could accommodate tools like a small router, or I could add quick-attach mounting points for a drill press or even a compact folding table saw.
This build reminded me why I love aluminum extrusion systems - they're modular by nature. Need to change something? Unbolt, reconfigure, done. Want to add features? The mounting options seem endless.
Bottom Line
For $32.50 and some creative repurposing of materials from my workspace upgrade, I now have a mobile workbench that punches well above its weight class. It's compact enough for small spaces, organized enough to keep tools accessible, and modular enough to grow with future needs.
The best part? It integrates seamlessly with my upgraded workspace - rolling out when I need a dedicated work surface, then disappearing back under the desk when it's time to focus on computer work.
This project proved that the best upgrades often come in chapters. The workspace upgrade wasn't really complete until I found a purpose for every leftover piece. Those "spare" metal sheets weren't waste - they were the second chapter waiting to be written.