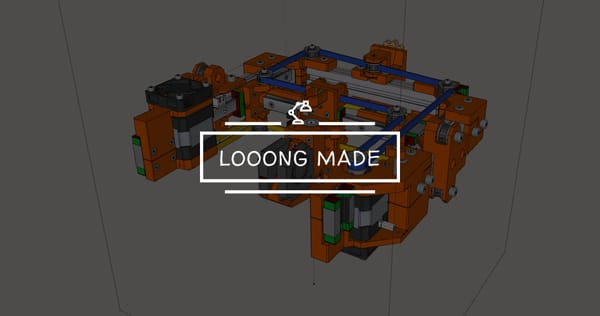
Little Cube Part 2: Engineering a Compact CoreXY
The design challenges behind Little Cube - solving the 30mm hotend constraint, engineering a belt-driven Z-axis with 1:10 ratio, and sourcing compact components from AliExpress.

Building a 100mm³ CoreXY printer isn't just about scaling everything down. It's about rethinking every component, every millimeter of space, and solving problems that don't exist on larger printers.
Here's how I tackled the biggest design challenges.
The 30mm Hotend Problem
The first problem hit me when I tried to adapt my HEVO hotend design to Little Cube.
On HEVO, I used two 40x10mm axial fans mounted on the face of the hotend assembly. Simple. Effective. But when I imported that design into Little Cube's frame, reality hit - I only had 30mm of width to work with. Hard limit.
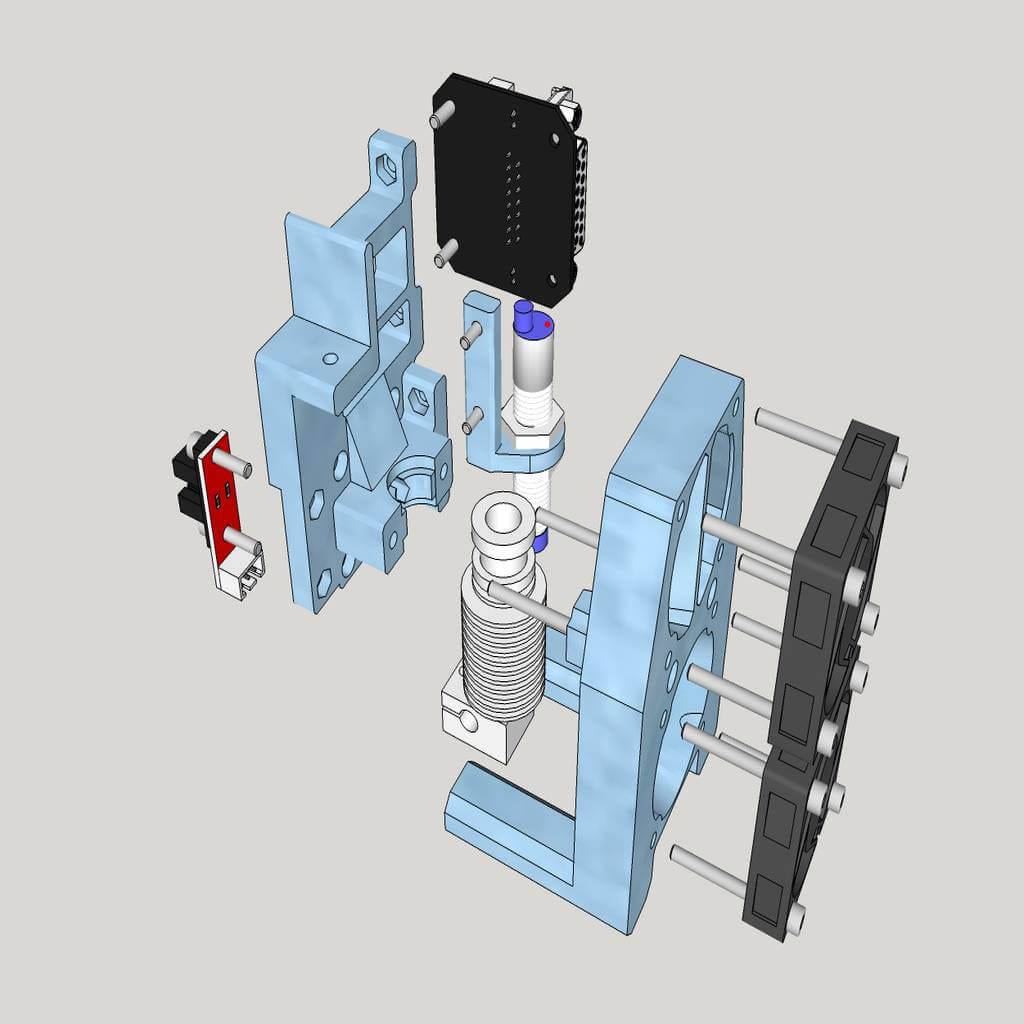
I chose a standard E3D hotend because it's common in RepRap projects and I knew it worked. But fitting a complete cooling system - hotend fan, layer fan, and proper air venting - into 30mm? That was the puzzle.
Rotate and Switch
The answer came from thinking vertically instead of horizontally.
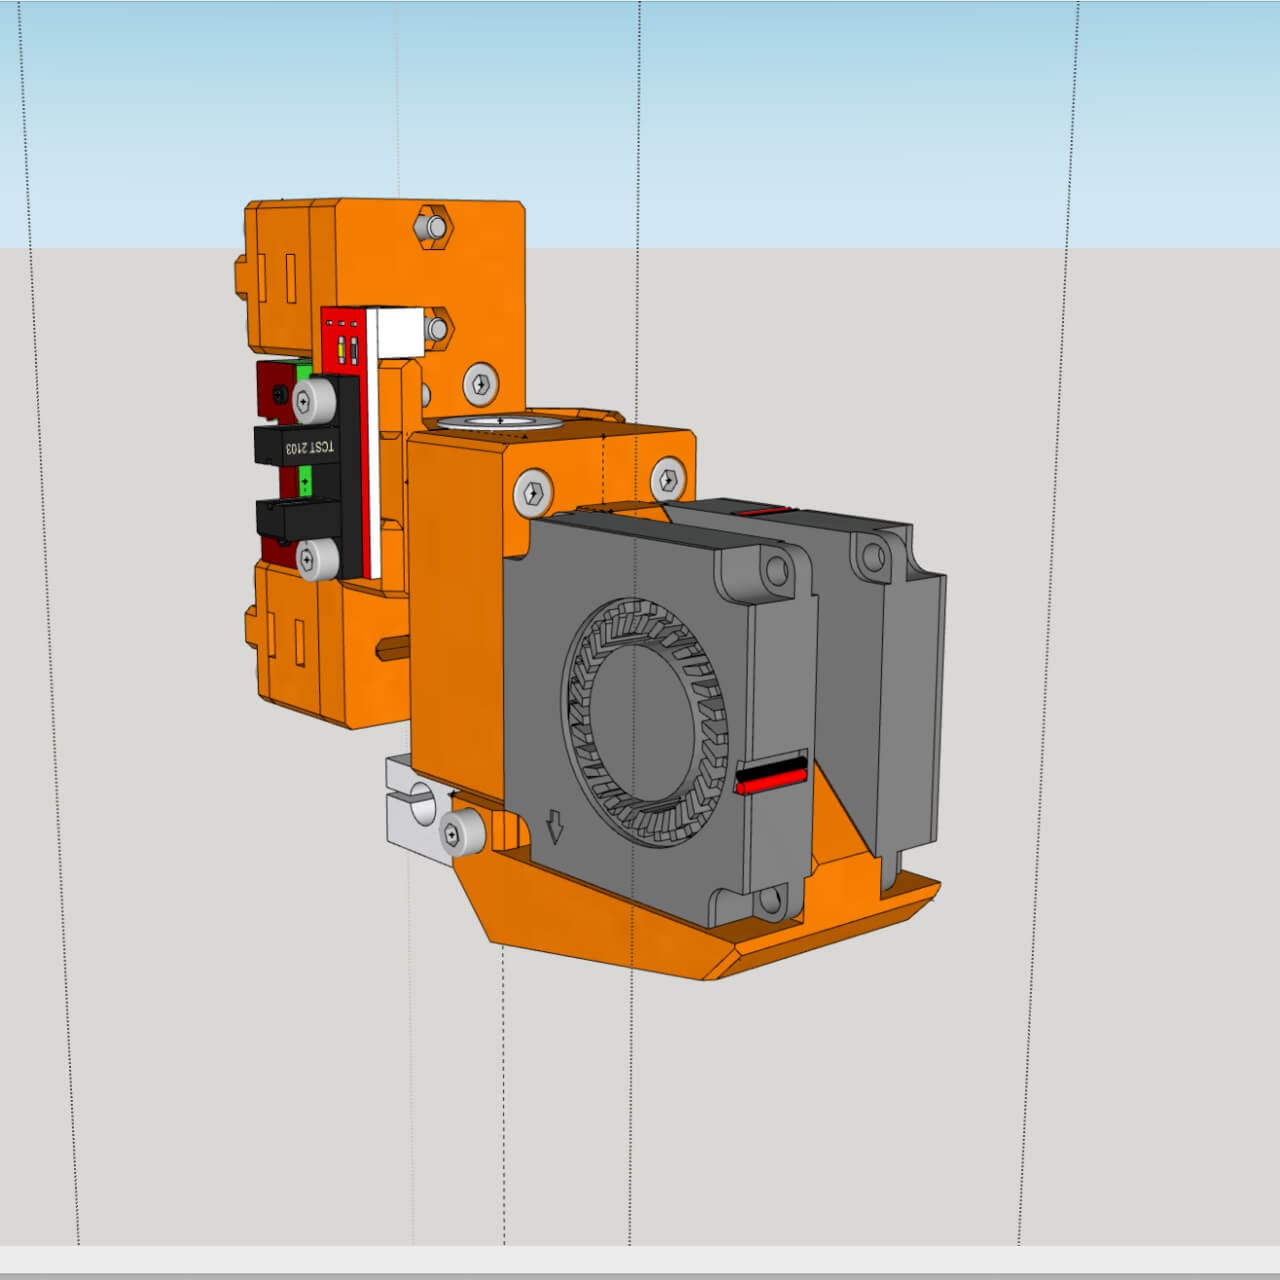
I rotated both 40x10mm fans 90 degrees. Now they only took up 20mm of width instead of 40mm. But rotating the fans changed the airflow direction completely.
So I switched from axial fans to blower fans to maintain the correct airflow direction. This meant designing a completely custom fan vent from scratch.
Testing with Water
Since this was a custom part with redirected airflow, I couldn't just assume it would work. I needed to verify where the air actually went.
I modified the design several times, testing each iteration with a simple bowl of water. Blow air through the vent, watch the water ripple, see where the air flows. Adjust. Print again. Test again.
Eventually, I got it right - proper cooling for both the hotend and the printed layers, all within that 30mm constraint.
Low-tech but effective - testing airflow direction with water ripples before finalizing the design.
Belt-Driven Z-Axis
Most printers use lead screws for the Z-axis. Precise. Reliable. Boring.
I wanted to try something different.
Why Belts?
Three reasons:
- Lead screws twist when not installed precisely. Belts are more forgiving.
- Belts are quieter than lead screws.
- I wanted to try something new. This was a lockdown project - might as well experiment.
Finding the Right Ratio
I use GT2 belts with 2mm pitch. To achieve 0.1mm layer resolution, I needed significant gear reduction.
I started with a 1:8 ratio. The Z-axis would drop when the motor turned off. Not good.
So I increased it to 1:10. This ratio also provided enough mechanical advantage to hold the bed in place without power.
The Movable Pulley Trick
Here's where it got interesting - and a bit over-engineered.
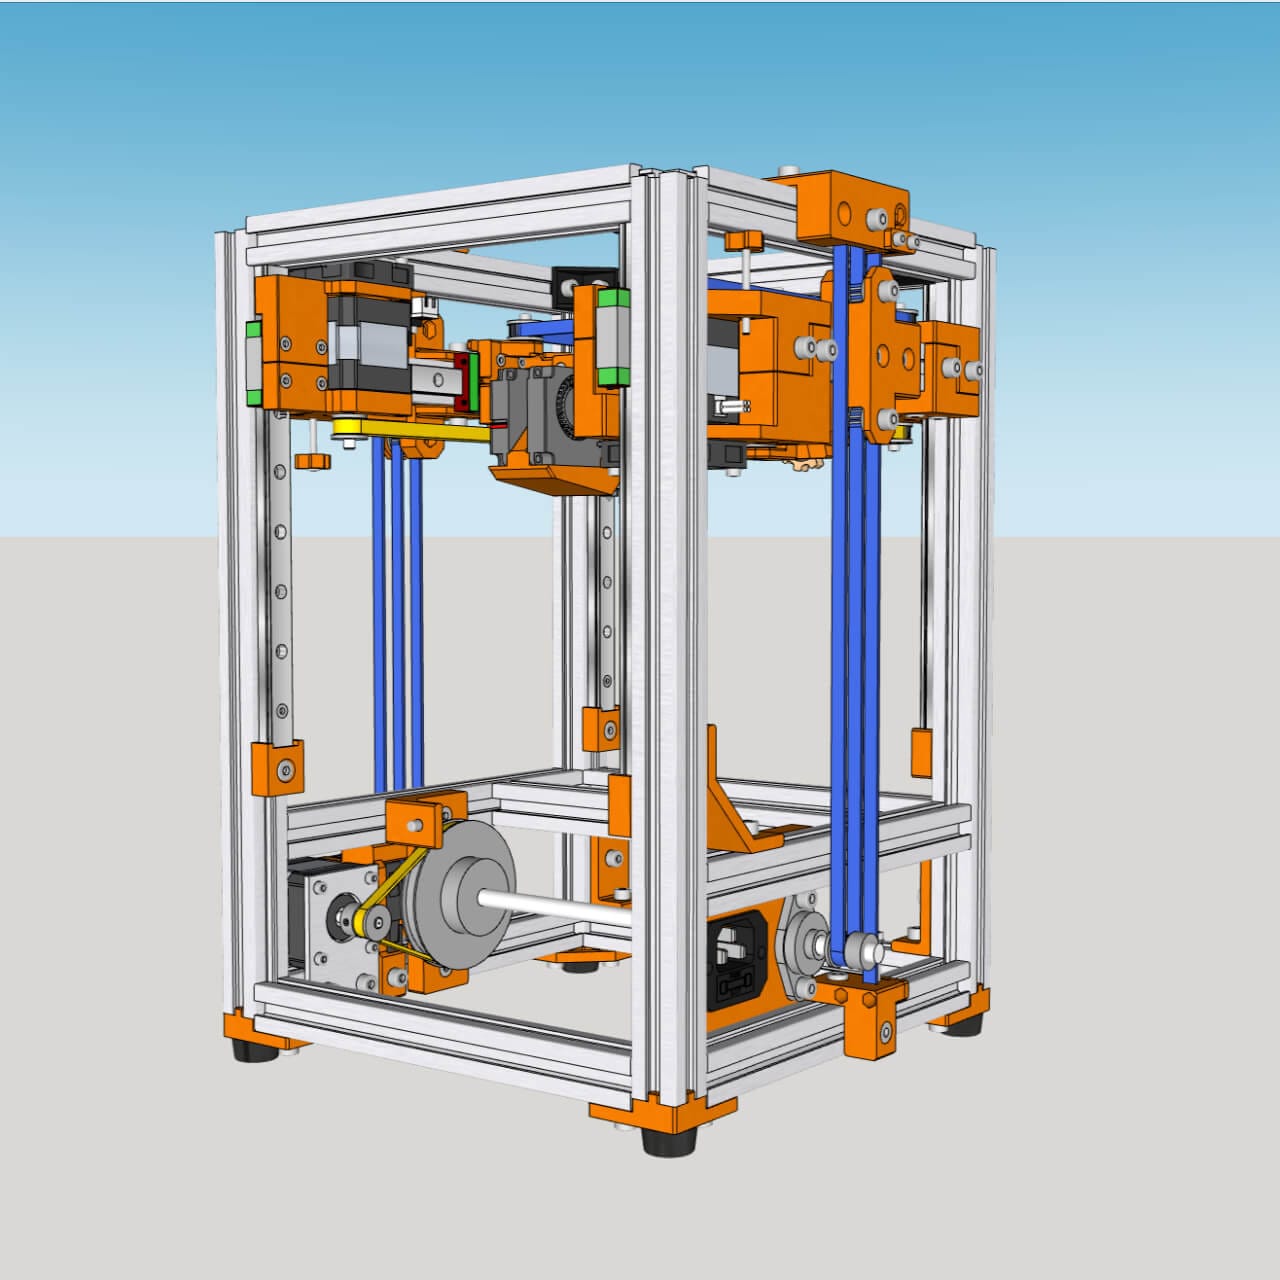
Finding pulleys with a direct 1:10 ratio isn't easy. So I used a 1:5 pulley pair first: 20T driving a 100T pulley.
Then I added movable pulleys to double the ratio from 1:5 to 1:10. Think of it like a block-and-tackle system. One motor, multiple pulleys, two belts on both sides of the bed.
This was the part where I thought: "Am I over-engineering this?" Yes. Yes, I was. And it was glorious.
It Actually Worked
Thanks to experience from two previous printer projects, I had enough trial-and-error knowledge to design things precisely in SketchUp. Everything came out exactly as designed. No surprises during assembly.
The real surprise came at the first print. The belt-driven Z performed beautifully. Smooth. Quiet. Accurate. I was genuinely surprised that such a complex belt arrangement - movable pulleys, dual belts, mechanical advantage - just worked.
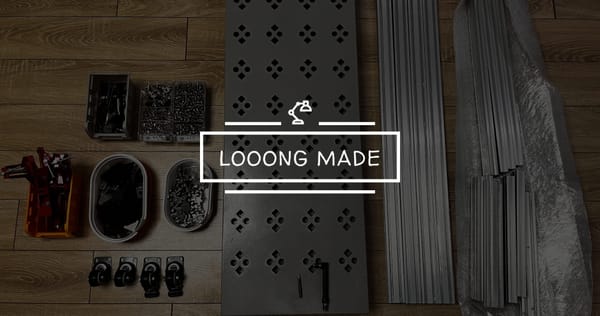
Finding Compact Components
The final challenge wasn't about what I designed - it was about what I could find.
Three Critical Parts
Three components defined the entire build:
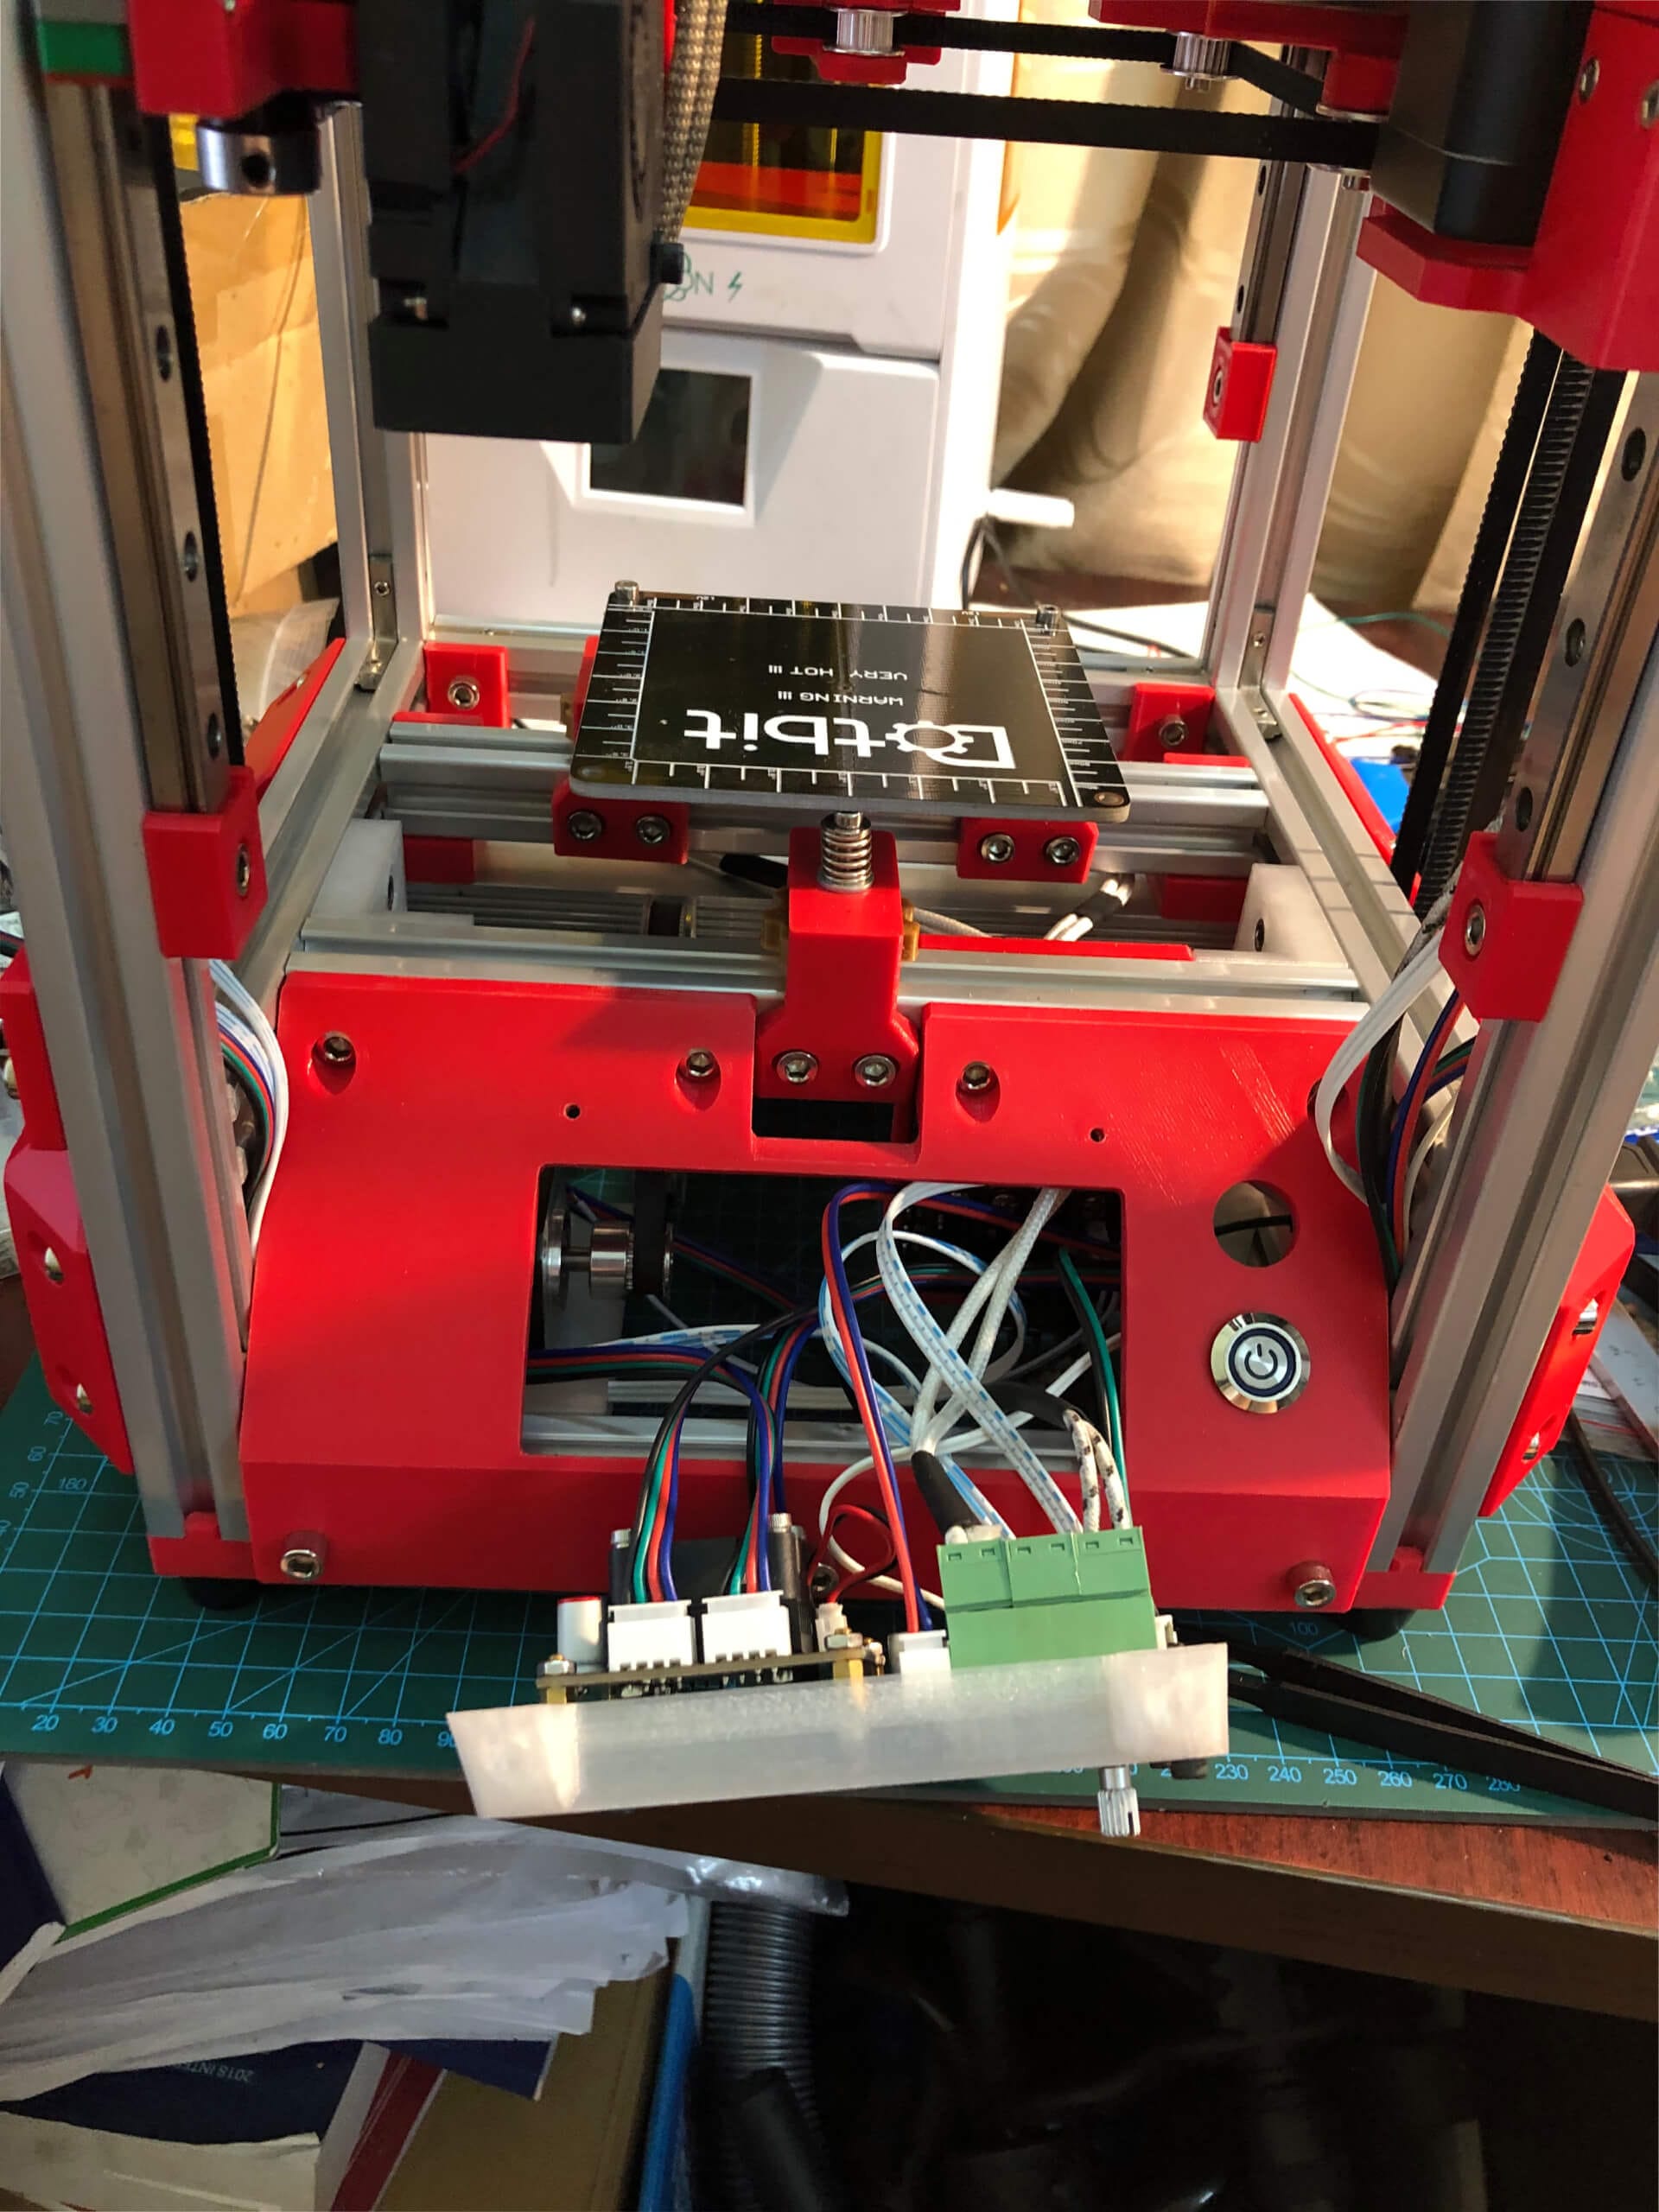
- Compact PSU: 24V 15A power supply small enough to fit in the printer's base
- All-in-one controller board: Controller chip, motor drivers, LCD screen, card reader - everything in one compact board
- Small heated bed: 100x100mm, flat, and running on 24V
Design While You Search
I didn't design first, then source. I designed while sourcing.
I'd search online for components, find something that might work, and adjust the design to fit. The design evolved constantly as I discovered what was actually available.
The AliExpress Reality
Five years ago, finding these three compact components locally wasn't possible. They all came from China via AliExpress.
I spent countless hours searching for parts that would fit my vision. It wasn't about clever workarounds - it was about persistence. Creating a compact, SFF (small form factor) CoreXY is a challenge in itself. Finding components small enough to make it work was half the battle.
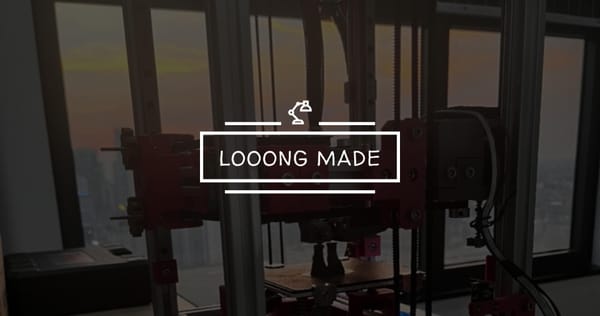
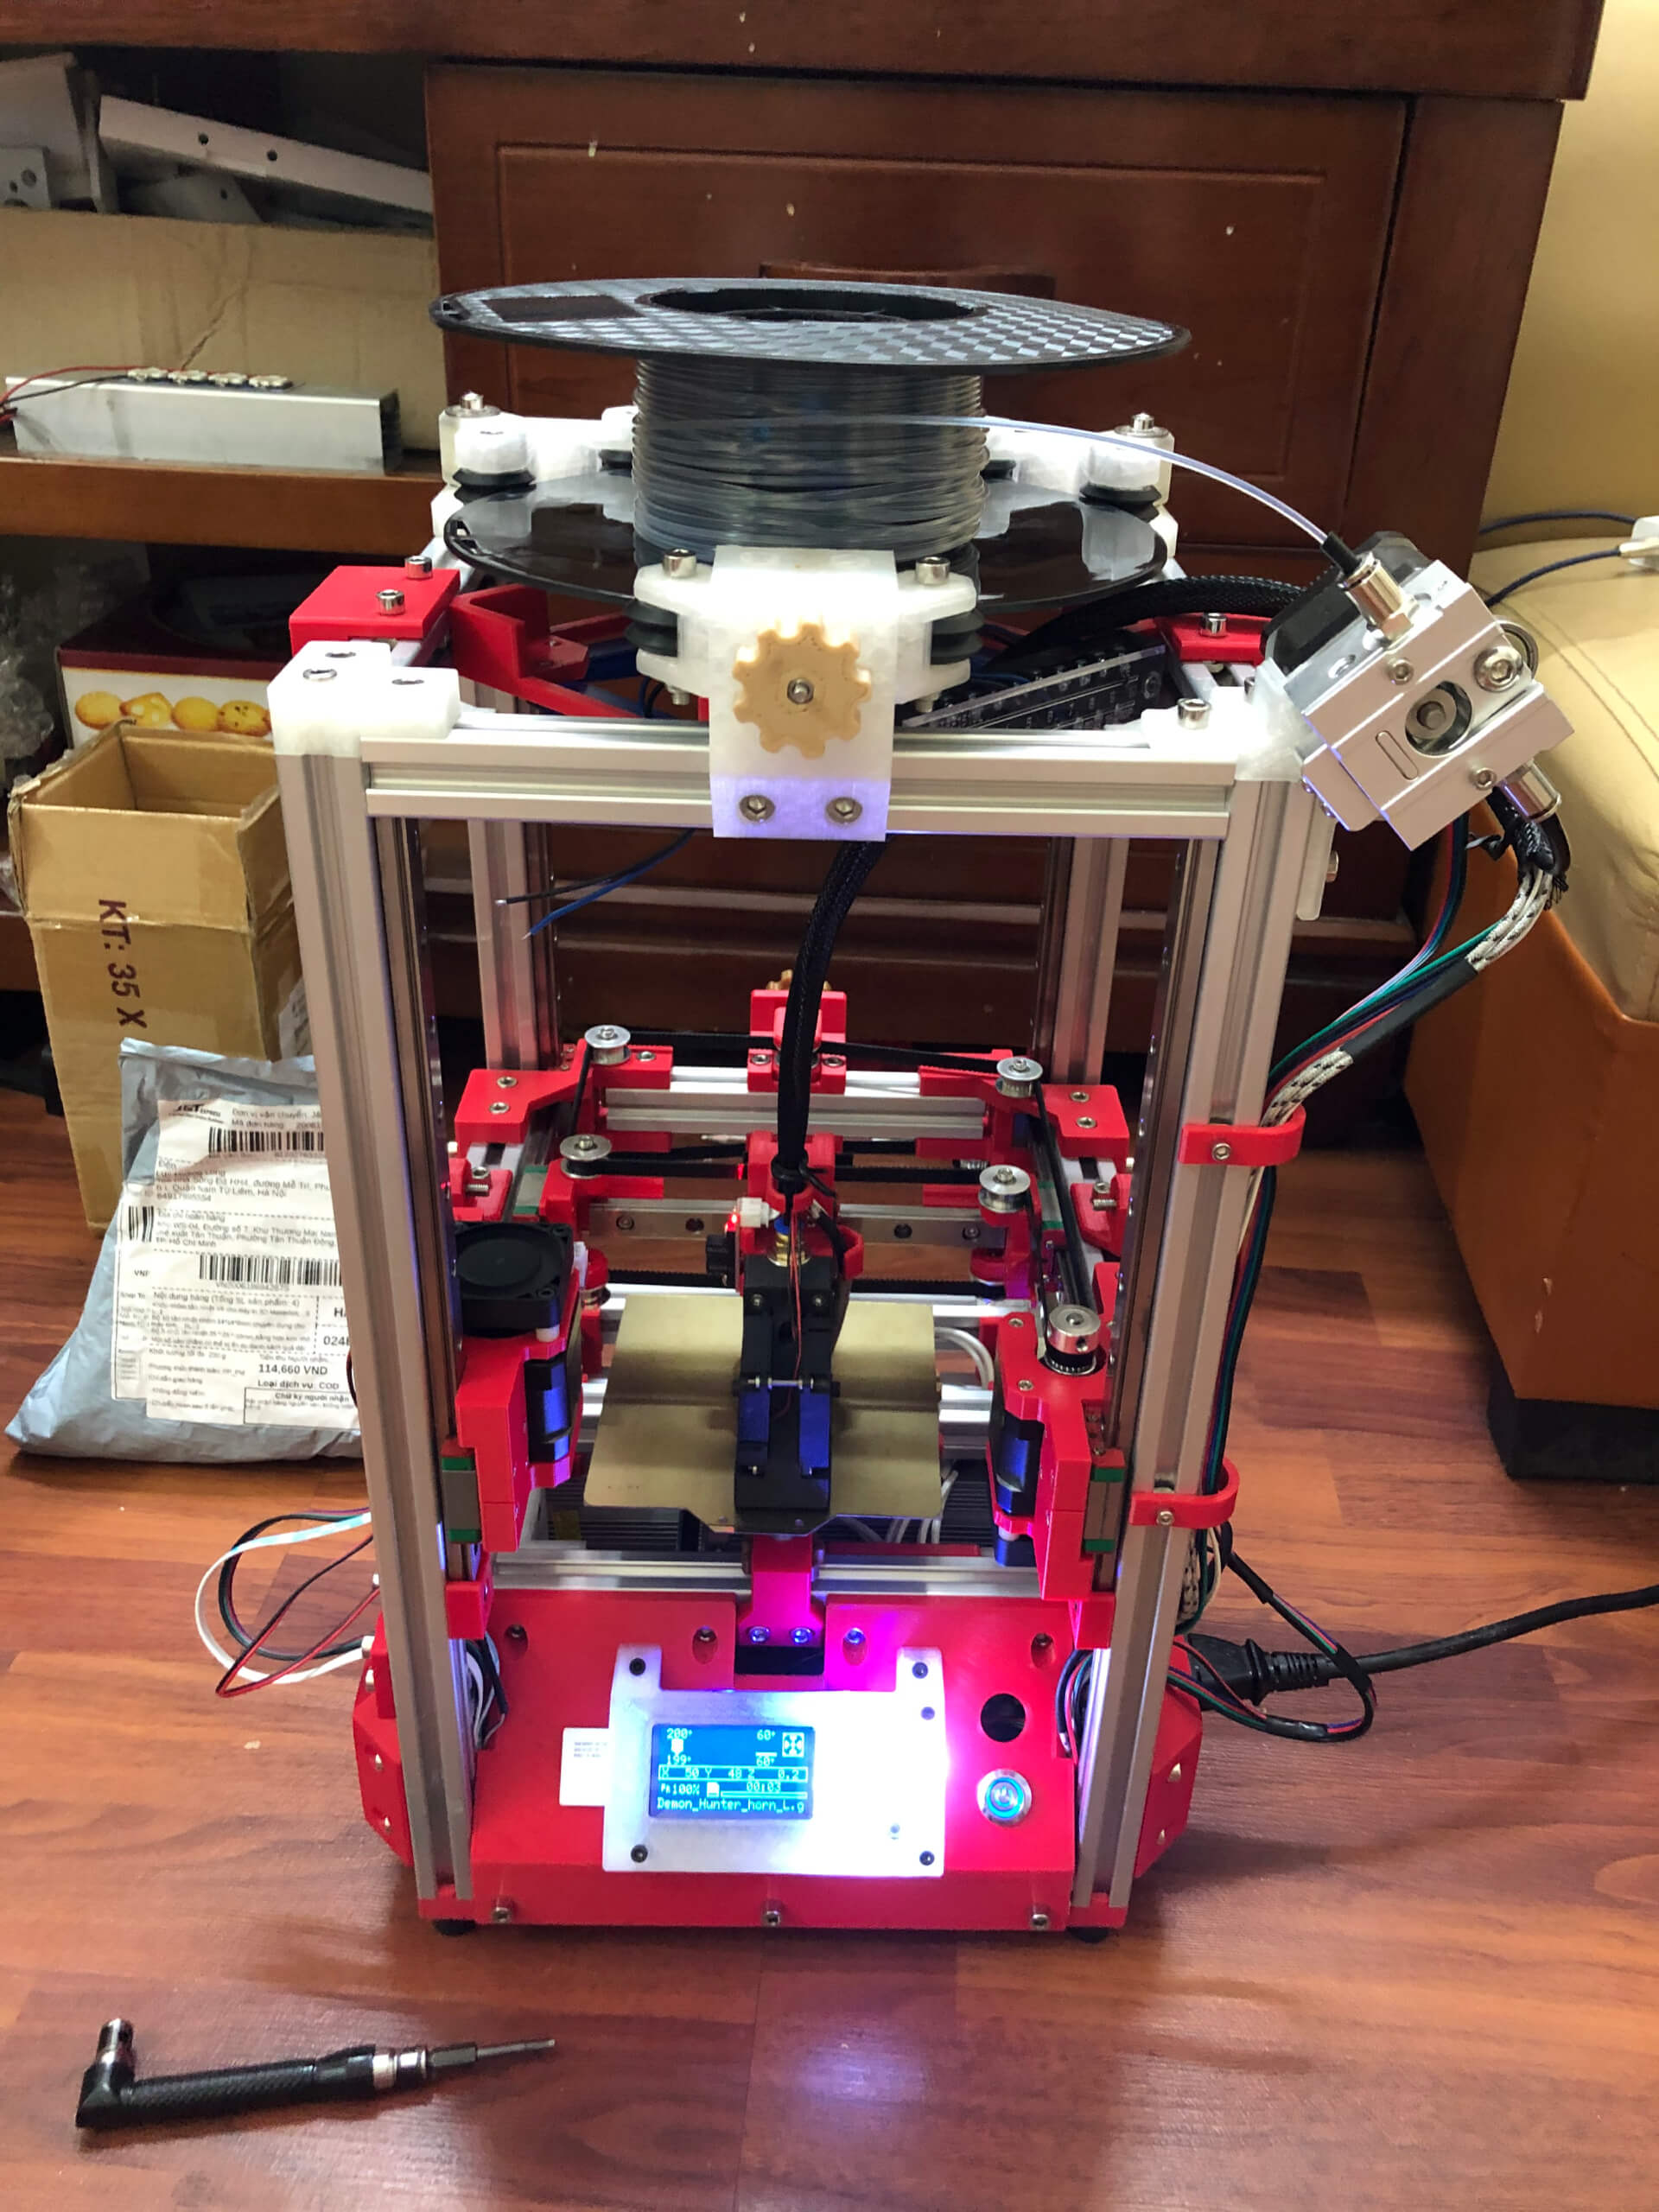
By June 15th, 2020, all these challenges came together into a working printer.
The 30mm hotend with 2 blower fans. The over-engineered belt-driven Z-axis with movable pulleys. The compact components sourced from across the world.
Little Cube wasn't just small. It was a collection of solved problems, each one teaching me something new about design constraints, creative solutions, and what's possible when you're willing to try something different.
Next time: Looking back after five years - where is Little Cube now, what worked well, and what I'd do differently.