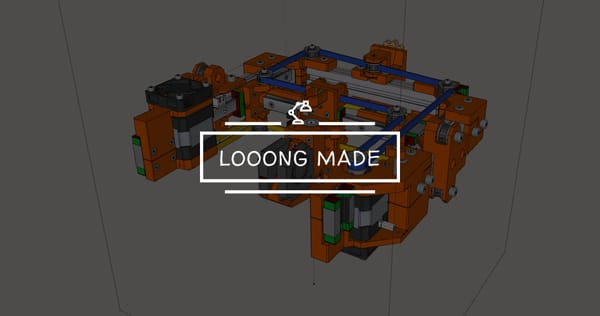
What I Learned About Heated Beds (The Other Half of FDM Temperature Control)
After a melted power cable and a dozen surface experiments, I found what actually works for a 3D printer heated bed.

Most beginners focus on the hotend first, since it's the part that melts and lays down the filament. But in FDM, temperature control has two sides. The heated bed is the other half - and it can make or break your print.
Why the Heated Bed Matters
In FDM printing, temperature control doesn’t stop at the hotend. A heated bed helps hold the print just under its softening point, which improves first-layer adhesion and reduces warping - especially on larger or longer prints.
Some people try to get by with glue sticks or hairspray instead of a heated bed. Personally, I don’t recommend that. It might work sometimes, but it adds mess and inconsistency - and it’s often more of a workaround than a solution.
From my experience, it’s better to approach FDM the way it’s meant to work: stable temperatures, clean surfaces, and consistent adhesion. A proper heated bed setup makes everything else easier.
Part 1: Powering the Heated Bed (Why I Switched to 220V)
Like many DIY printers, I started with a 12V heated bed. It worked, but the current draw was high. I used a MOSFET board to offload the load from the mainboard, which is a common mod. But one day, I noticed something alarming:

Too much current, too much heat, and it was lucky I caught it early. After that accident, I started paying much more attention to wire gauge size and how much current the cables are actually rated for. That moment was enough for me to make the switch to a 220V AC heated bed. To do this safely, I added an SSR (solid state relay) and grounded everything properly.
Why 220V?
- Same heat output
- Lower current = less stress on cables and connectors
- Faster heat-up time
- Cleaner wiring setup
But it's a trade-off:
- 220V is more efficient, but also more dangerous
- It can pose risks to both people and nearby electronics if not handled properly
If you want something safer but still more efficient than 12V, you can also move to a 24V or even 36V heated bed. It reduces current and stress on the system while keeping the voltage within safer limits.
From my own experience, most electric components in a 3D printer - like fans, hotends, and control boards - are designed to work with 24V. So if your bed heats up fast enough (for example, on a smaller printer), sticking with 24V is a great option. It keeps your setup consistent and avoids mixing voltage systems.
So: know what you're doing - and always put safety first.
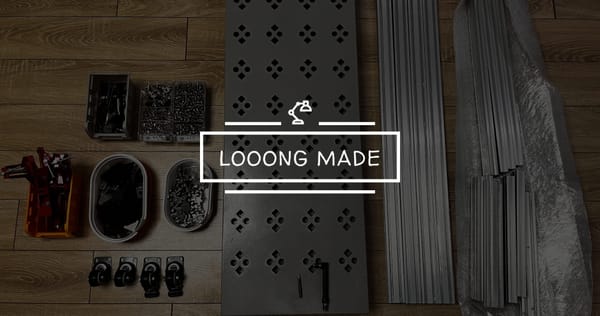
Part 2: Bed Surfaces I’ve Tried (and What I Think of Them)
I’ve tested a lot of surfaces over the years. Here’s my honest experience with each:
- Aluminum Heatbed (bare)
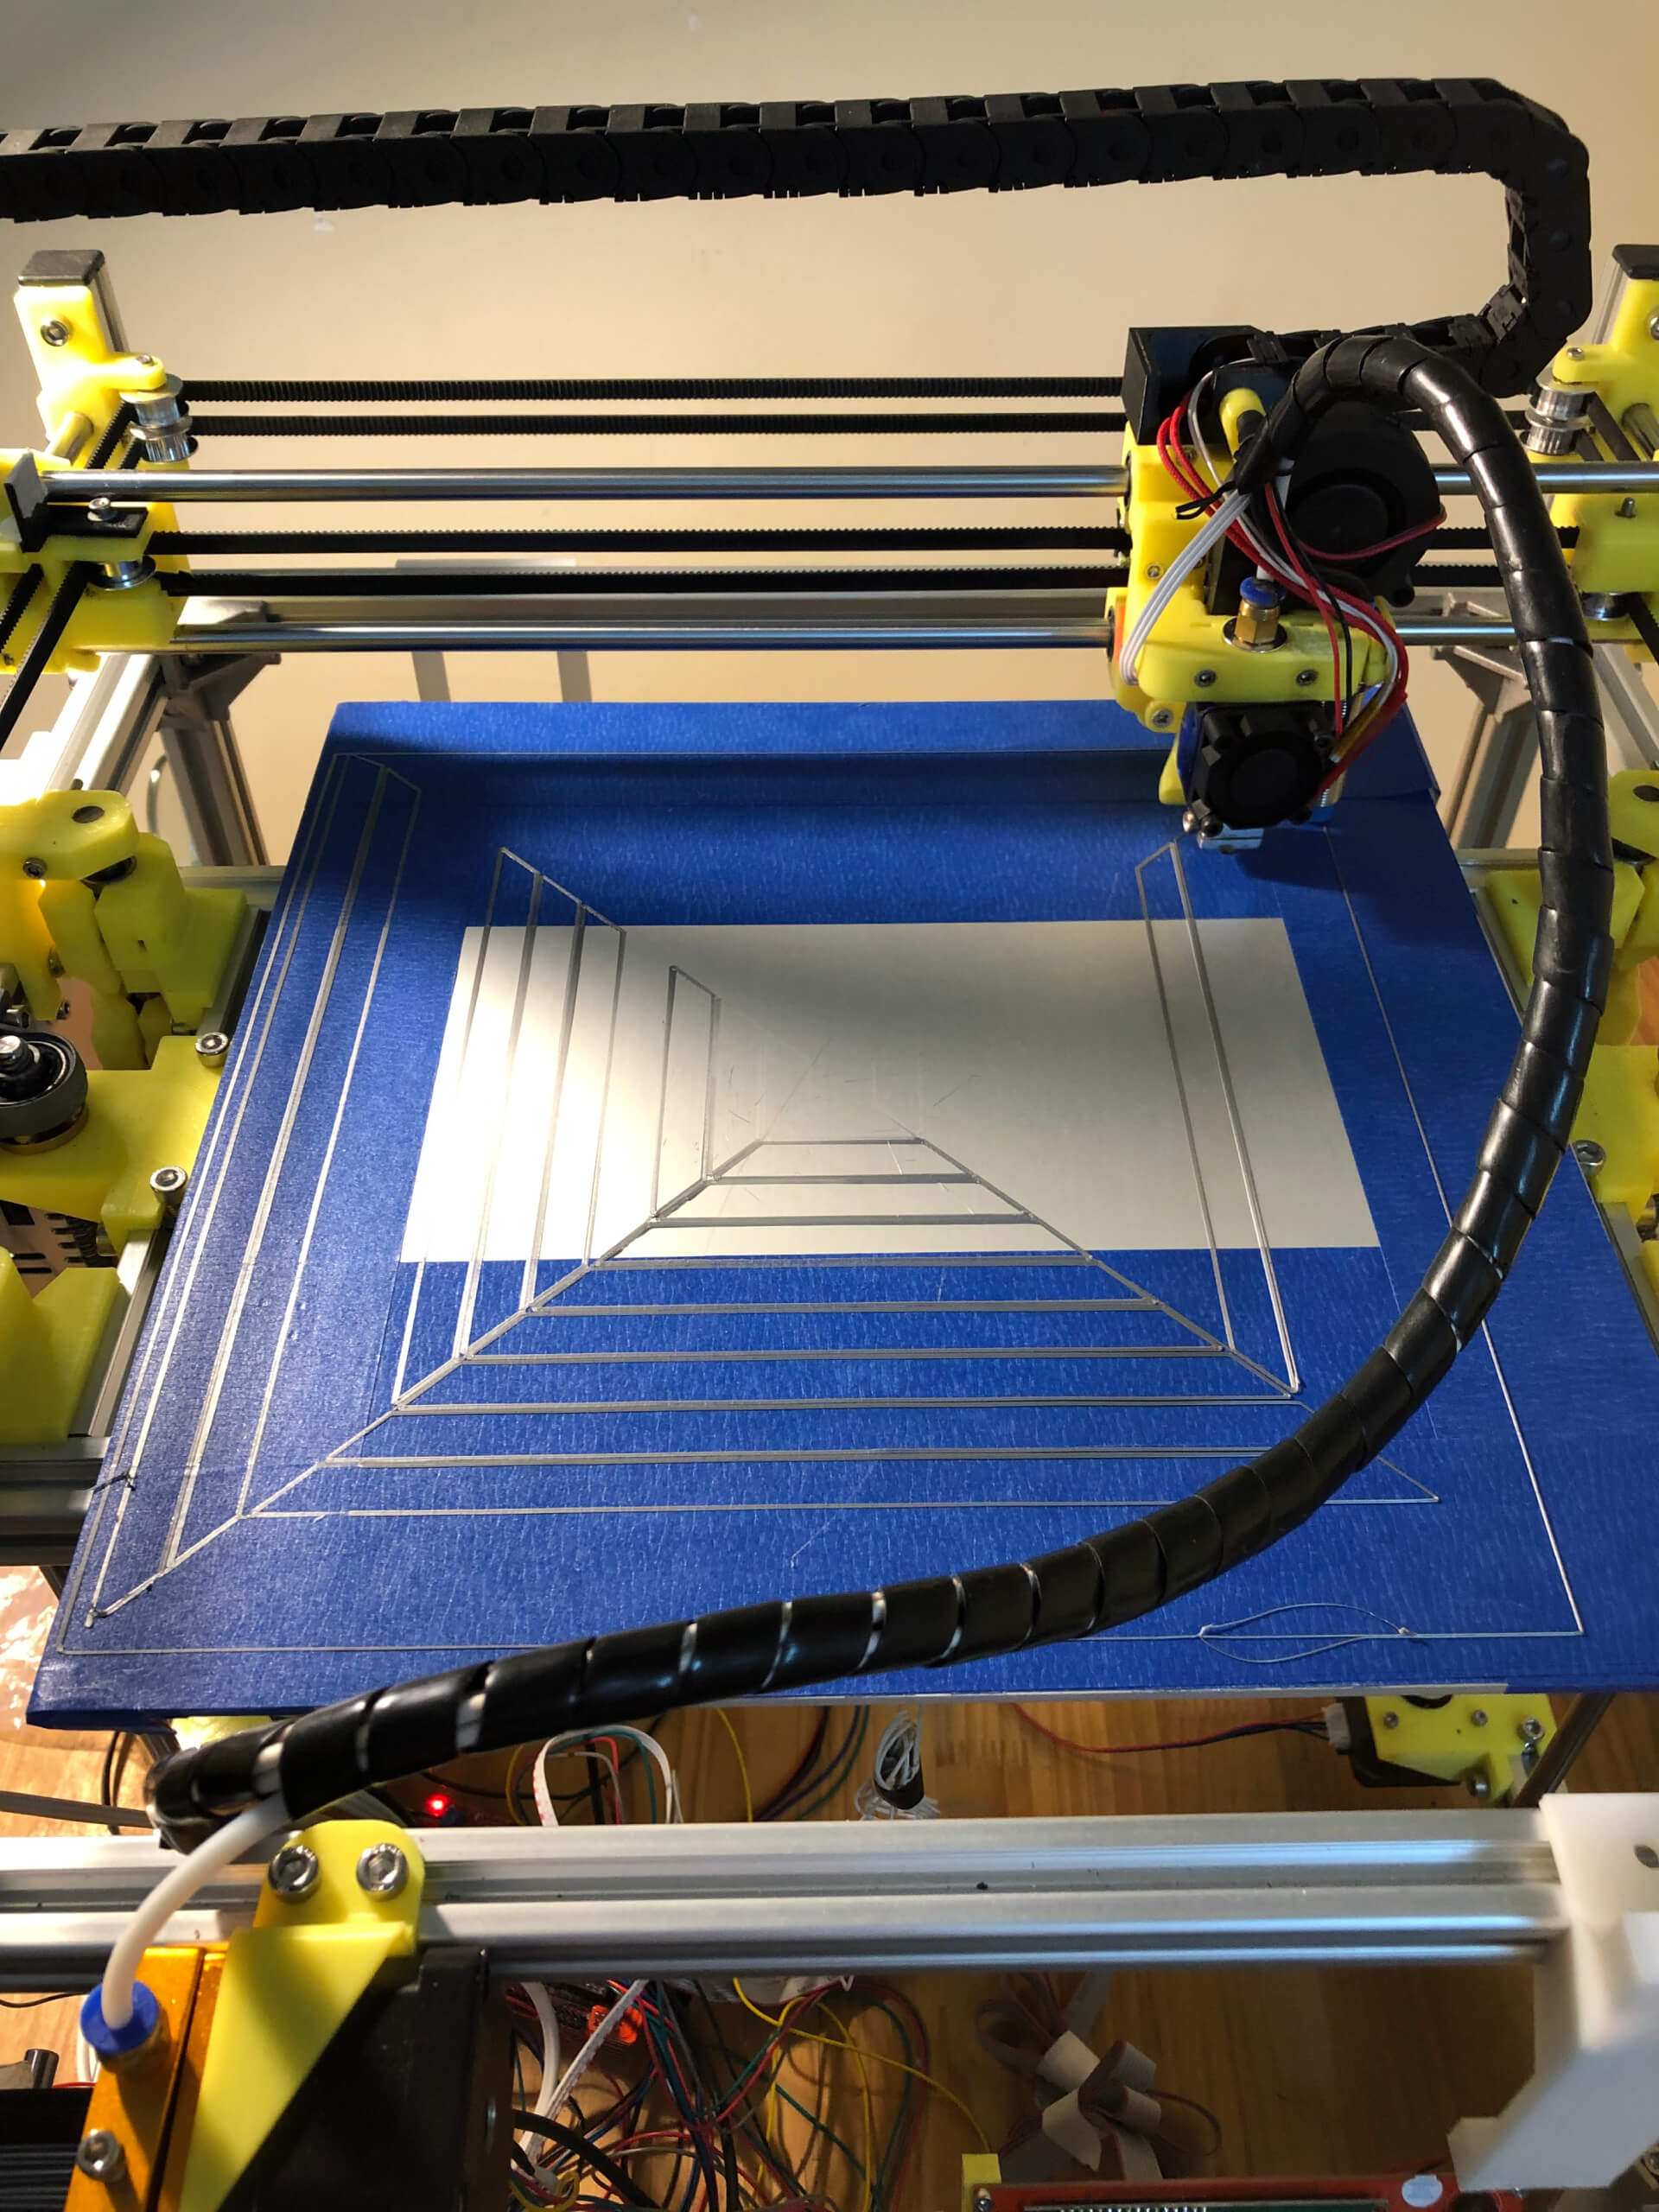
Not truly flat. Expands when hot, which leads to slight warping. First layers don’t sit evenly. - Blue Tape
Doesn’t live up to the hype. Wears out fast, leaves residue, inconsistent. Wouldn’t recommend. - Glass Plate
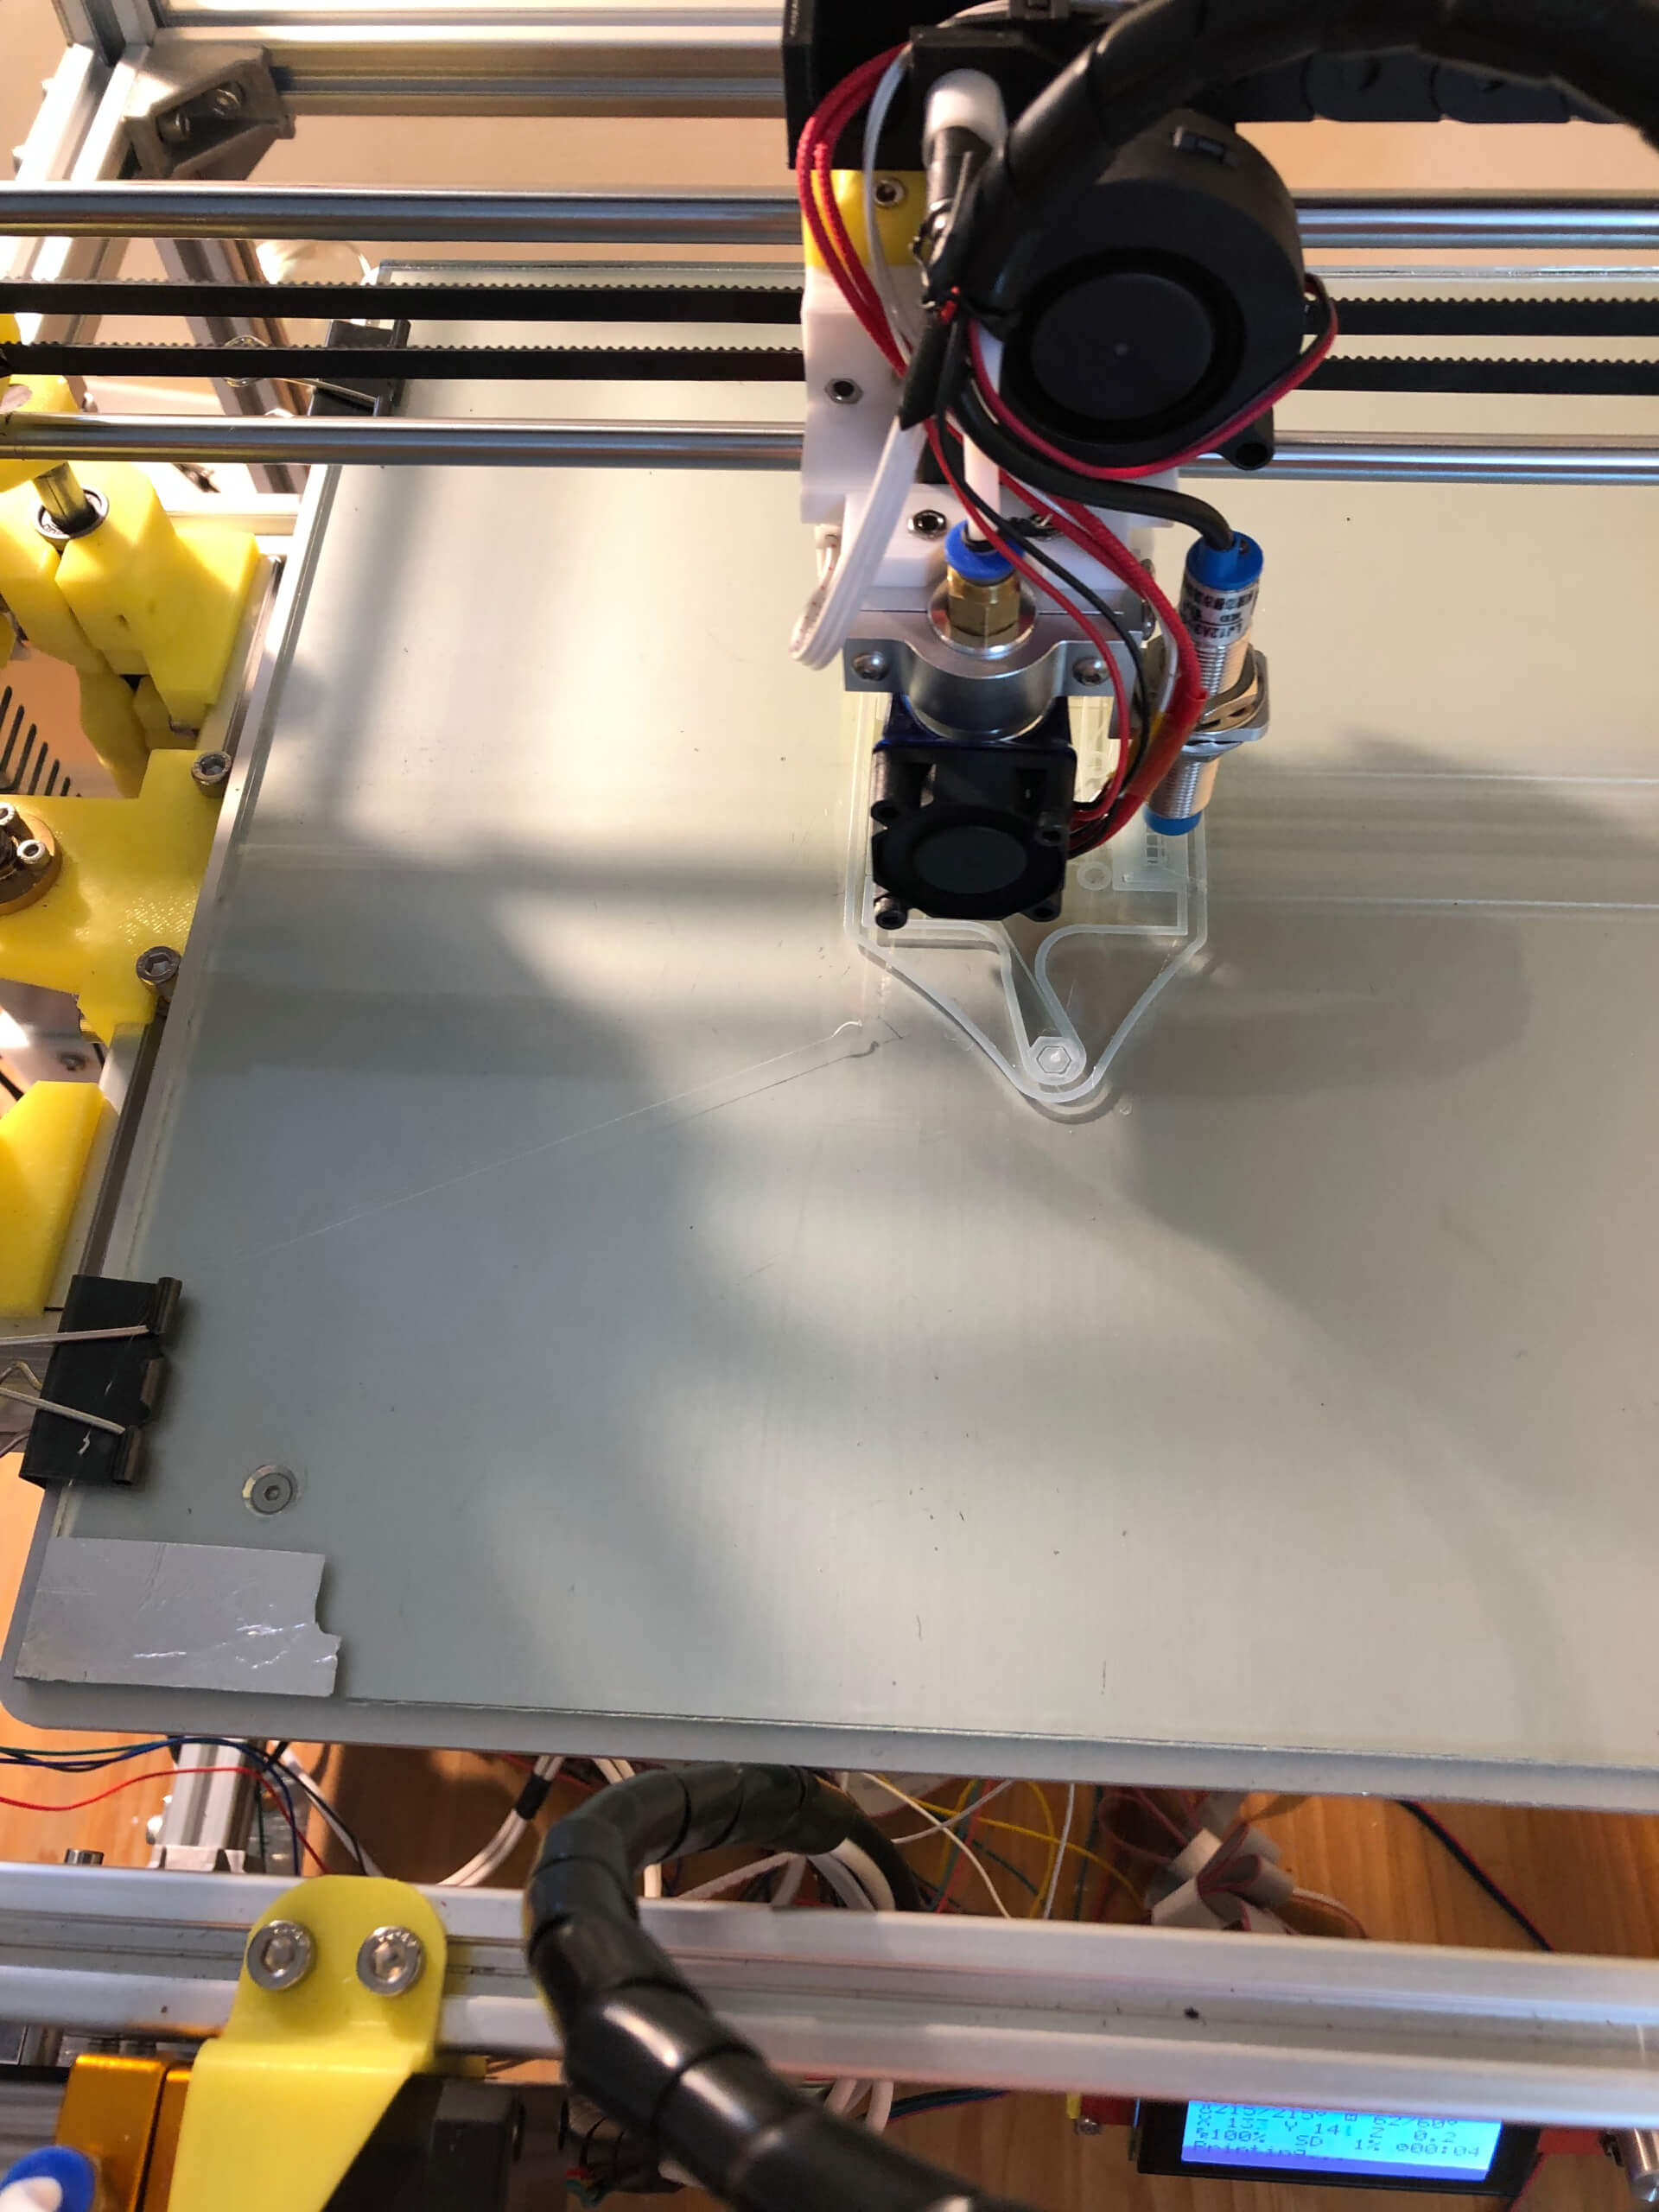
Flat and cheap, but the surface is too smooth. First-layer adhesion suffers unless tuned precisely. Also heavy. - Carbon Sheet
A nice upgrade over glass. Lighter, decent grip, less flat but more forgiving. - Sticker Sheets / Magnetic Surfaces
Good budget choice. Easy to apply, decent stickiness. But they wear out and lose grip over time. - PEI Sheet
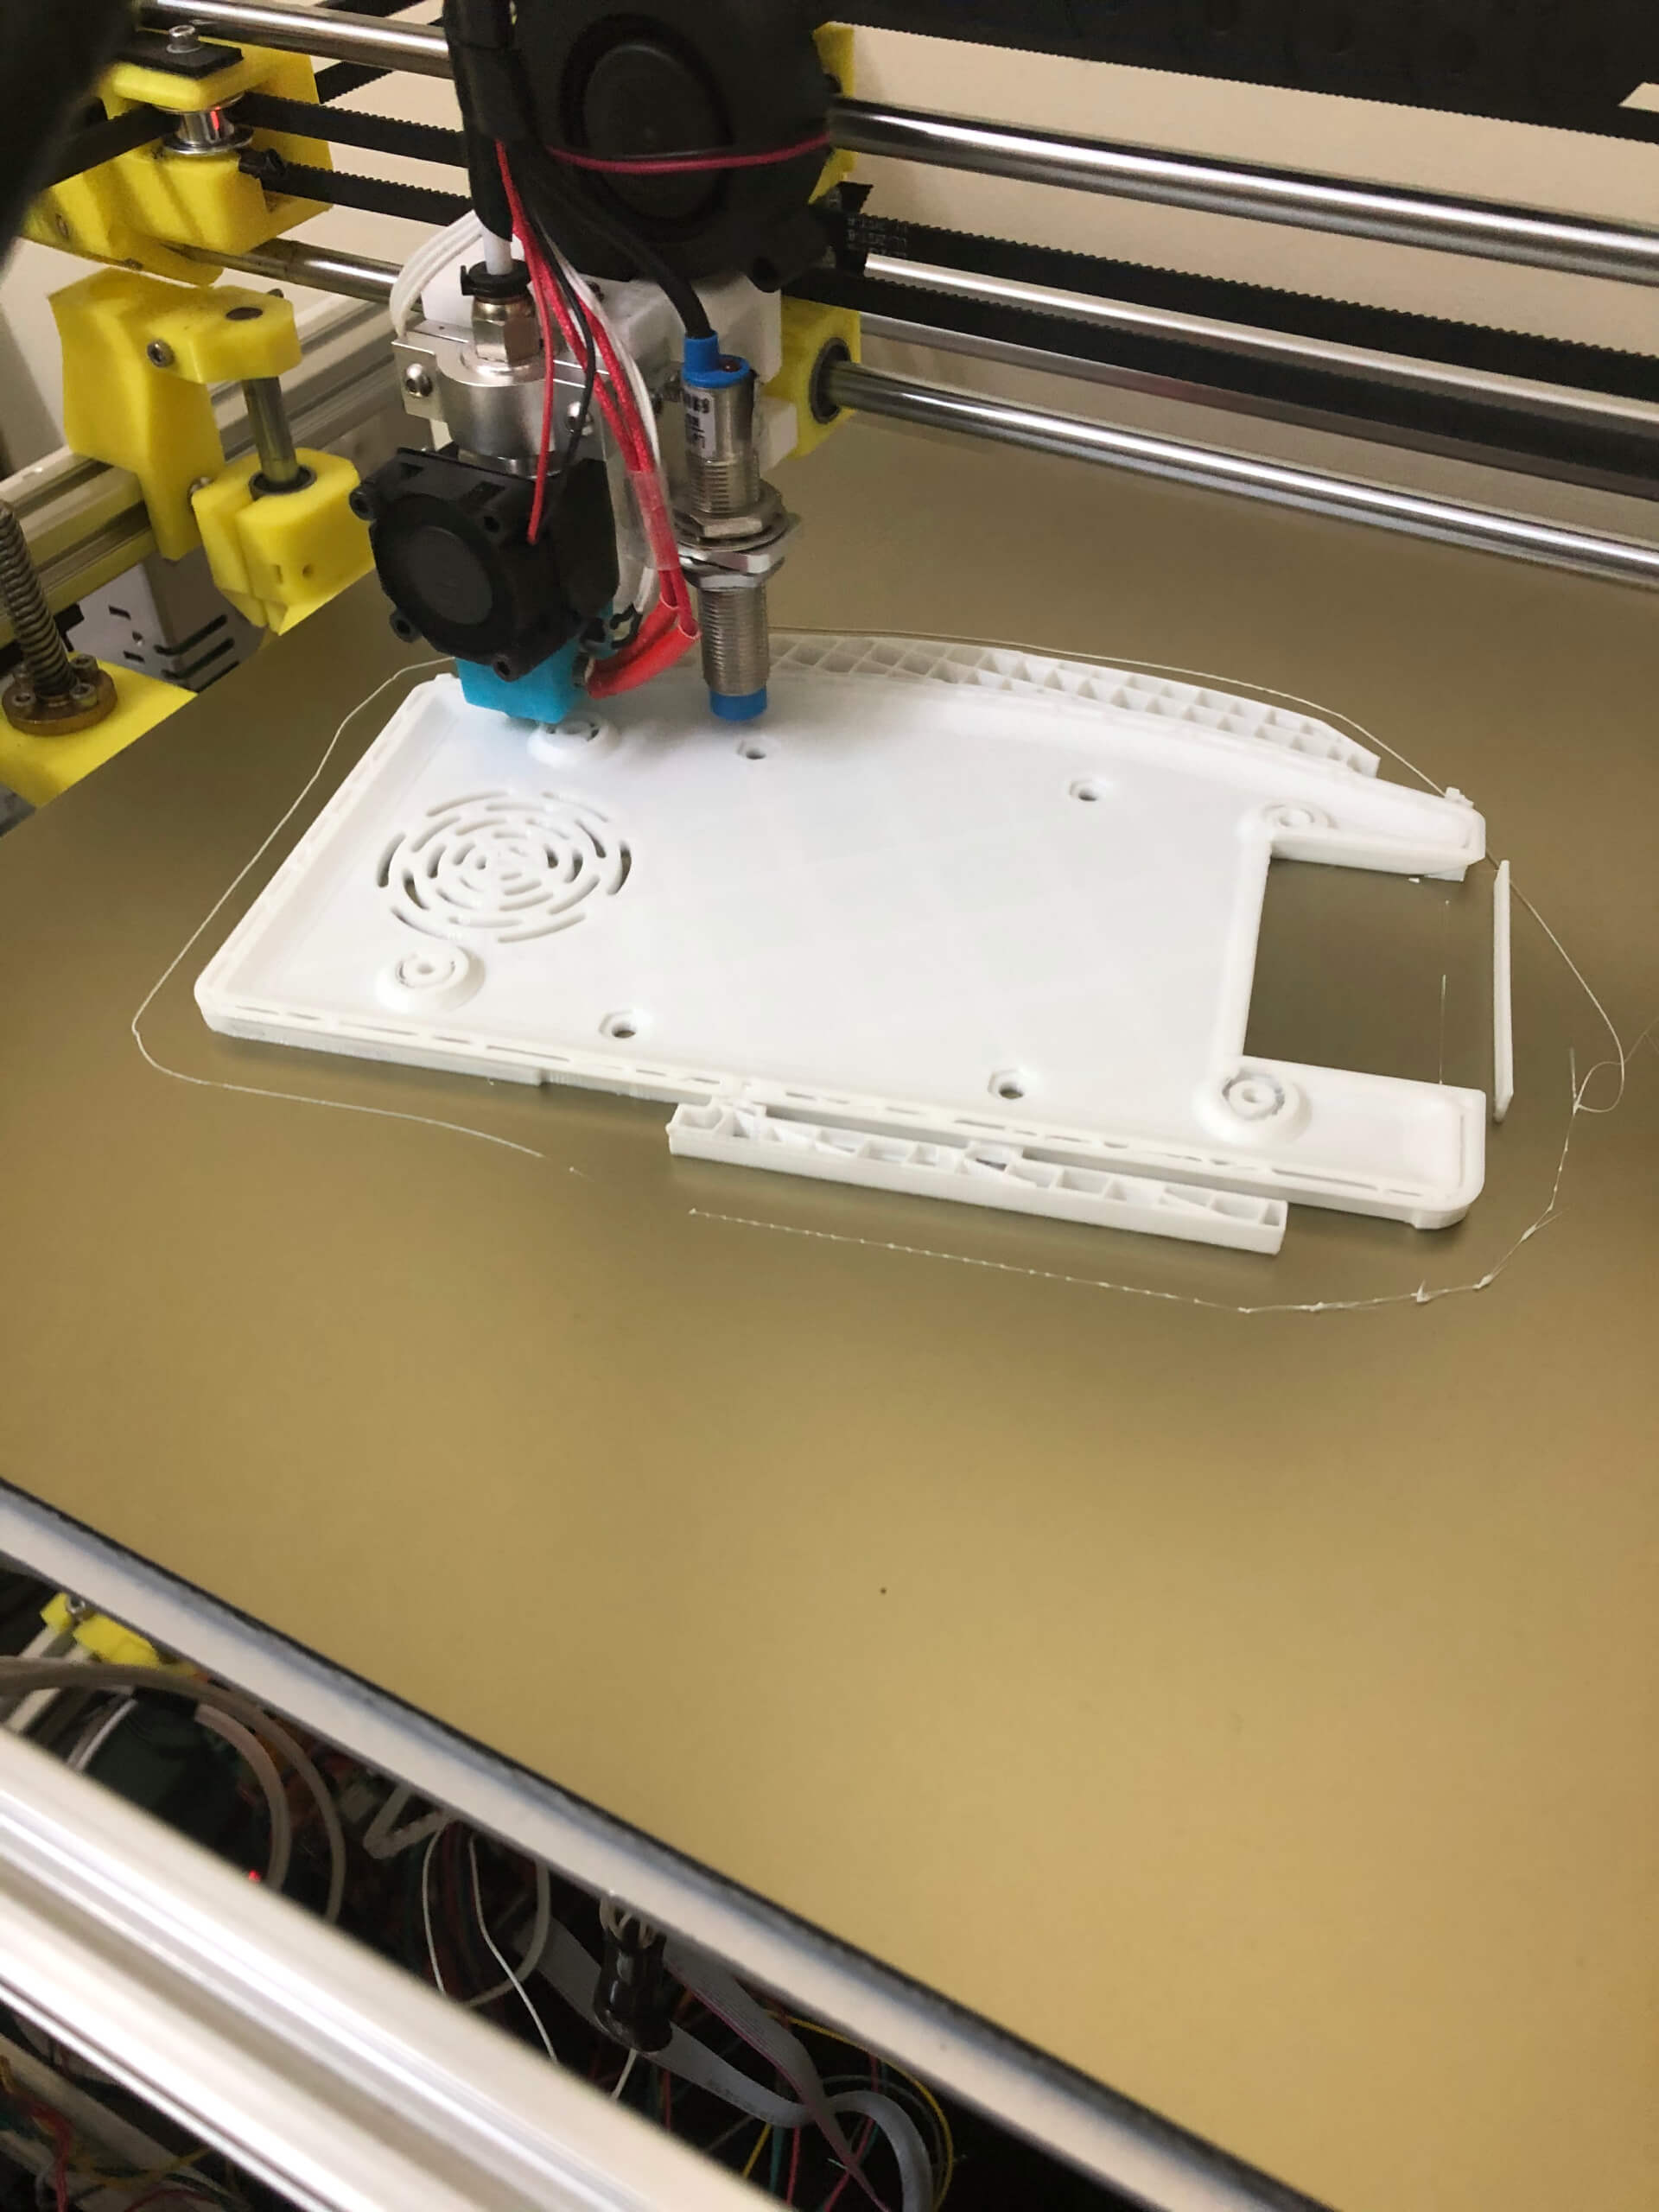
Excellent all-around. Reliable adhesion, durable, and easy to clean. - PEI-Coated Spring Steel Sheet
Best of all. Swappable, flexible, and easy to maintain. This is the upgrade I recommend if you can afford it.

Trying it all - From raw aluminum to PEI-coated spring steel, these are the print surfaces I’ve actually used. Some worked better than others, but each one taught me something useful.
My Ideal Bed Stack
After all that trial and error, here’s the heated bed setup that works best for me:
- 220V Heating Pad (underneath)
- Thermal Pad (to transfer heat from the heating pad to the glass/carbon layer above)
- Glass or Carbon Sheet (for a perfectly flat base)
- Magnetic Sheet (optional, for holding print surface - though sometimes I just use binder clips)
- PEI Spring Steel Sheet (print surface)
One reason I prefer this layered approach is because each layer is loosely coupled. As materials expand from heat, they can slide slightly rather than resist and cause warping. That little bit of give between layers actually helps reduce bed warp over time.
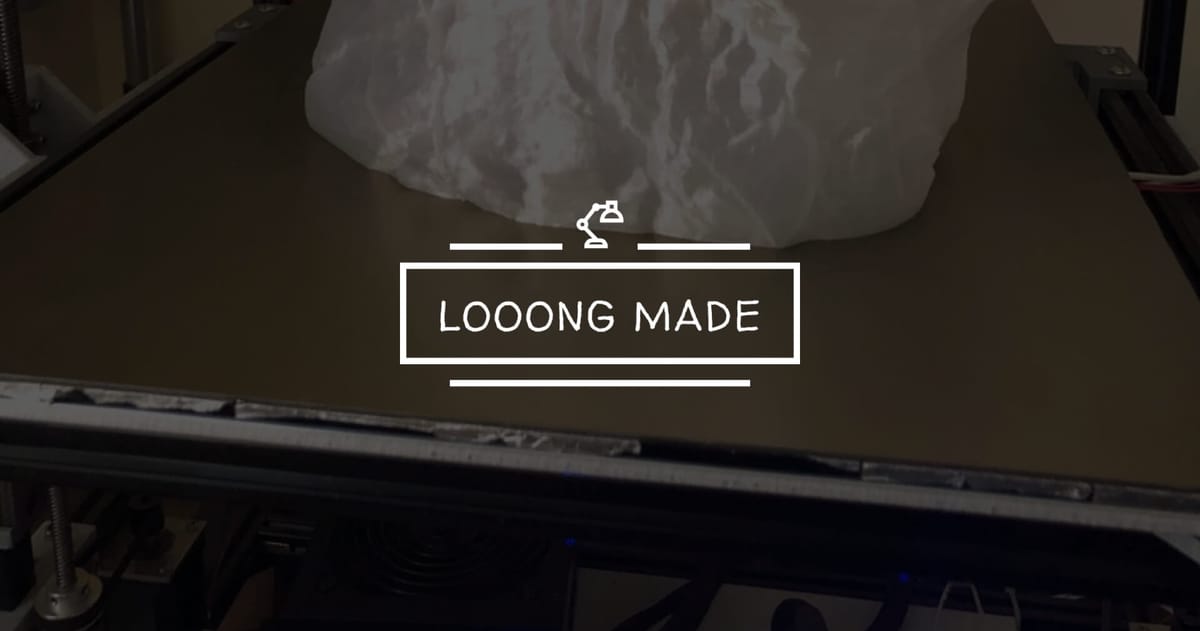
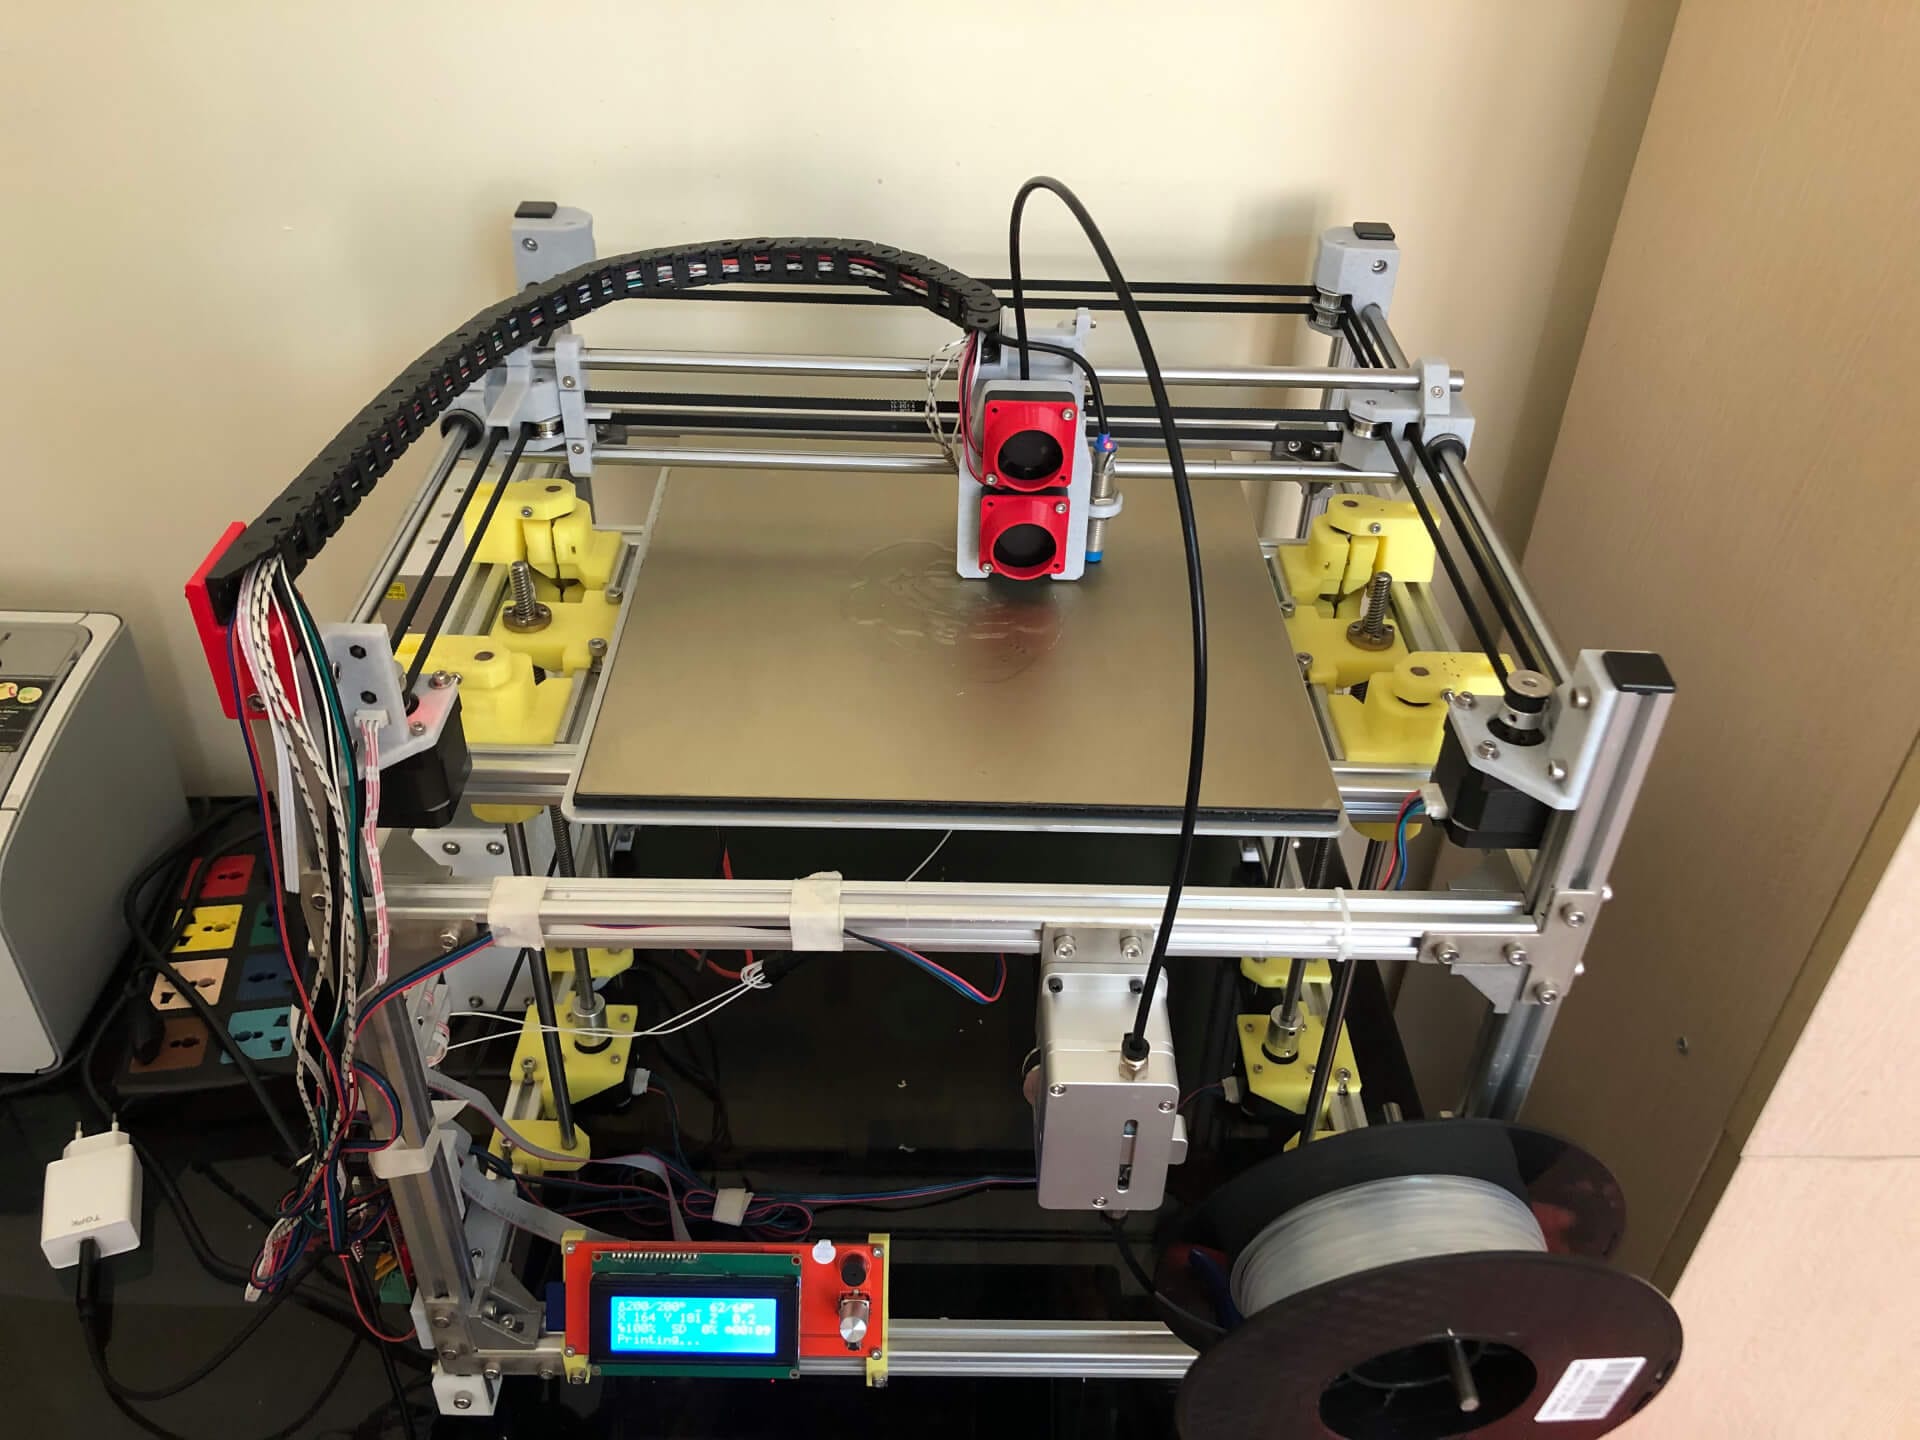
This setup gives me a flat, clean, repeatable surface. I rarely worry about adhesion anymore, and when a print finishes, it pops right off with a flex.
The magic of a perfect first layer - When everything’s tuned right, this is what it should look (and sound) like.
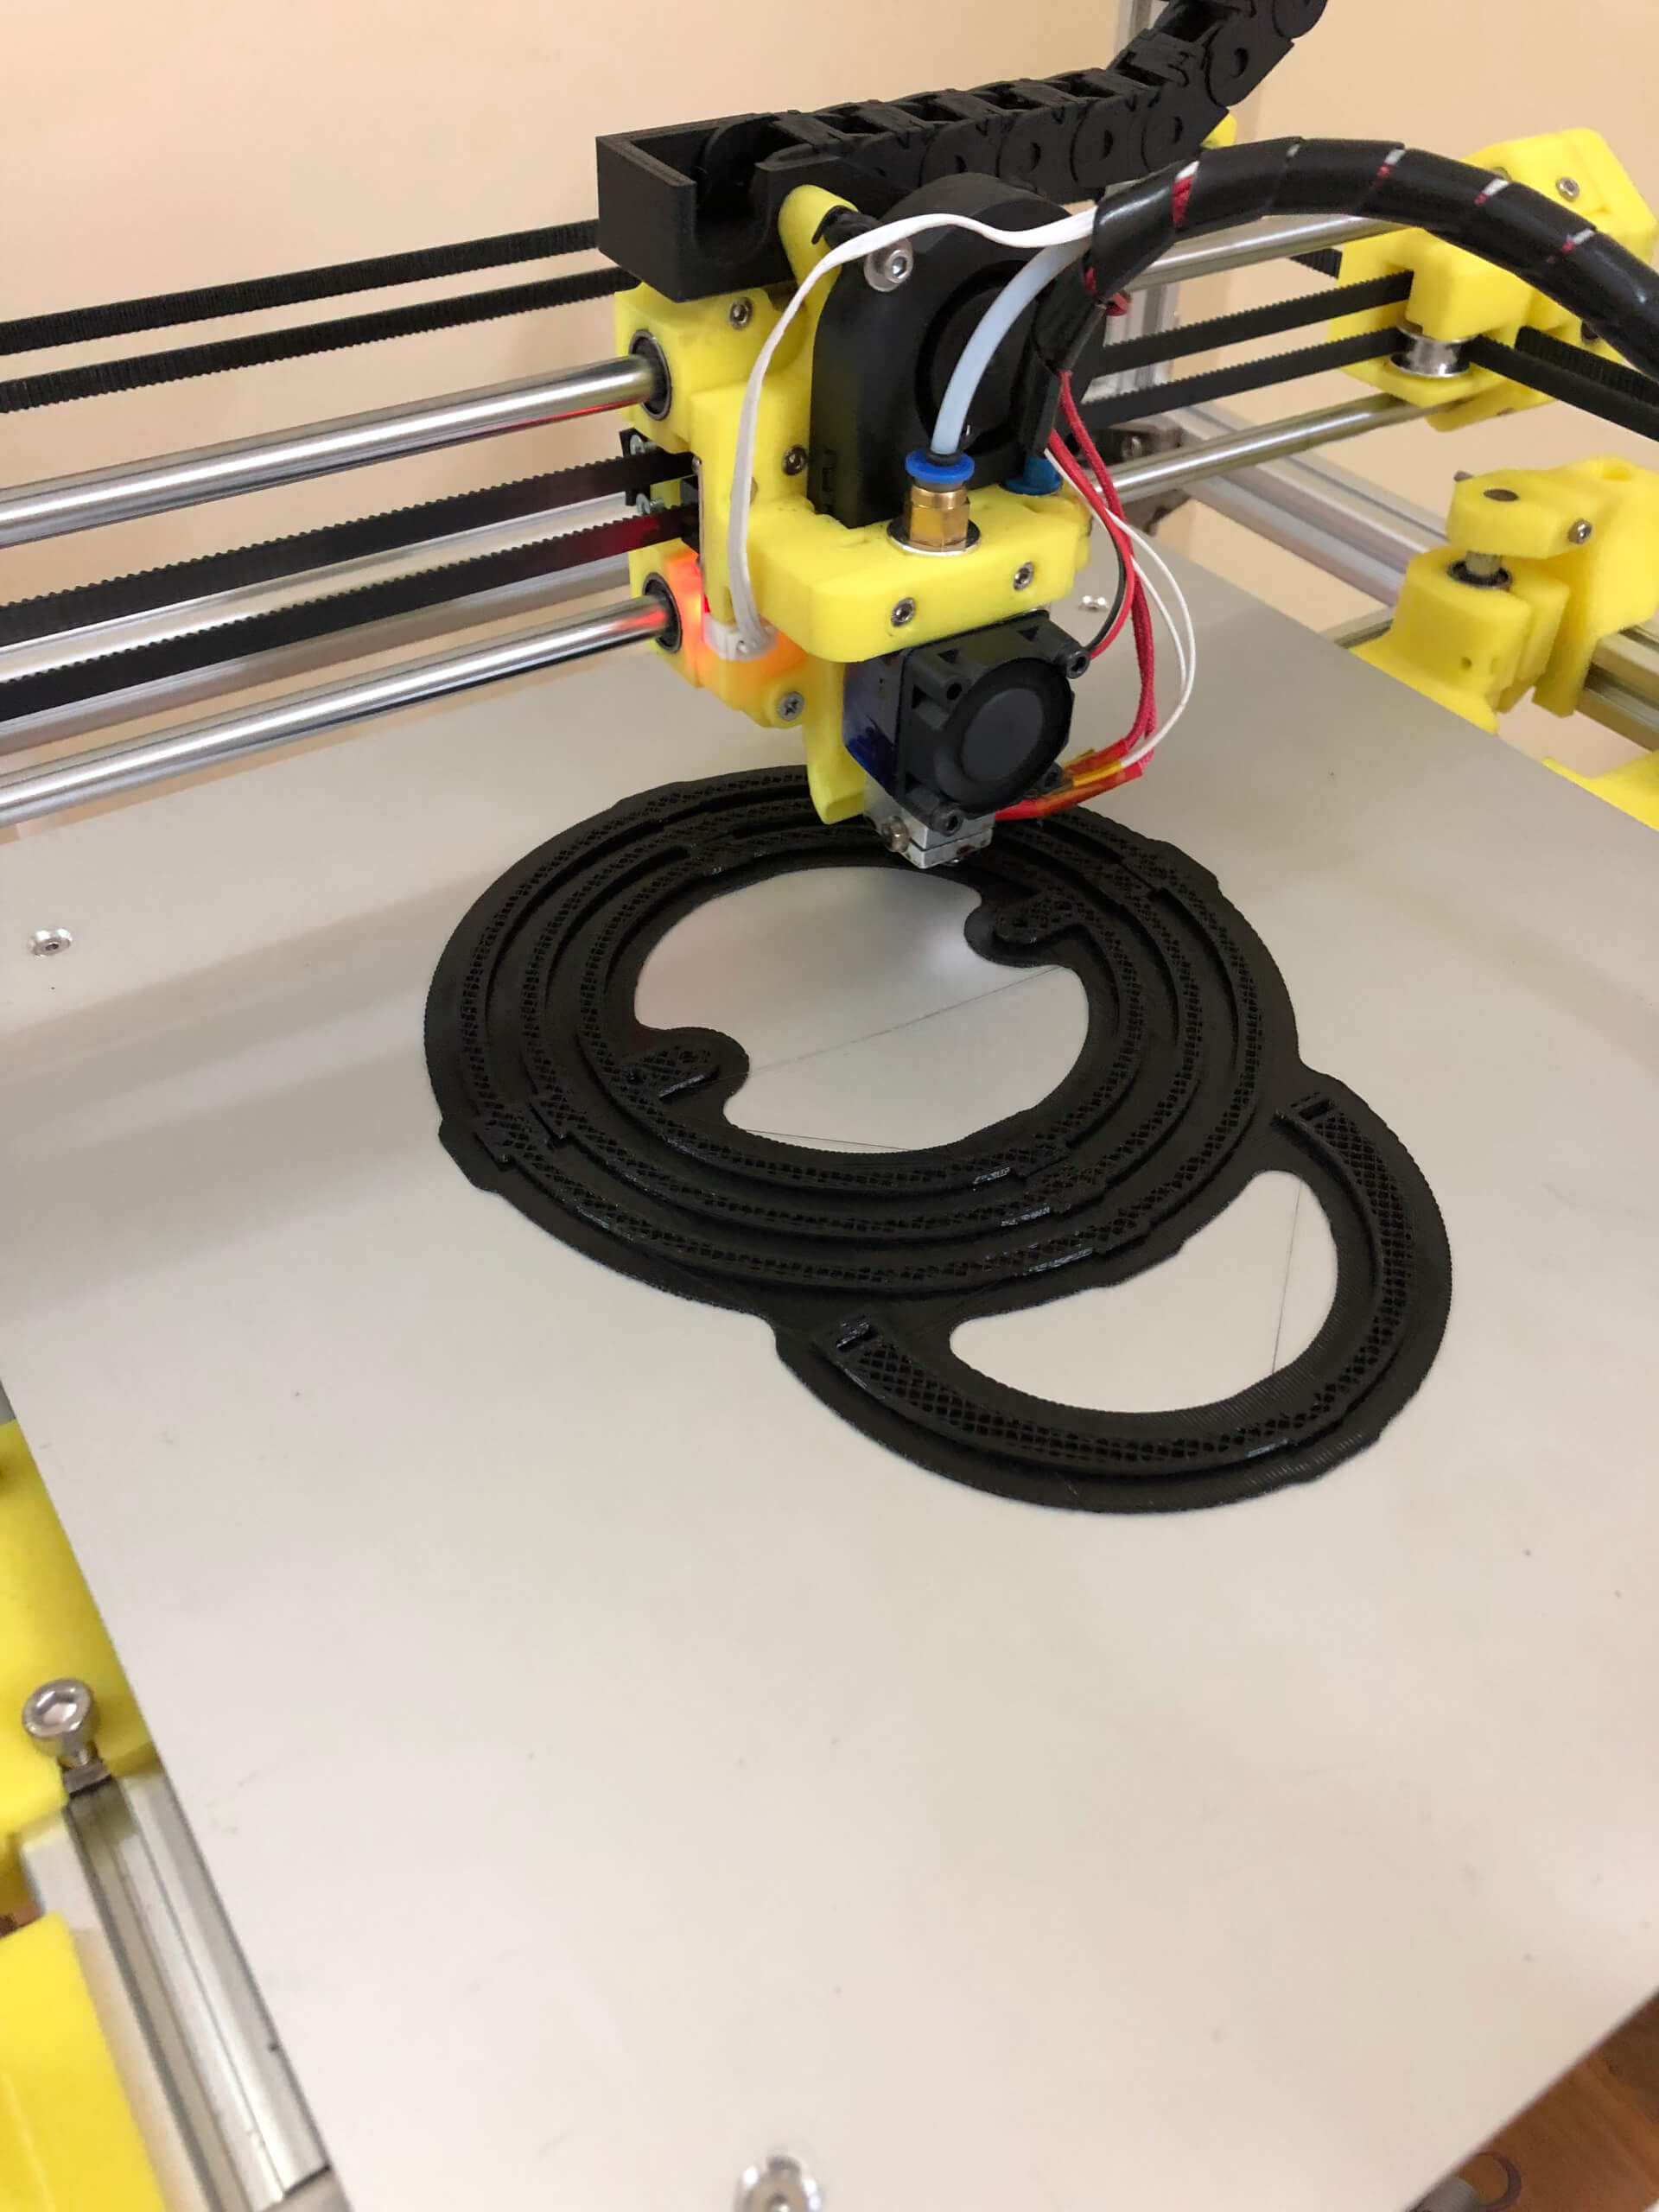
Tuning for Stability
After switching to a new bed and heater, I spent some time adjusting the firmware. PID tuning is a must whenever you modify any heating components. Don’t skip it. Your firmware (for me, it's Marlin) usually includes a clear guide, and it’s easier than it looks. But it made a difference.
What I Learned
- Flatness matters more than most people realize
- Power delivery should never be an afterthought
- Higher voltage isn’t just more efficient - it’s safer
- A good print surface makes prints stick better and release easier
- Don’t settle for messy hacks - a proper heated bed setup pays off every time
If you're building or modding your own printer, I hope this saves you a few headaches. Let the bed do its job - and your prints will thank you.