Designing My Own Hotend Mount (Because Nothing Fit Right)
How I ended up designing my own hotend mount - to fix airflow, sensor support, and cable chaos in my HEVO-style 3D printer.

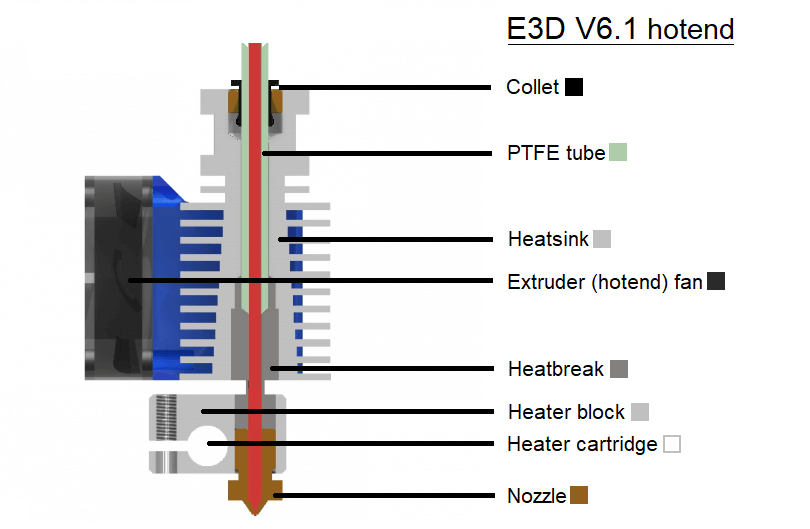
The hotend is the part of a 3D printer that melts filament and lays it down - but it can’t do anything on its own. It needs a mount that holds everything: the hotend itself, fans for cooling, sensors for bed leveling, and all the wiring to keep it running.
A hotend mount is the backbone of the entire print head.
If it’s unstable, cramped, or just poorly designed, it becomes a constant source of problems - especially when you start upgrading.
The Problems I Faced Early On
My DIY kit came with a printed mount - and to its credit, it did the job.
But just barely.
It came with:
- A clone E3D V6 hotend
- A 40×40 fan for hotend cooling
- A 5015 blower for part cooling
- A printed fan vent (which I swapped out right away)
- And space for an inductive probe
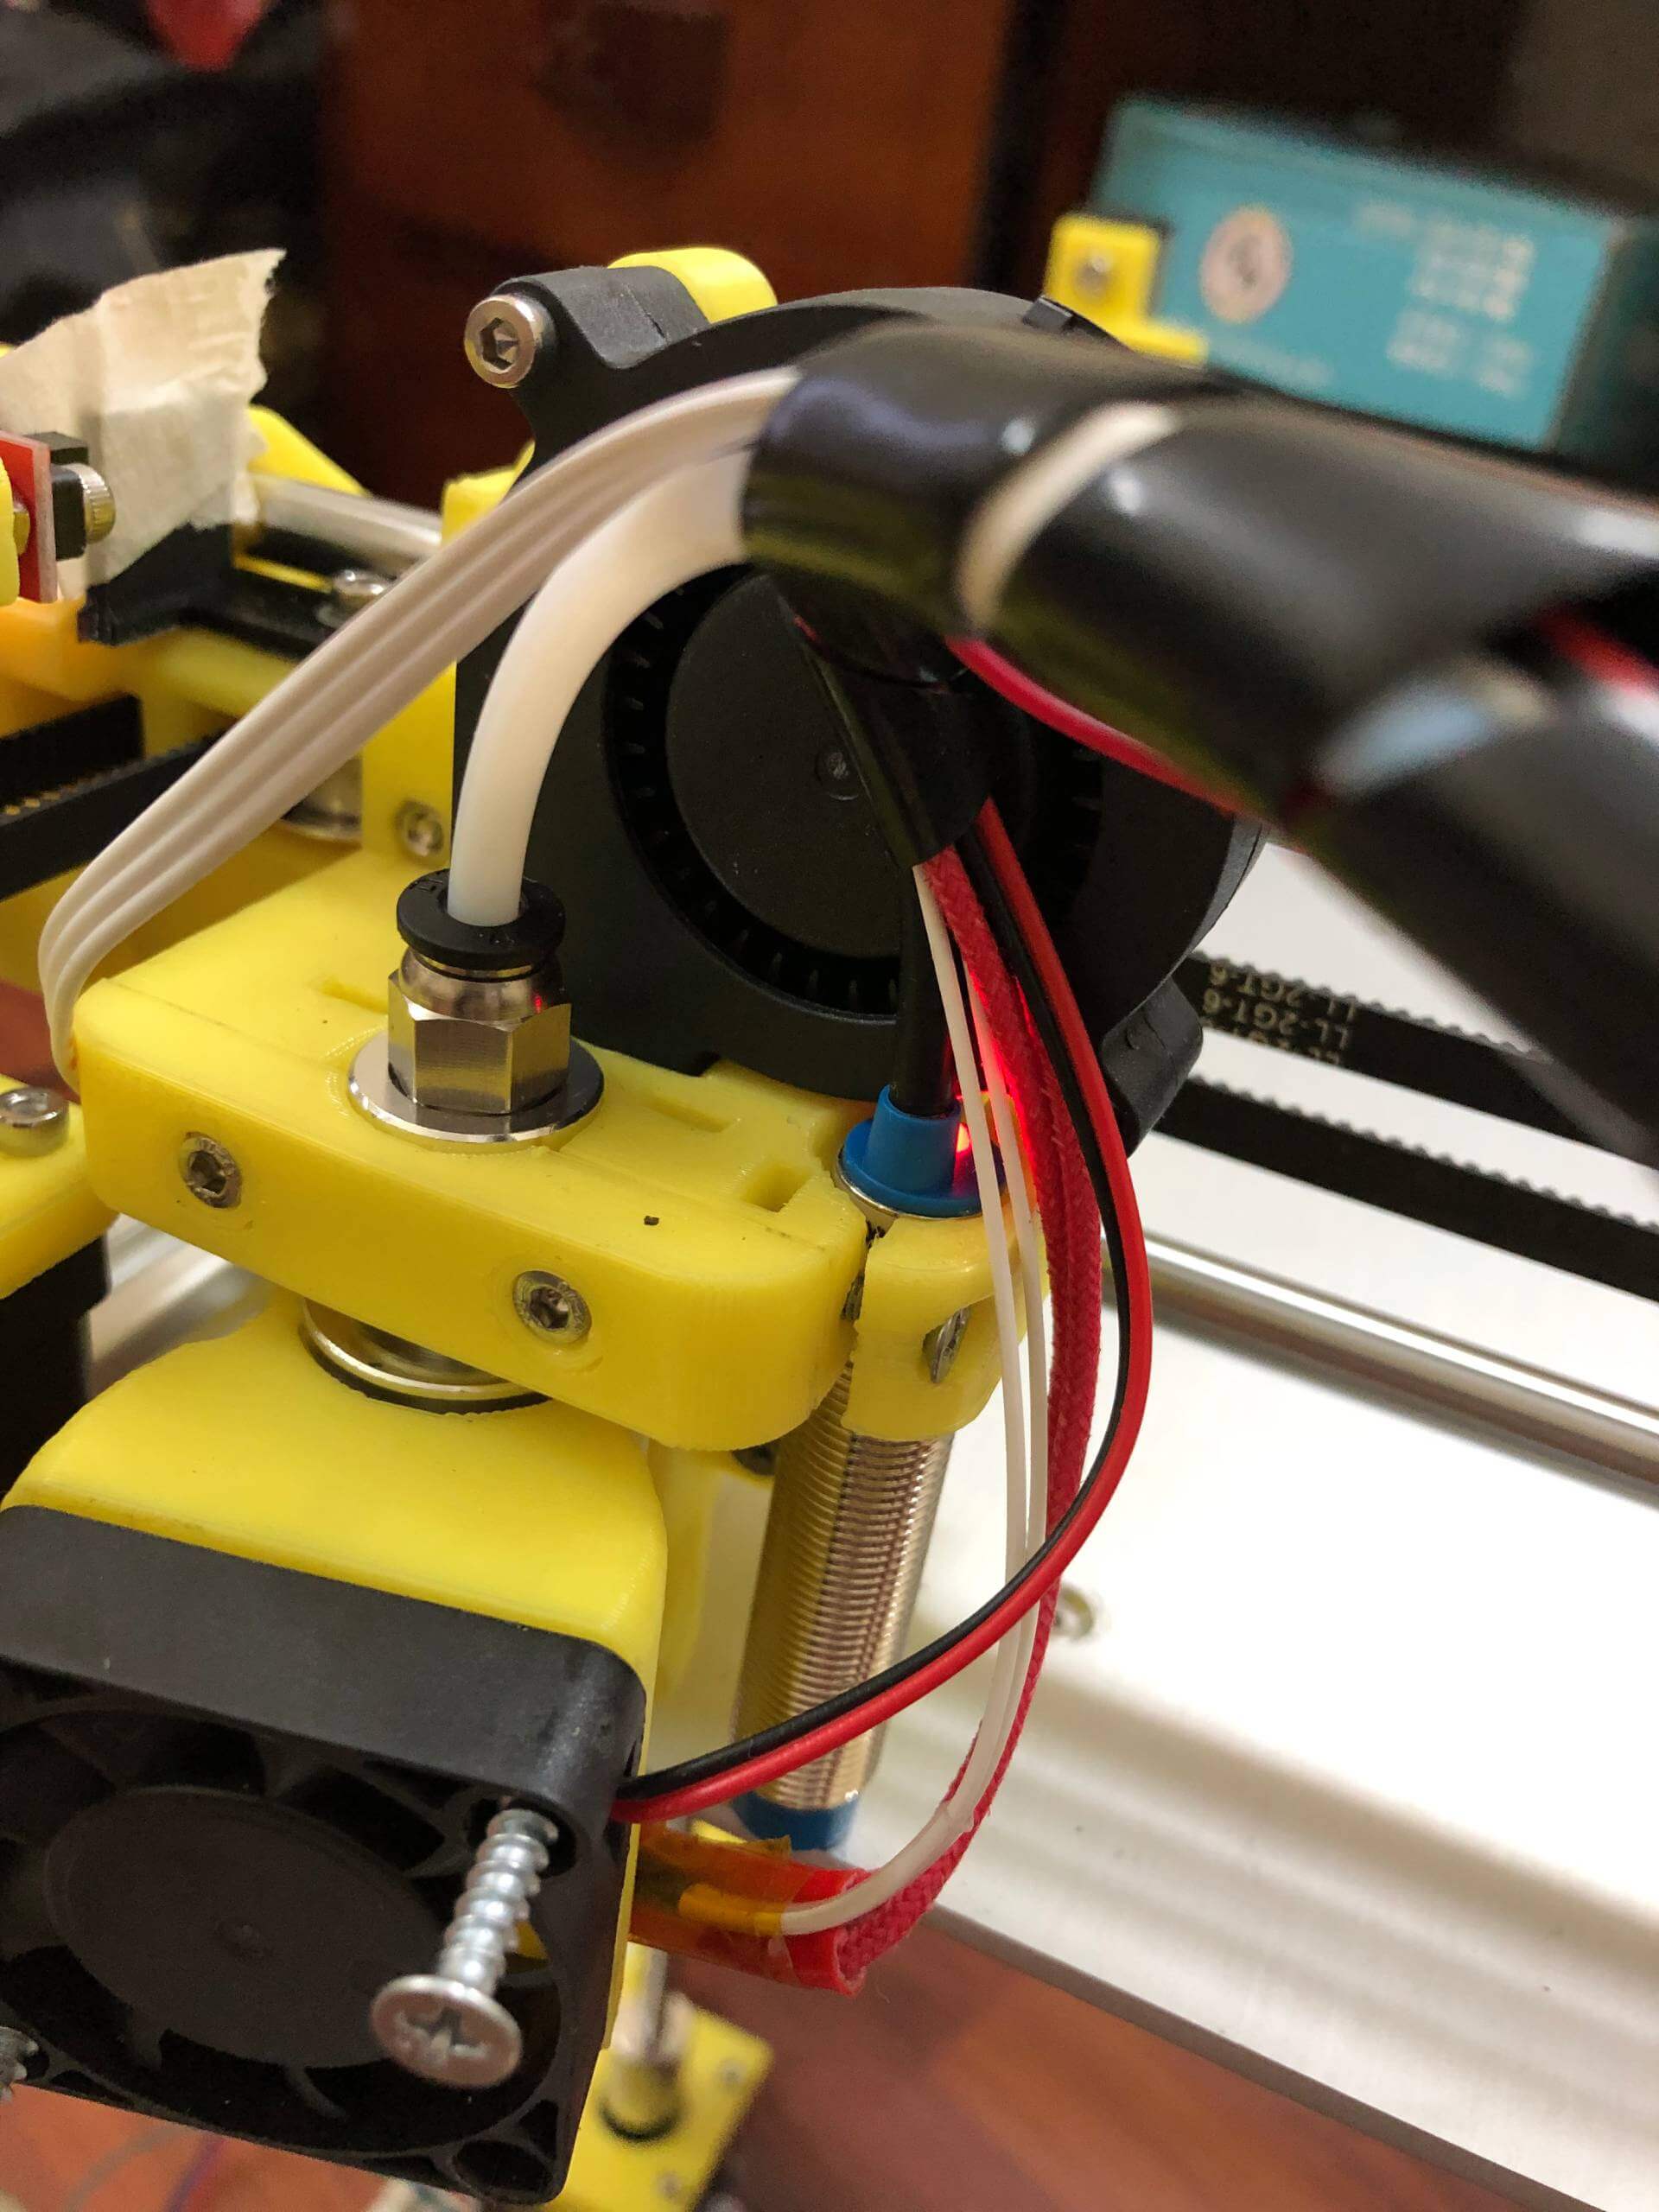
What it didn’t include was any kind of cable management, airflow control, or even space to move things around.
It worked… barely. But it showed me exactly what I didn’t want in a long-term setup - messy wiring, limited cooling, and poor expandability.
And with the DIY mindset in my blood, modding felt inevitable. I already owned a 3D printer, and it just made sense that my first real mod would be for the hotend - the most important part of any FDM printer.
Prototyping the Mount (POC Phase)
So I started designing my own.
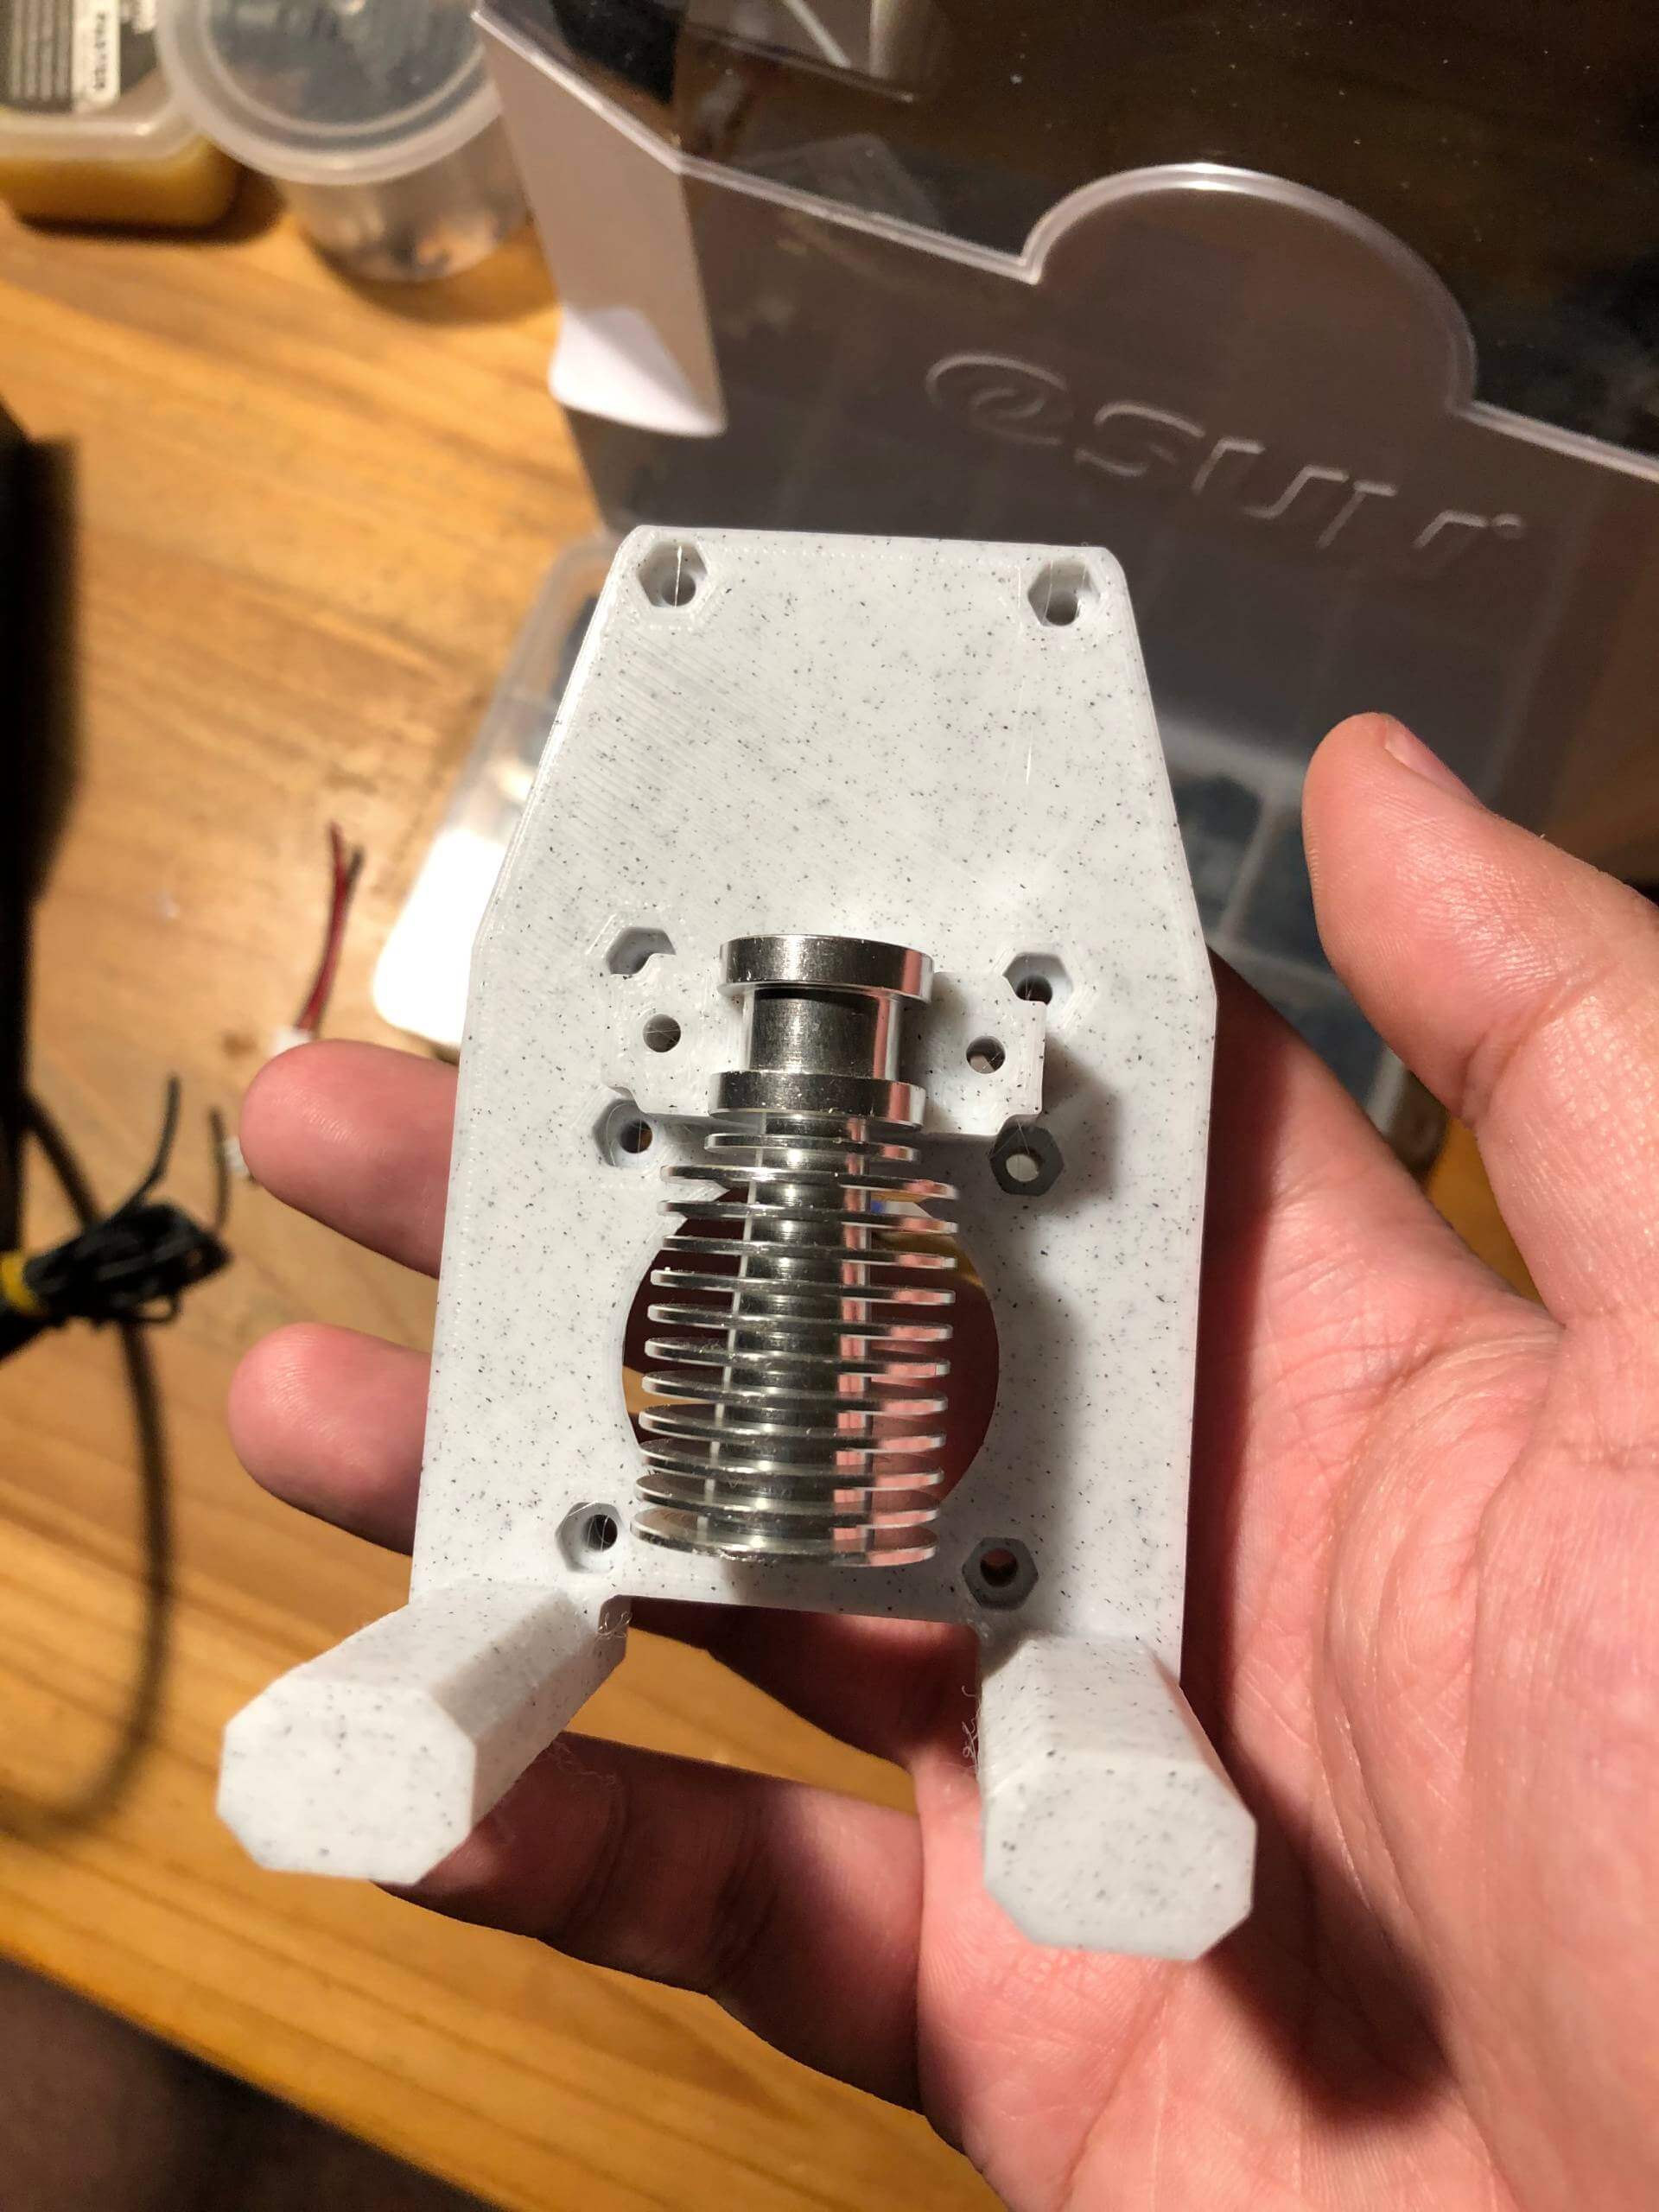
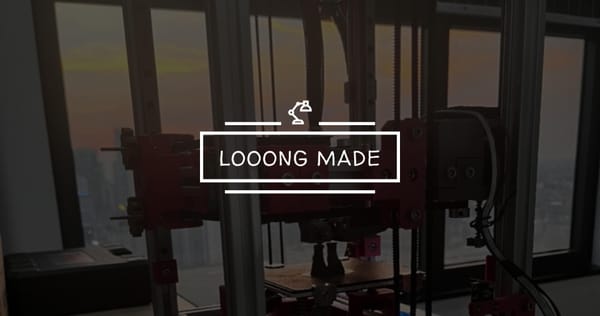
First prototype being printed — seeing something go from 3D model to physical part never gets old.
This was the proof-of-concept phase - print, test-fit, redesign, reprint.
I used SketchUp, and luckily, its learning curve just clicked with me. It felt intuitive - just the right balance between technical and visual thinking.
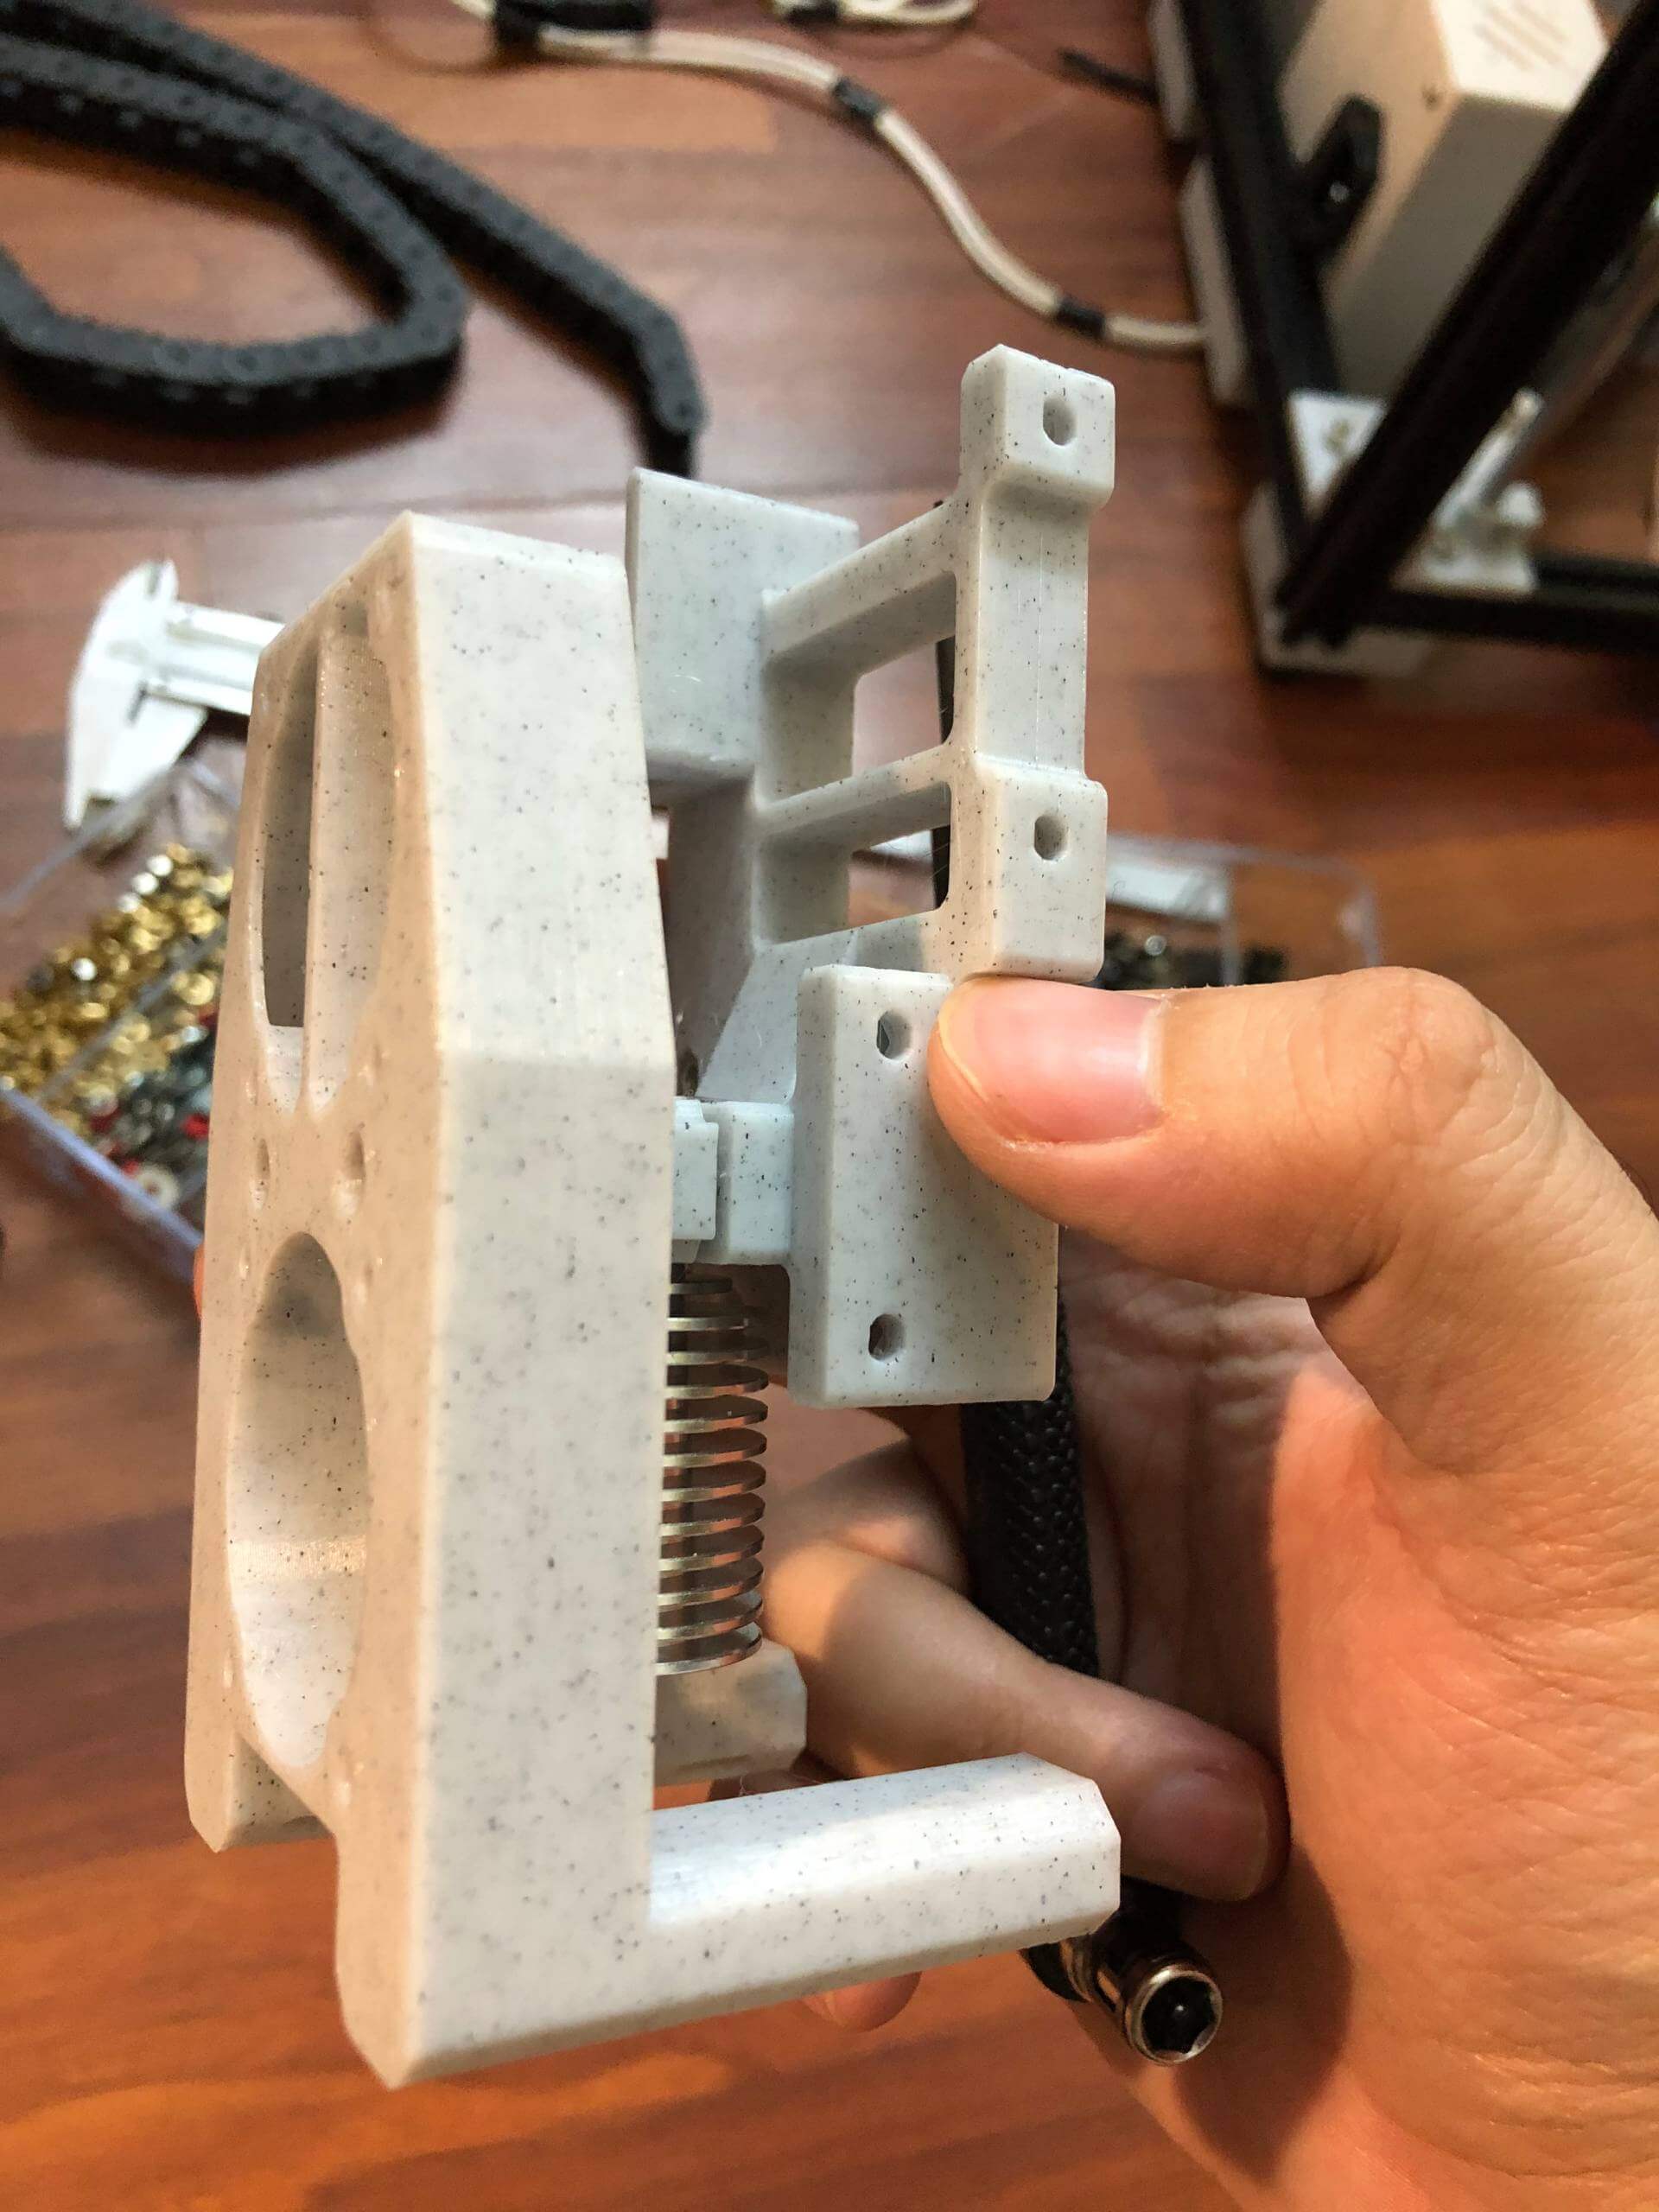
Then came the magic moment:
I designed something in SketchUp - something abstract, just floating in imagination - and printed it.
BOOM. The physical part came out exactly like I imagined. I could touch it, feel it, mount a fan to it. And even better? It worked.
That feeling… taking something I had only imagined in 3D space, modeling it on a screen, and holding it in real life just hours later - it was surreal.
I could touch it, fit parts into it, see it work - not just as an idea, but as a real, functioning part.
That moment made me feel like 3D printing wasn’t just a hobby - it was a glimpse of how the world might work in the future.
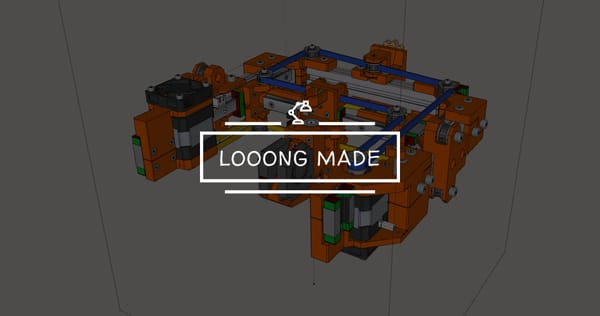
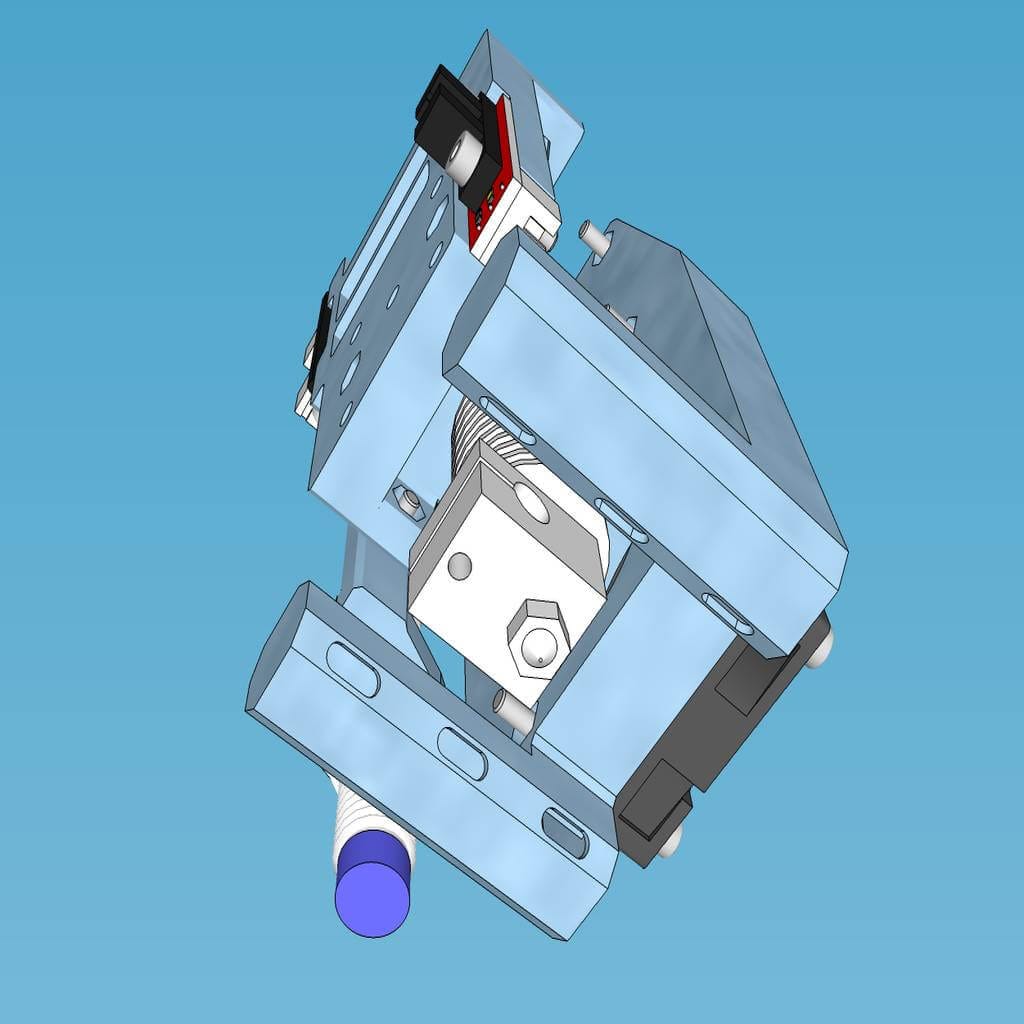
The Final Version
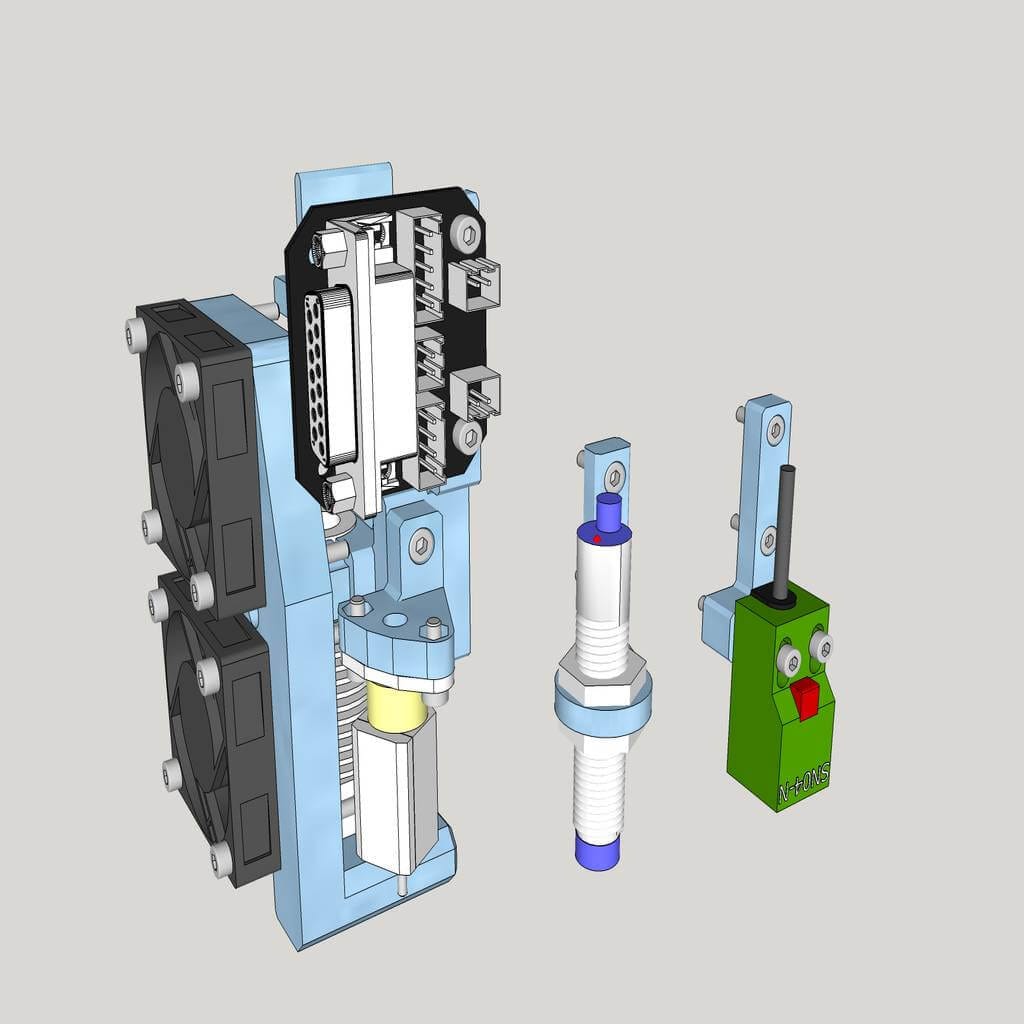
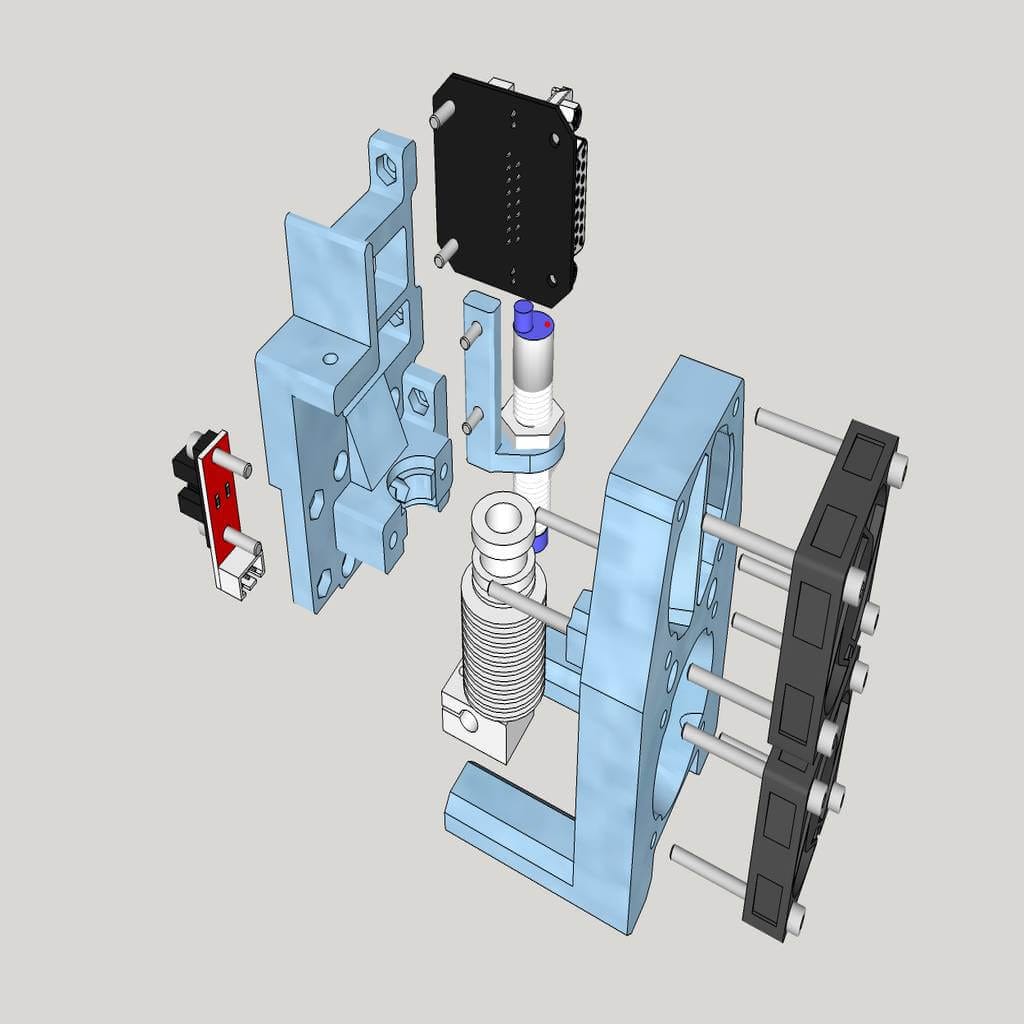
Eventually, I landed on a complete hotend mount for my HEVO remix. It supported:
- A genuine (or clone) E3D V6
- A BLTouch or inductive probe
- Dual 40×40 fans
- An X-min optical endstop
- A mount for a 10×10 drag chain
- A slot for a quick-swap board to make wiring modular
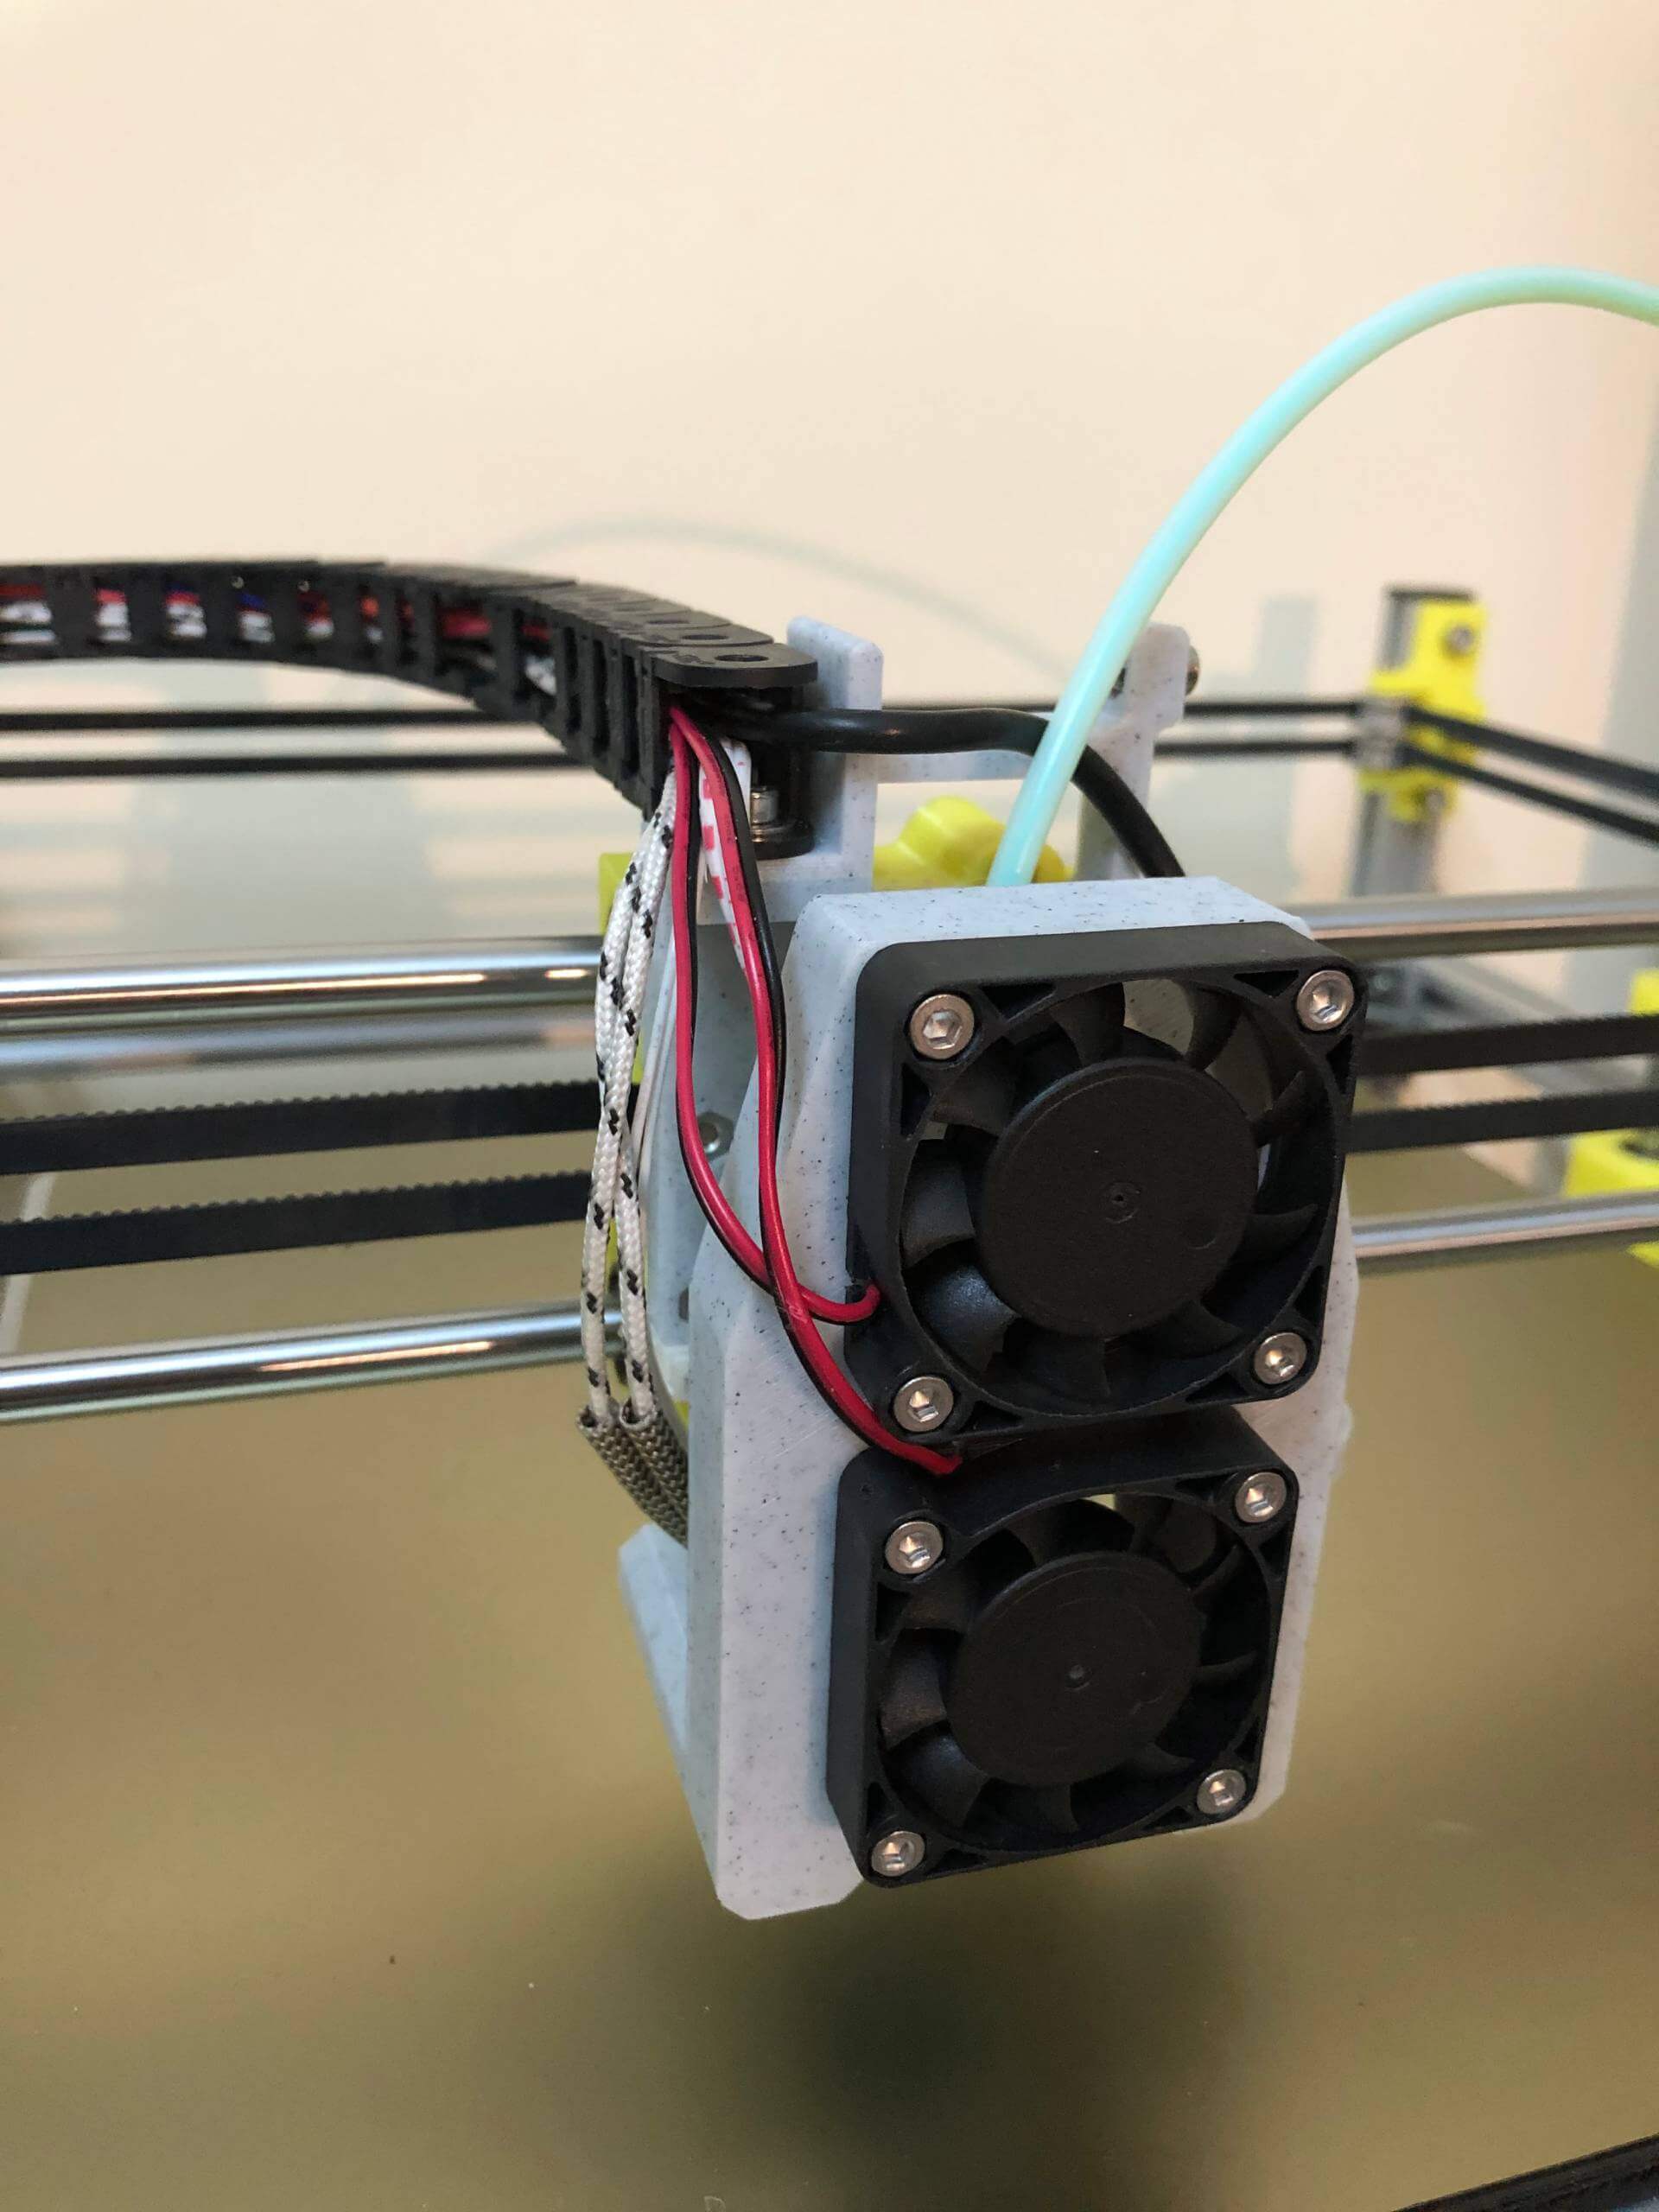
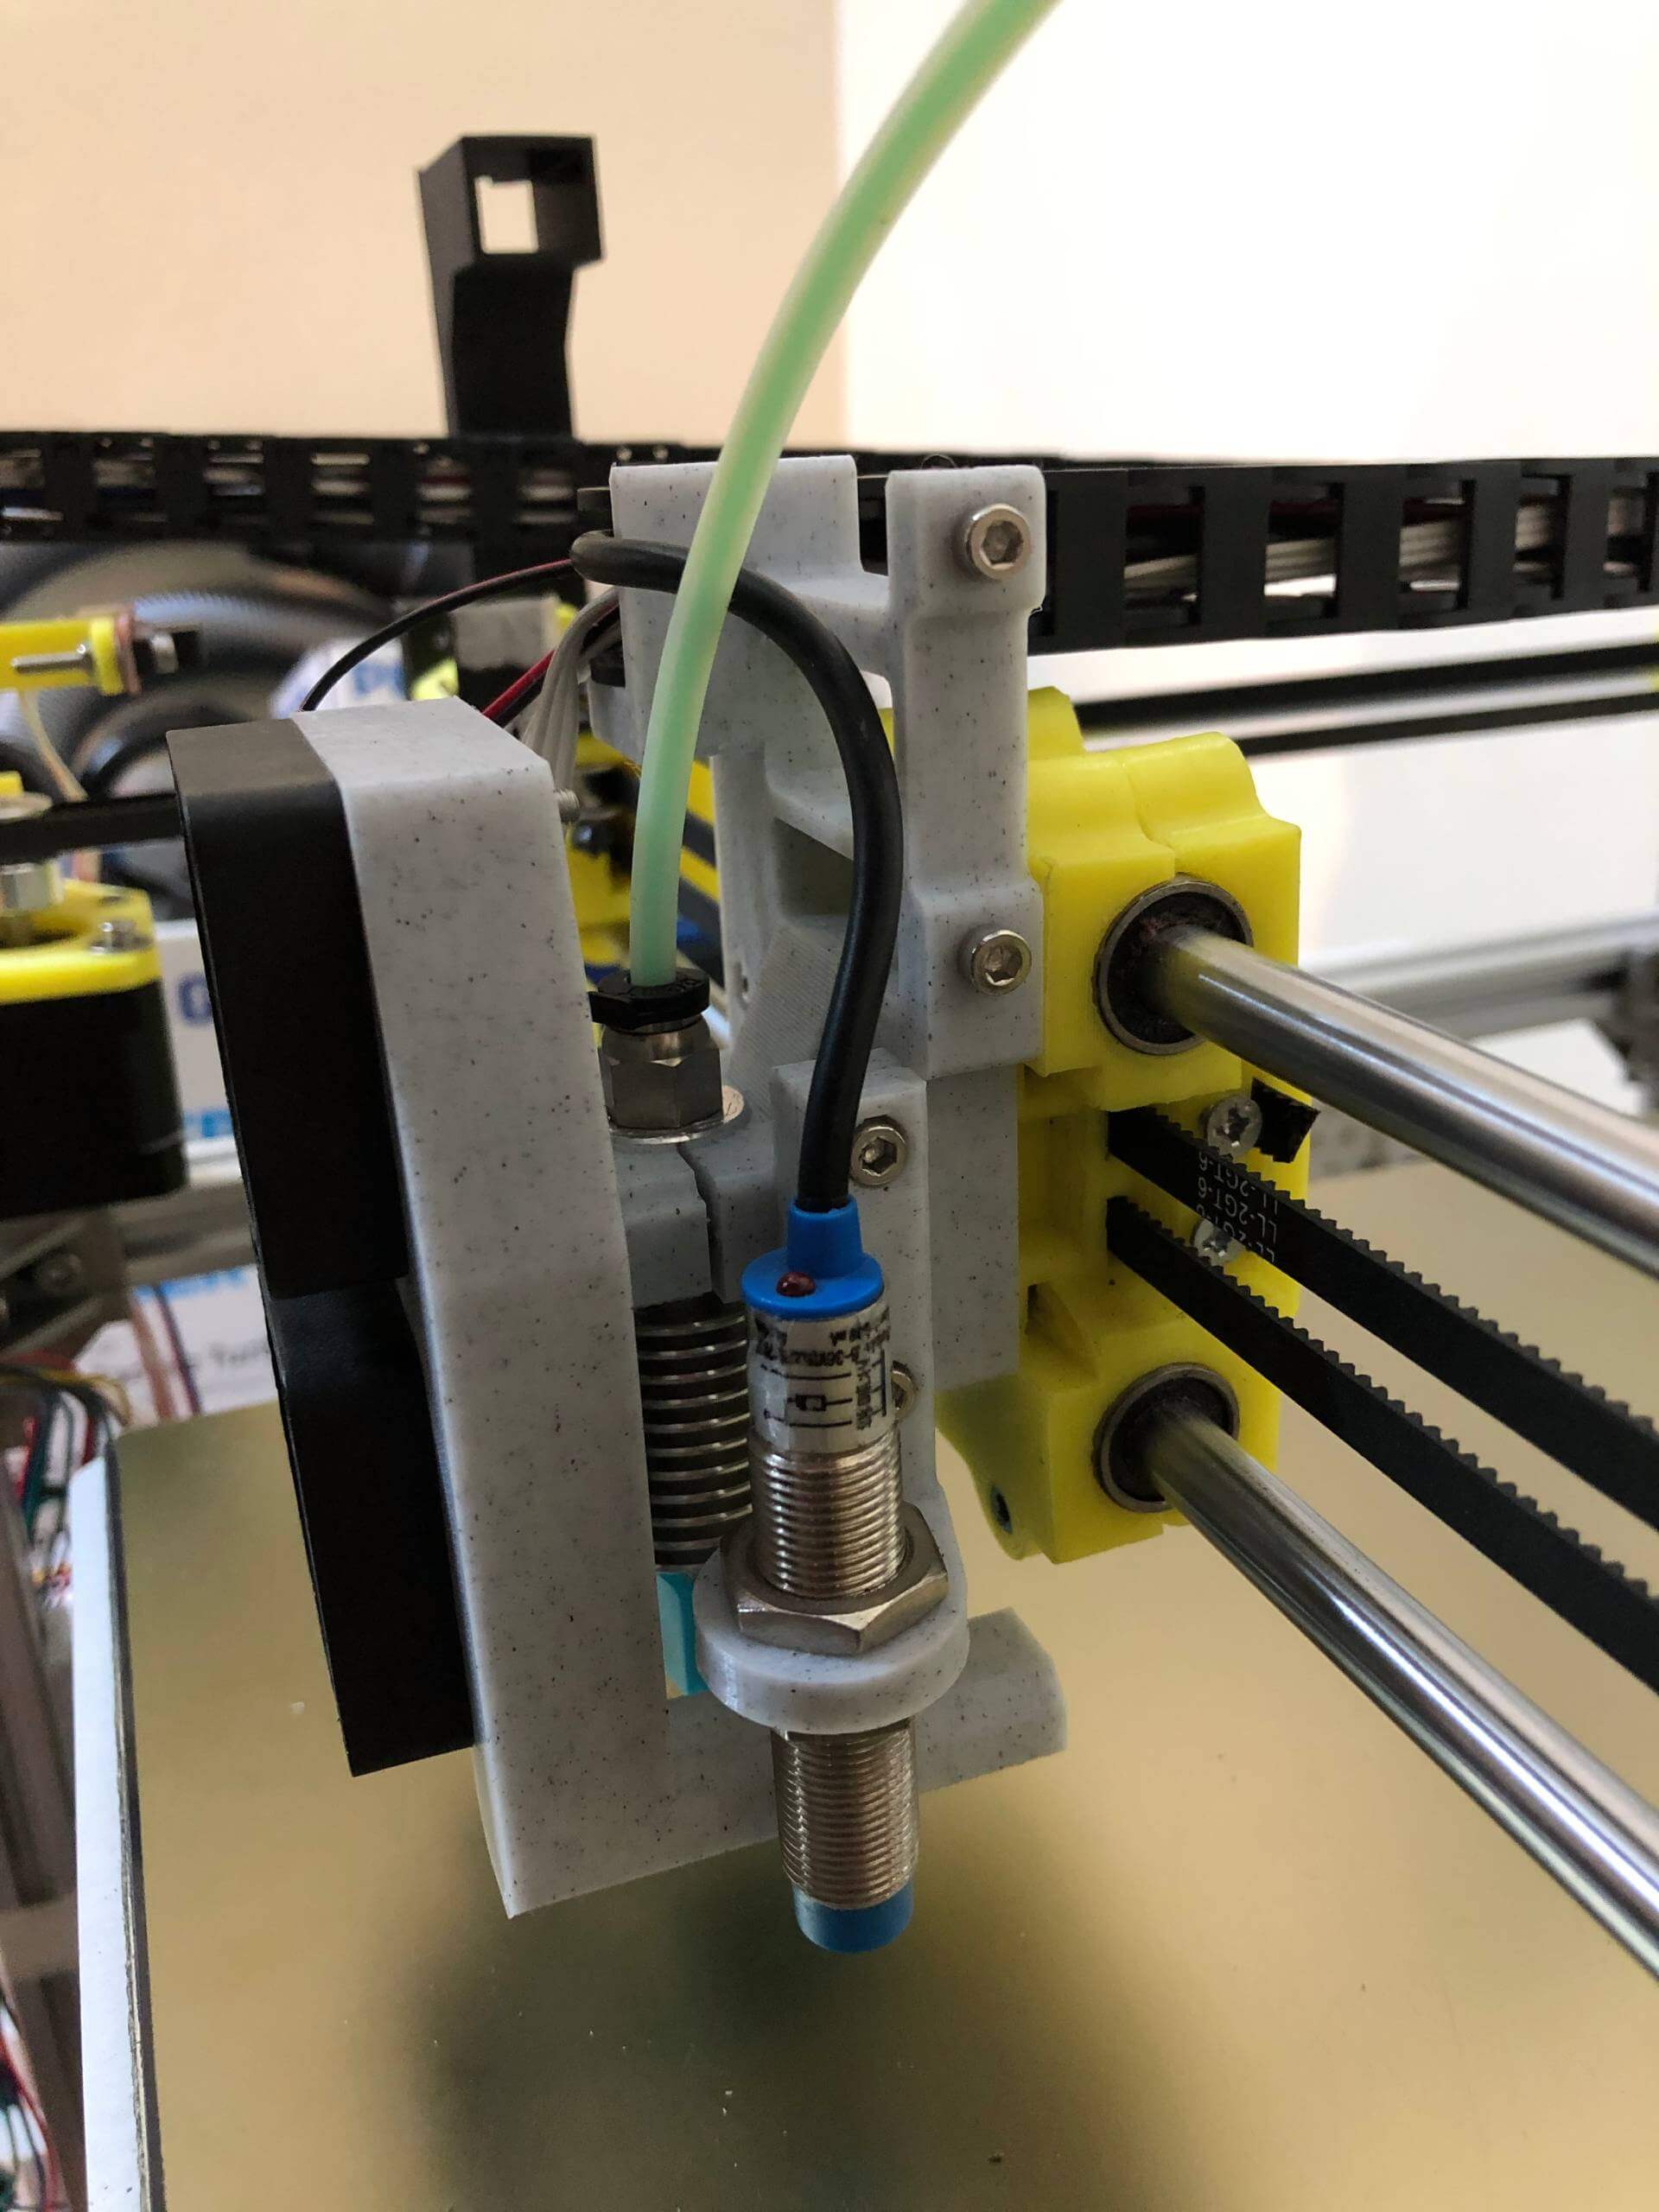
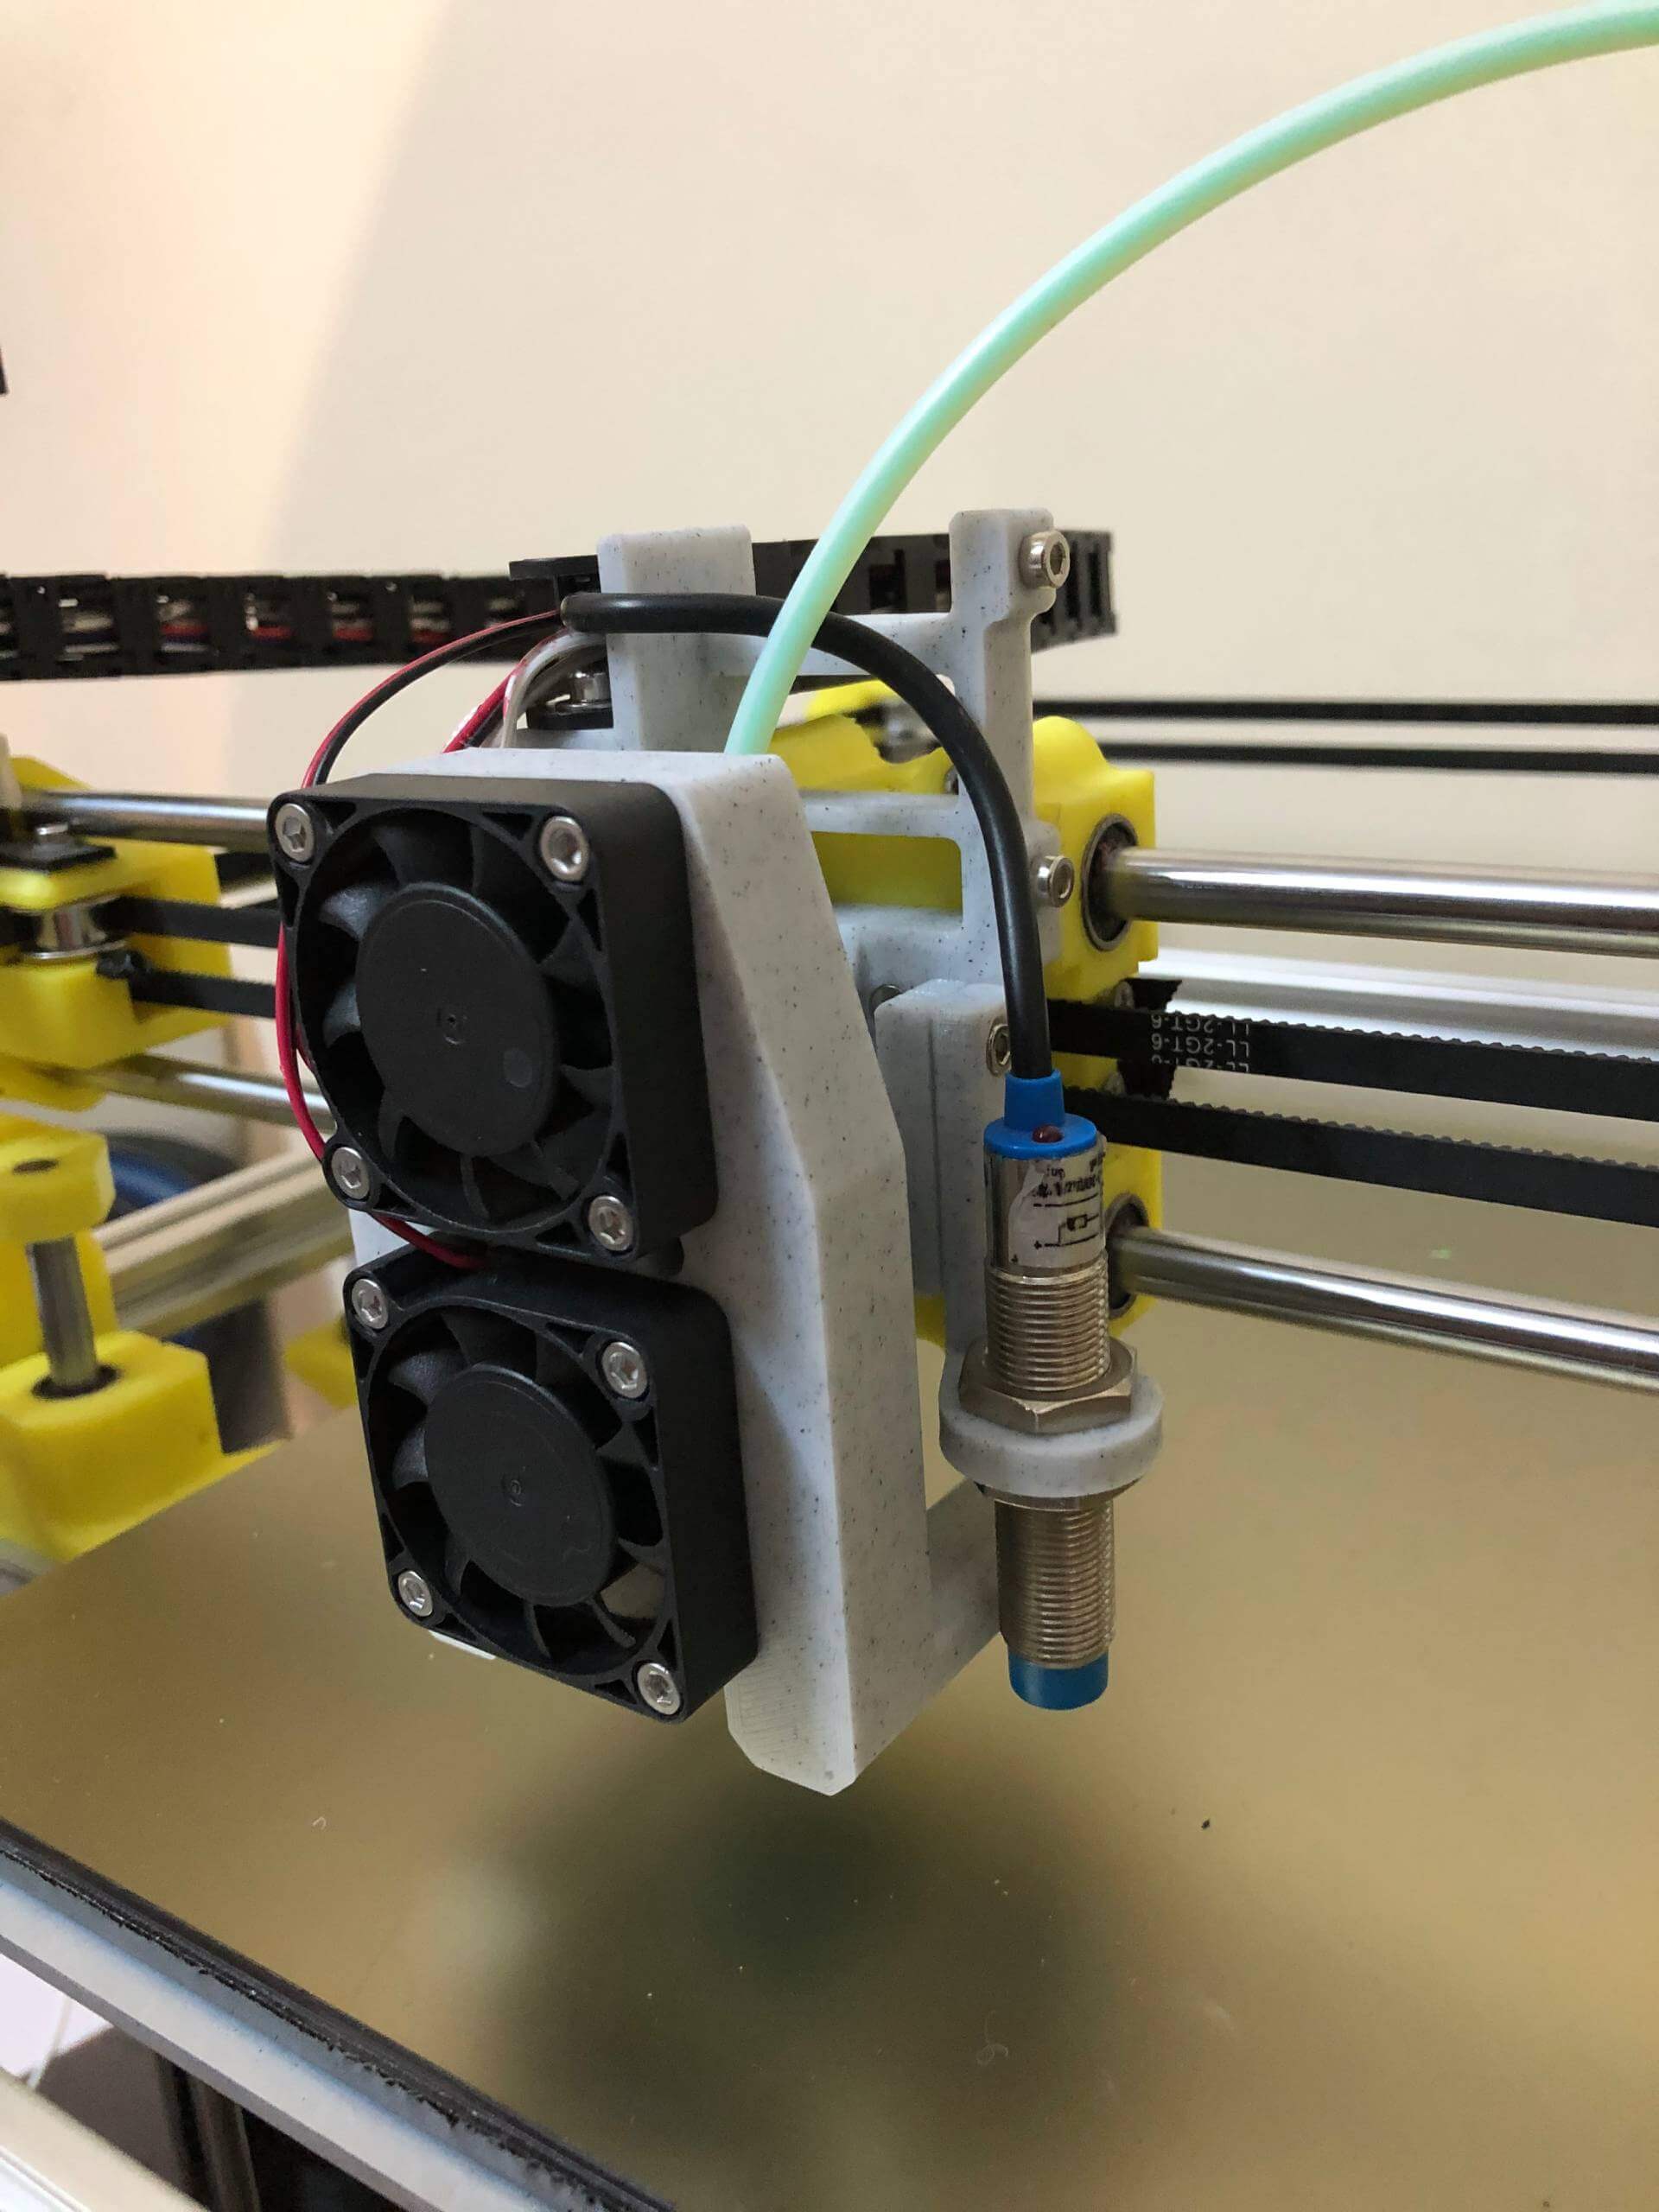


Final mount fully assembled - clean, compact, and everything where it belongs.
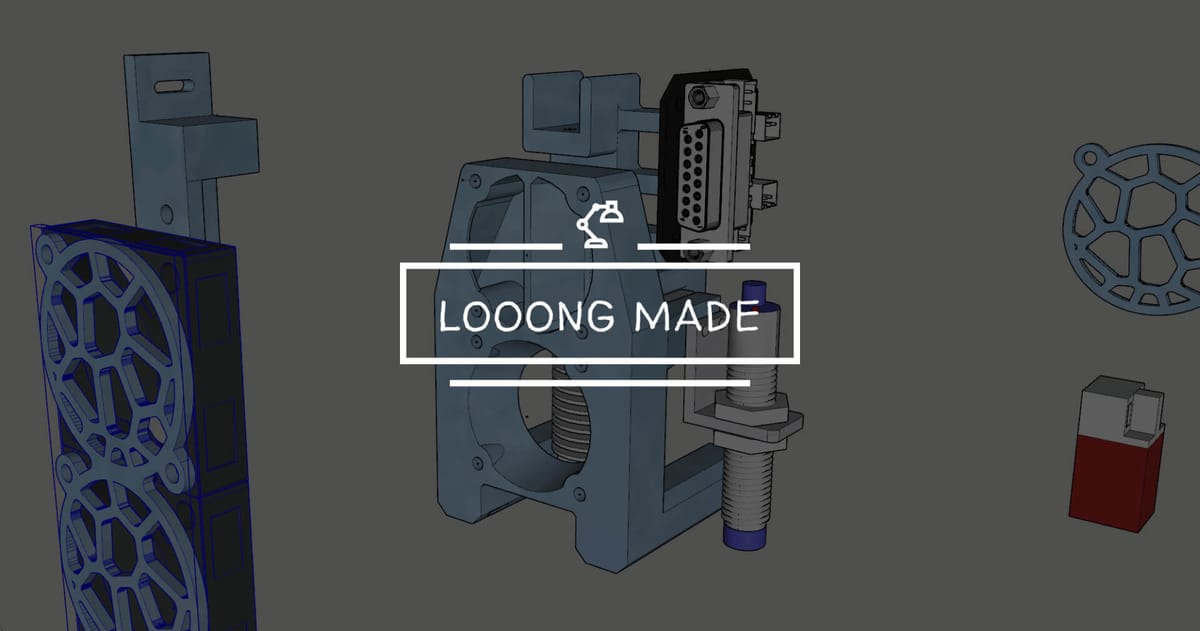
I designed the fan vent to direct airflow properly - not just to cool, but to keep it from hitting sensitive spots like the nozzle or probe.
The drag chain cleaned up the wires, and yes - it brought peace to my OCD.
DIY PCB – Because Cable Mess Isn’t an Option
Even after all that, one problem stuck: cable management.
Routing every wire individually from the head to the control board was a mess.
So I designed a custom PCB breakout board.
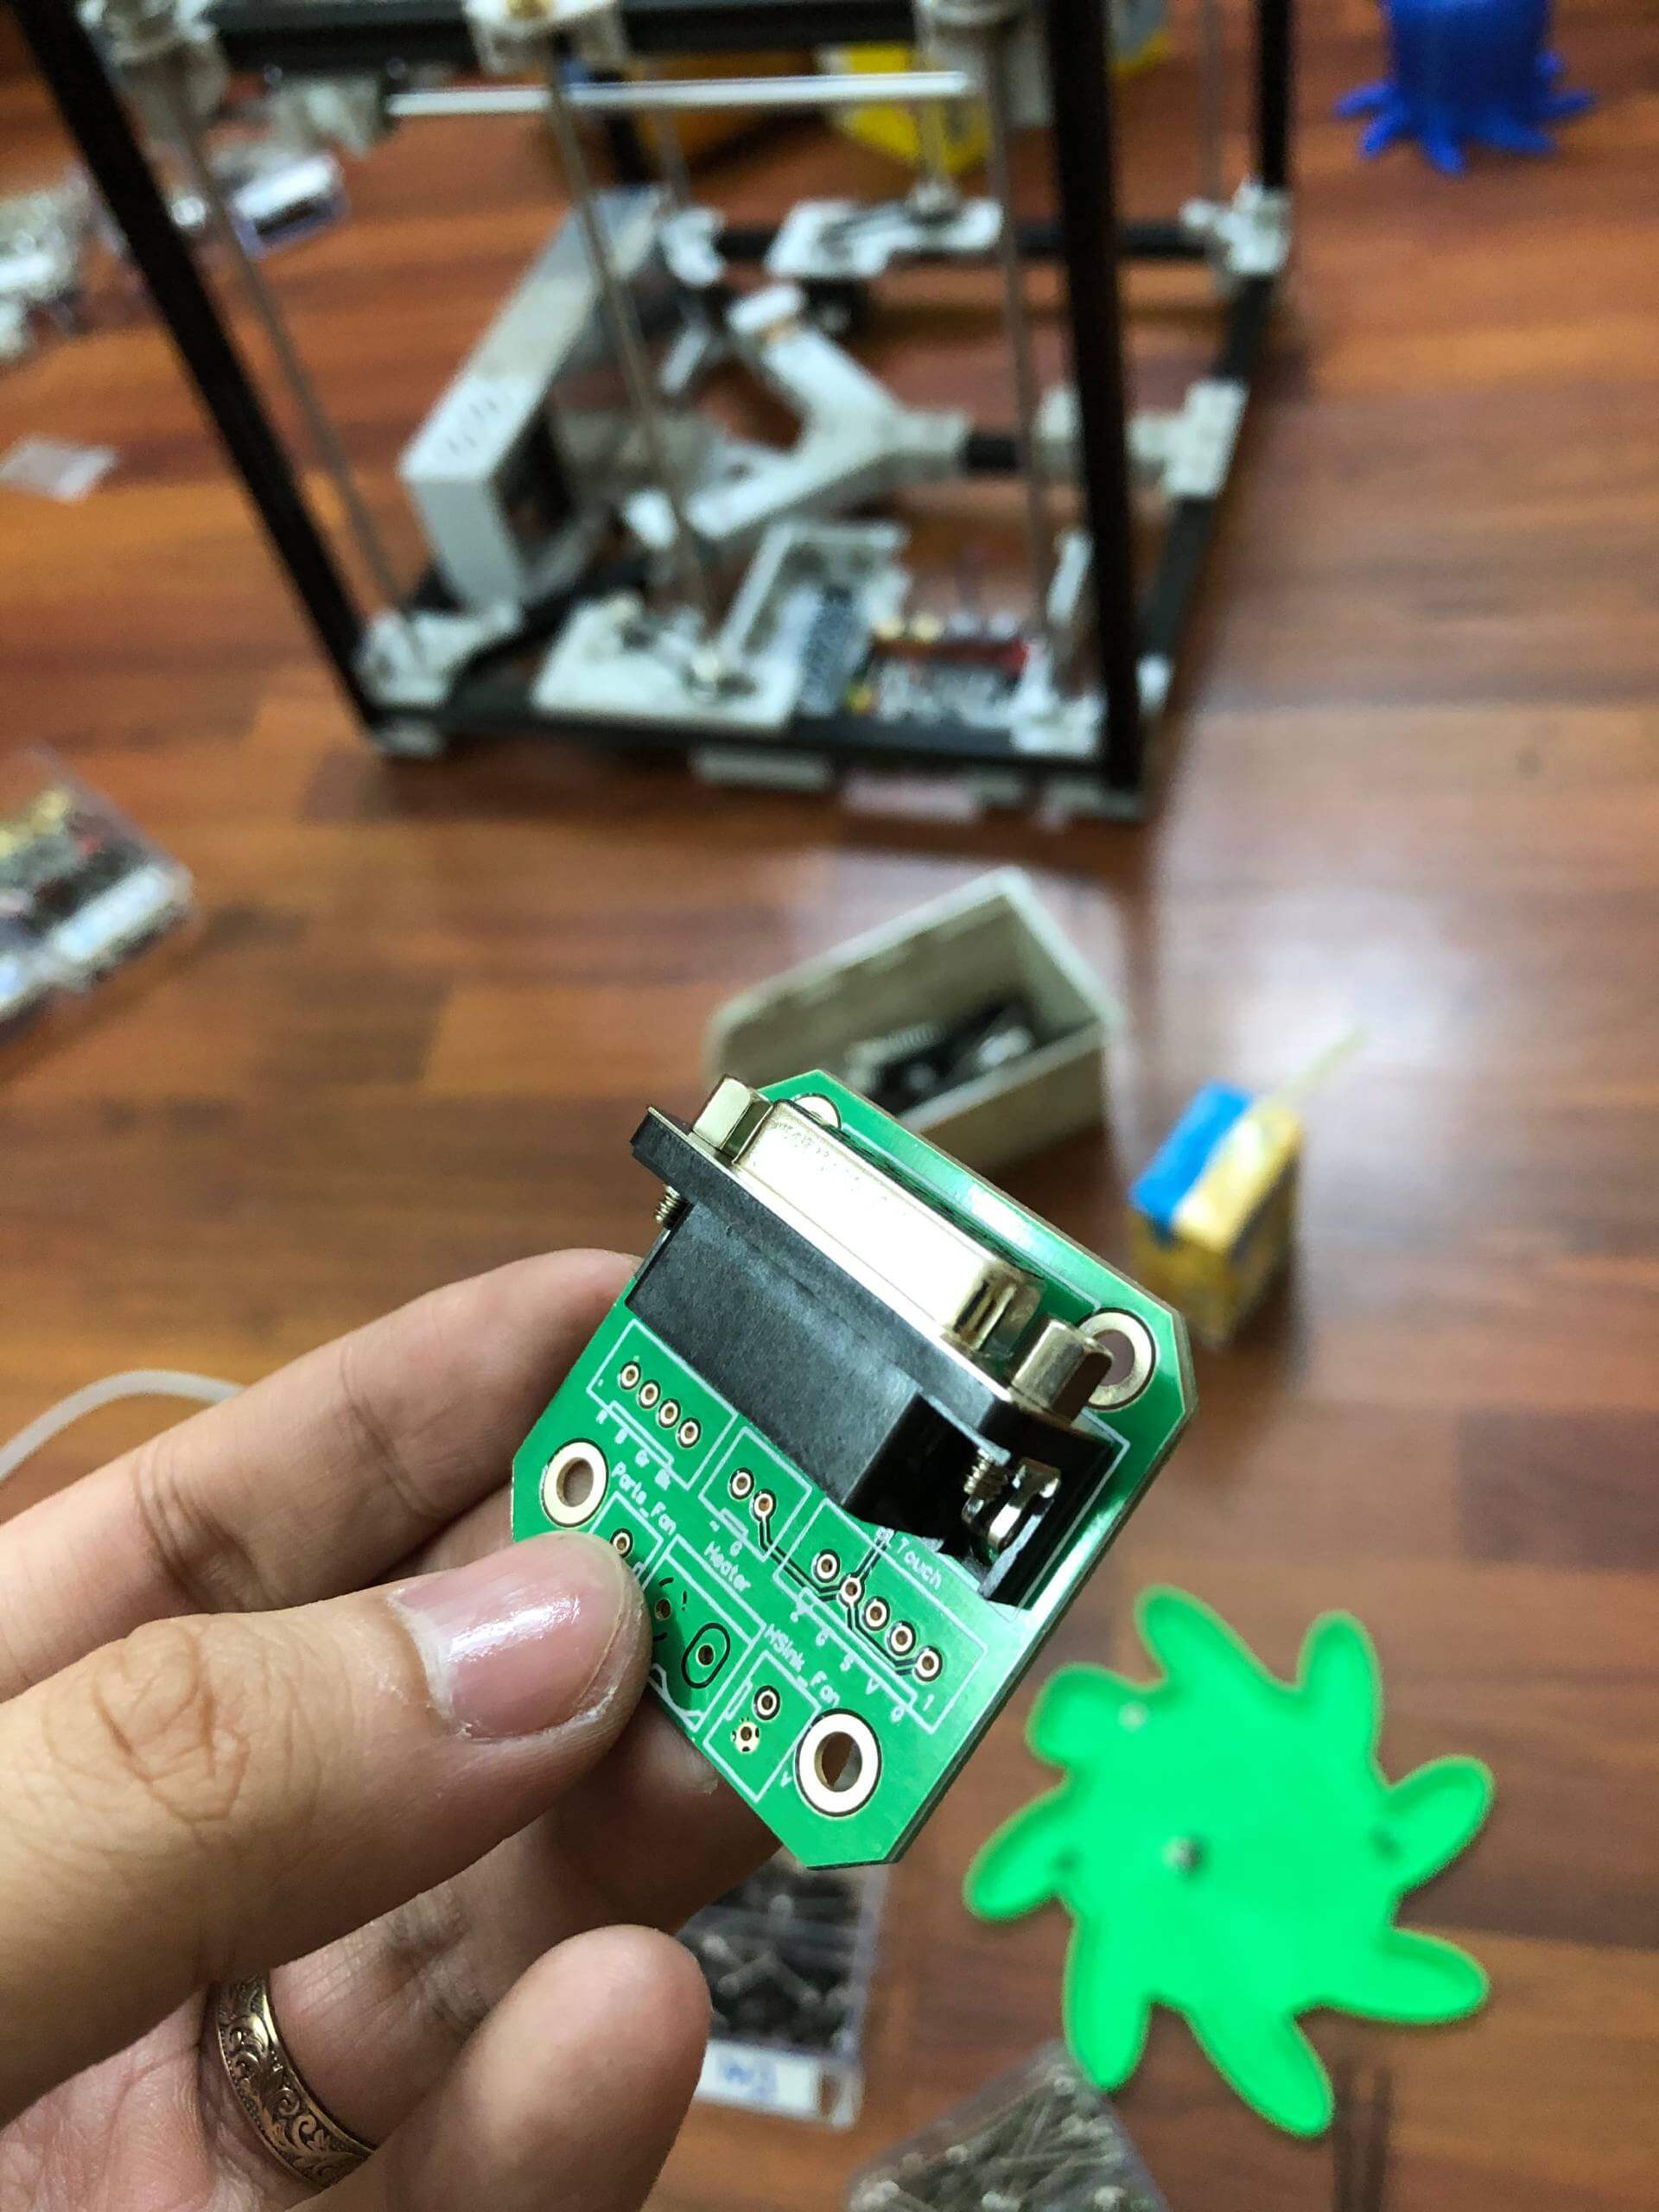

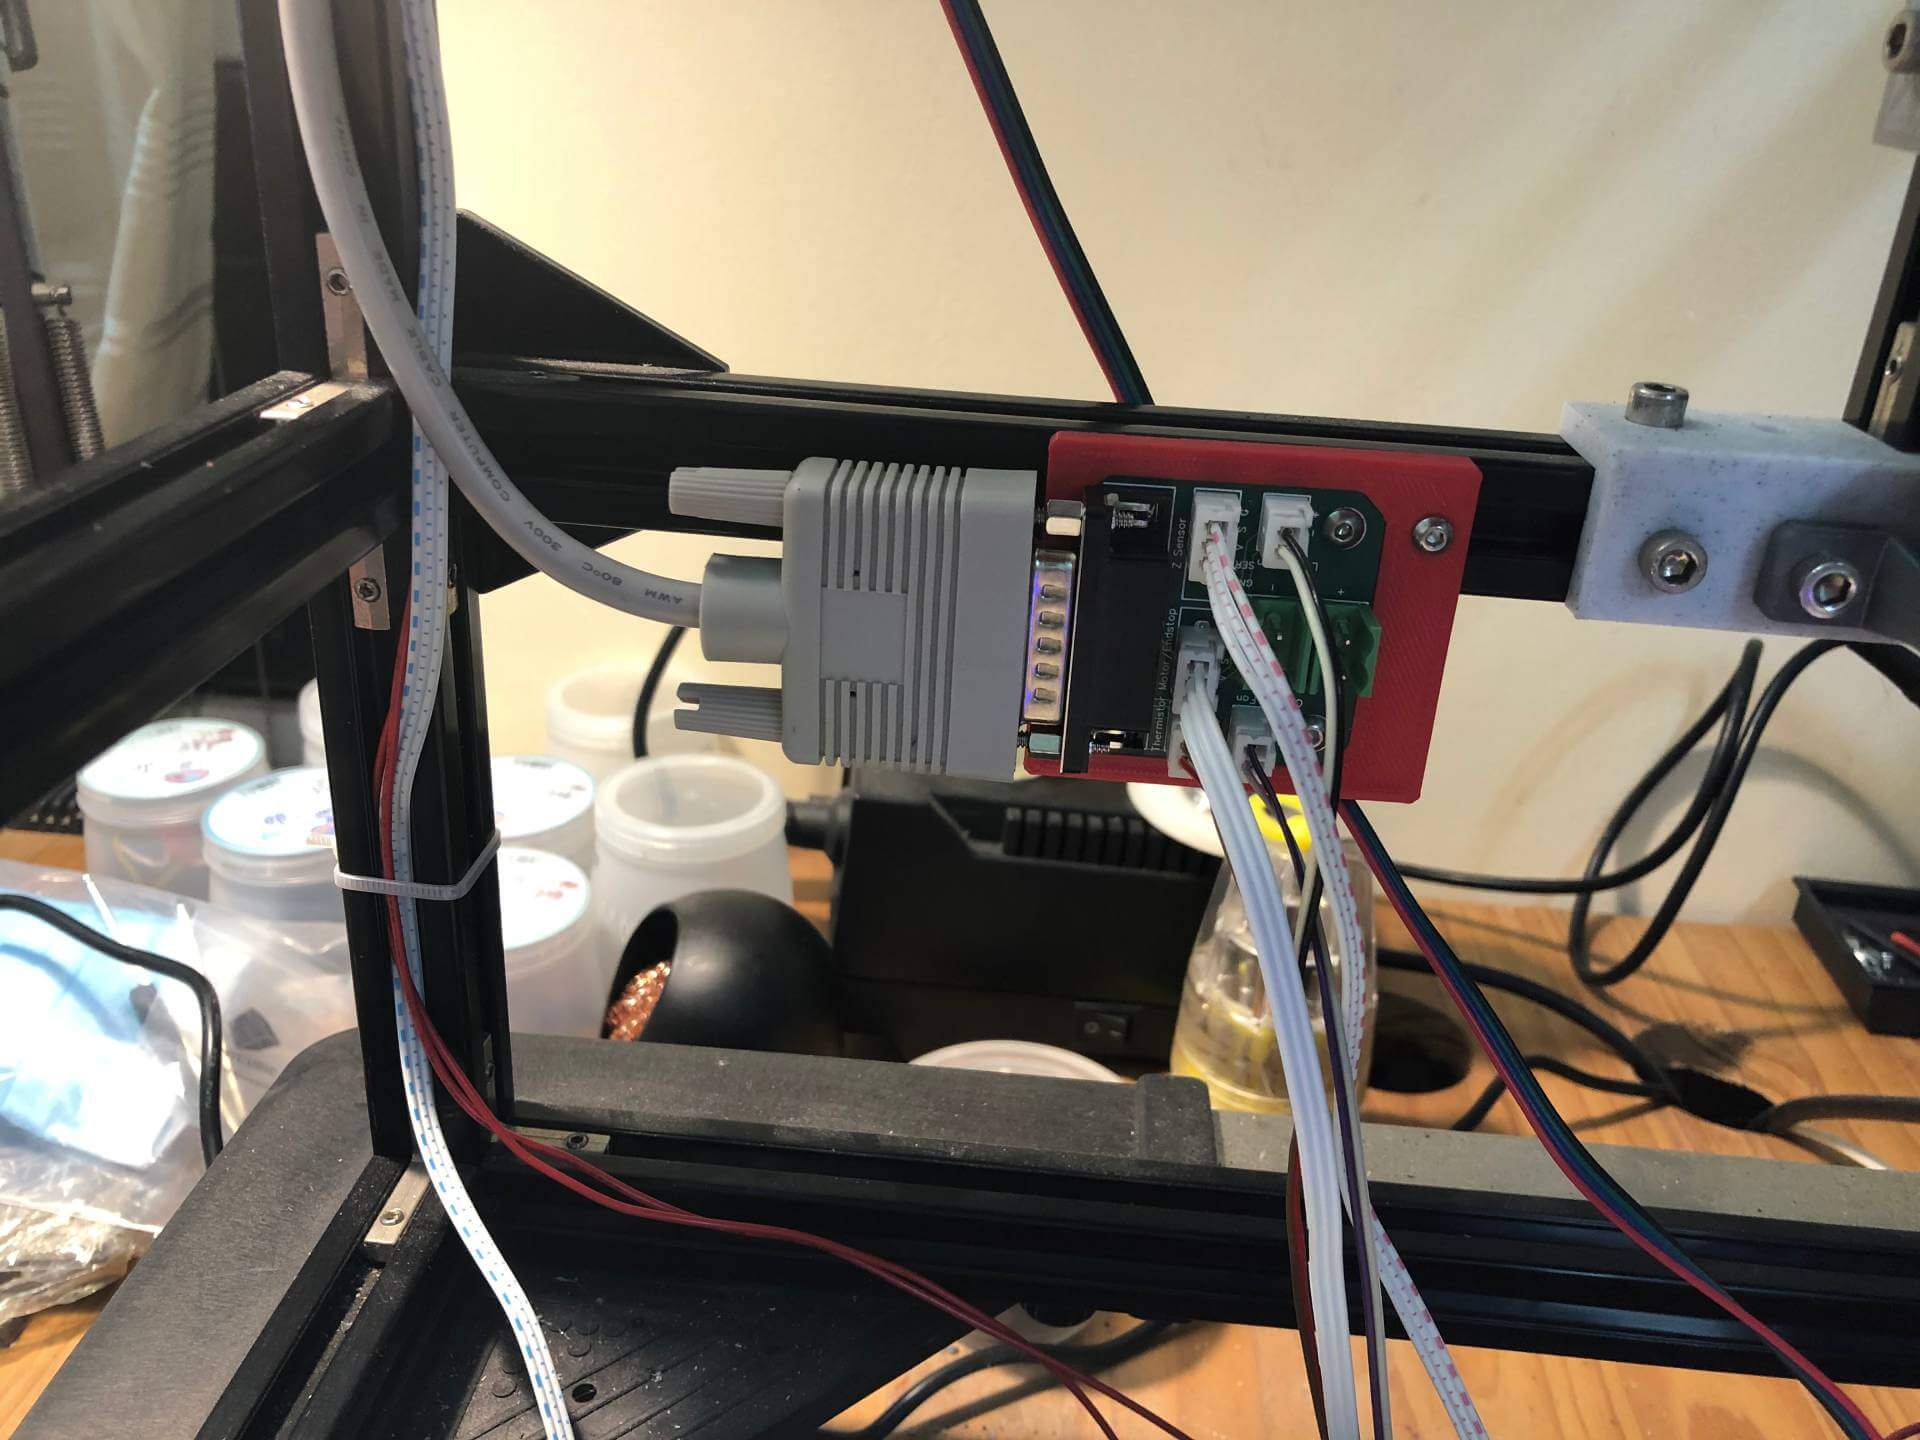
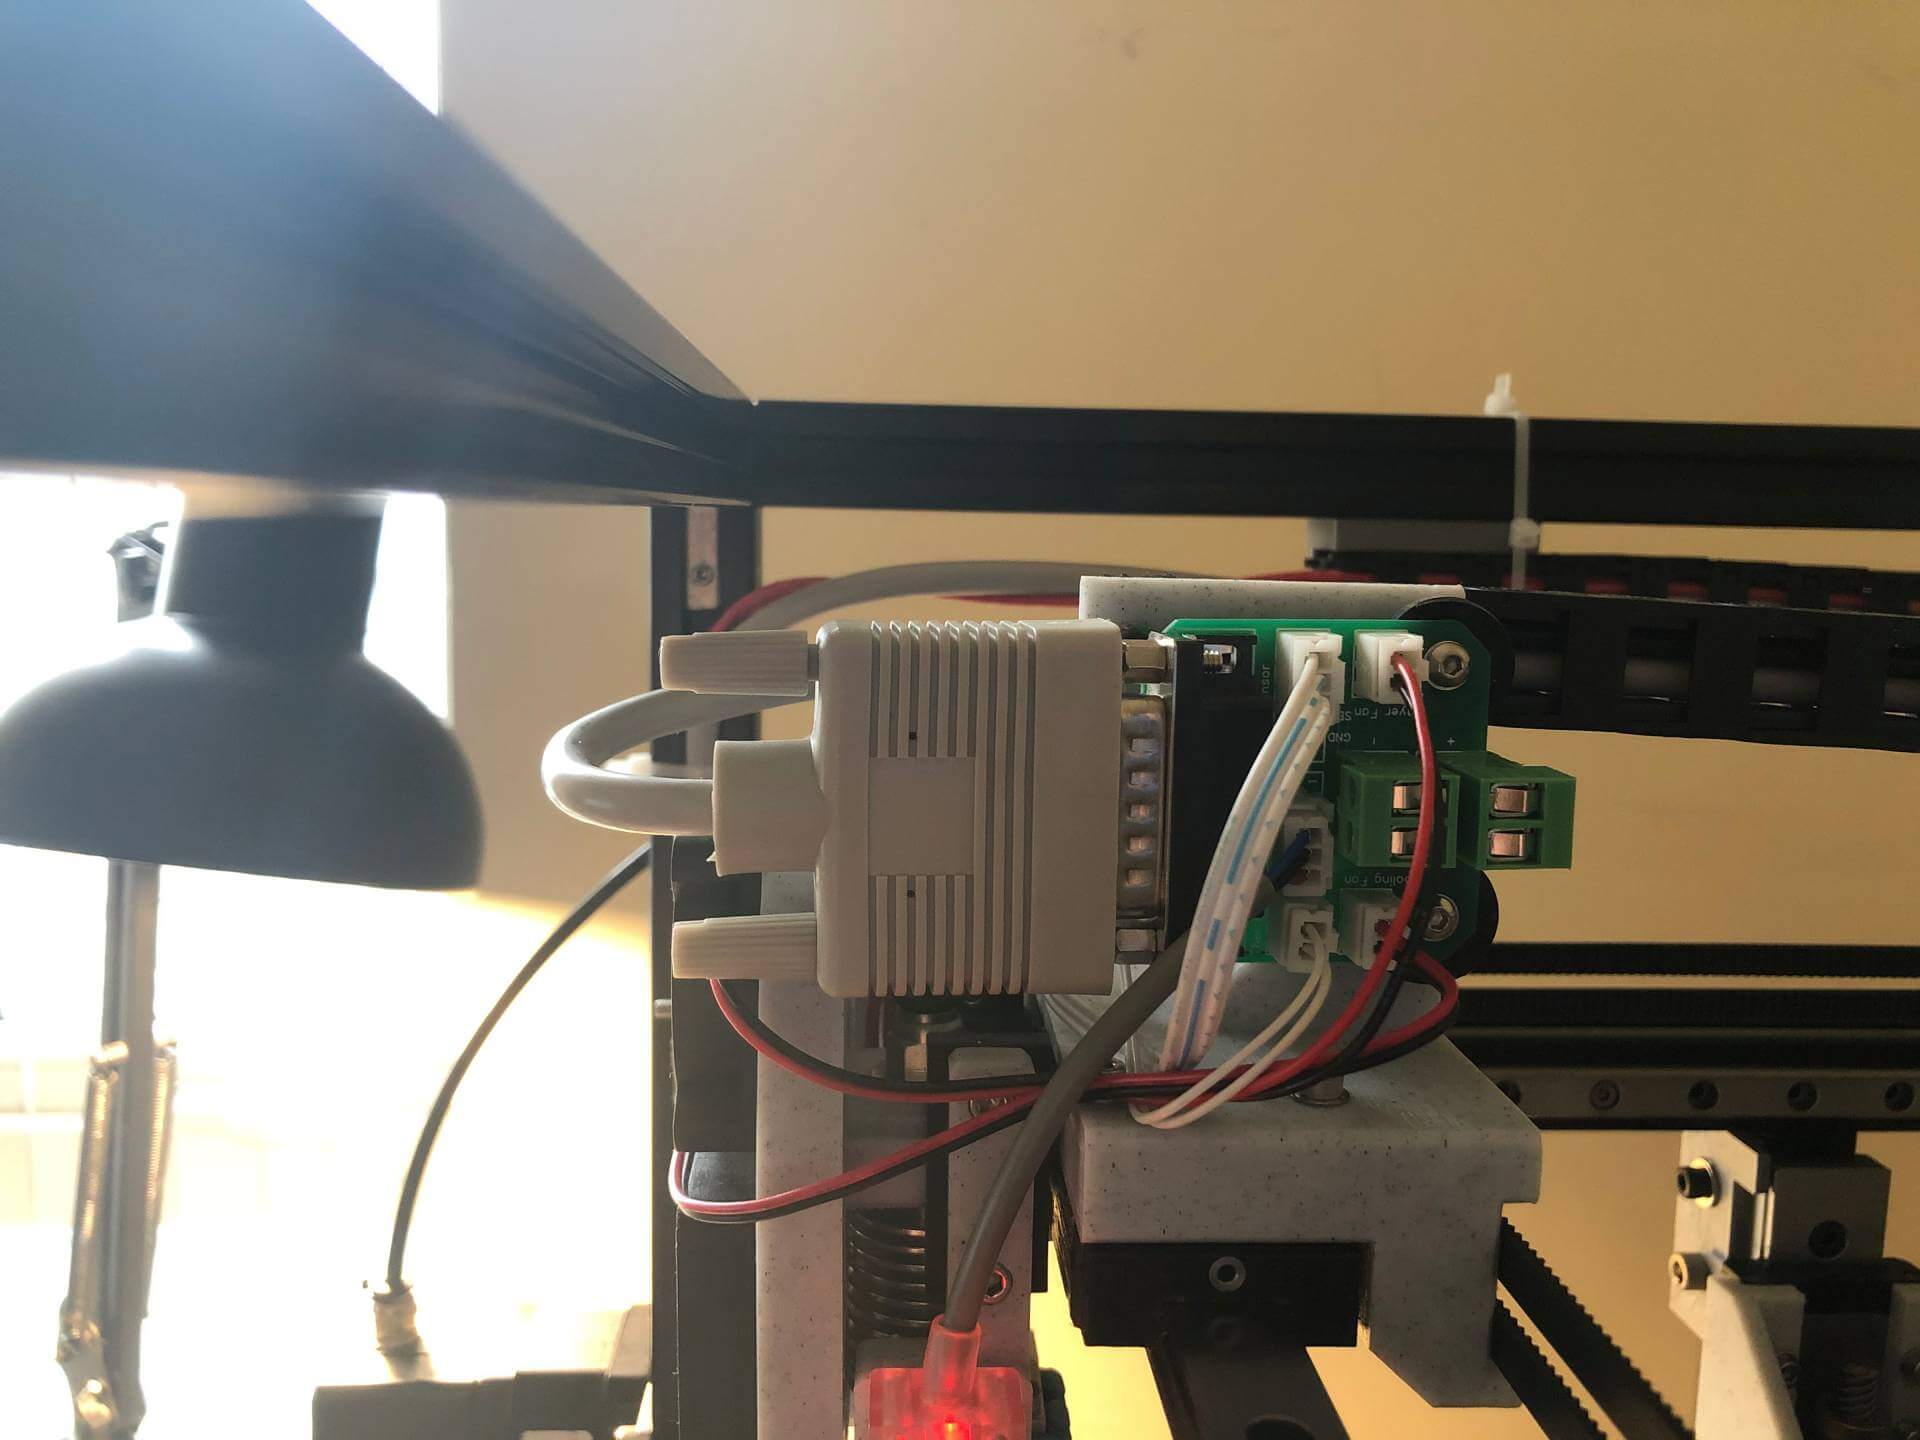
From prototypes to final version of the breakout board in action - everything routed cleanly through a single connector!
I printed a mount for it, added proper connectors, and now the print head connects with just a single cable - clean, reliable, and easy to unplug when needed.
Was it necessary? Probably not.
Did it feel awesome? Absolutely.
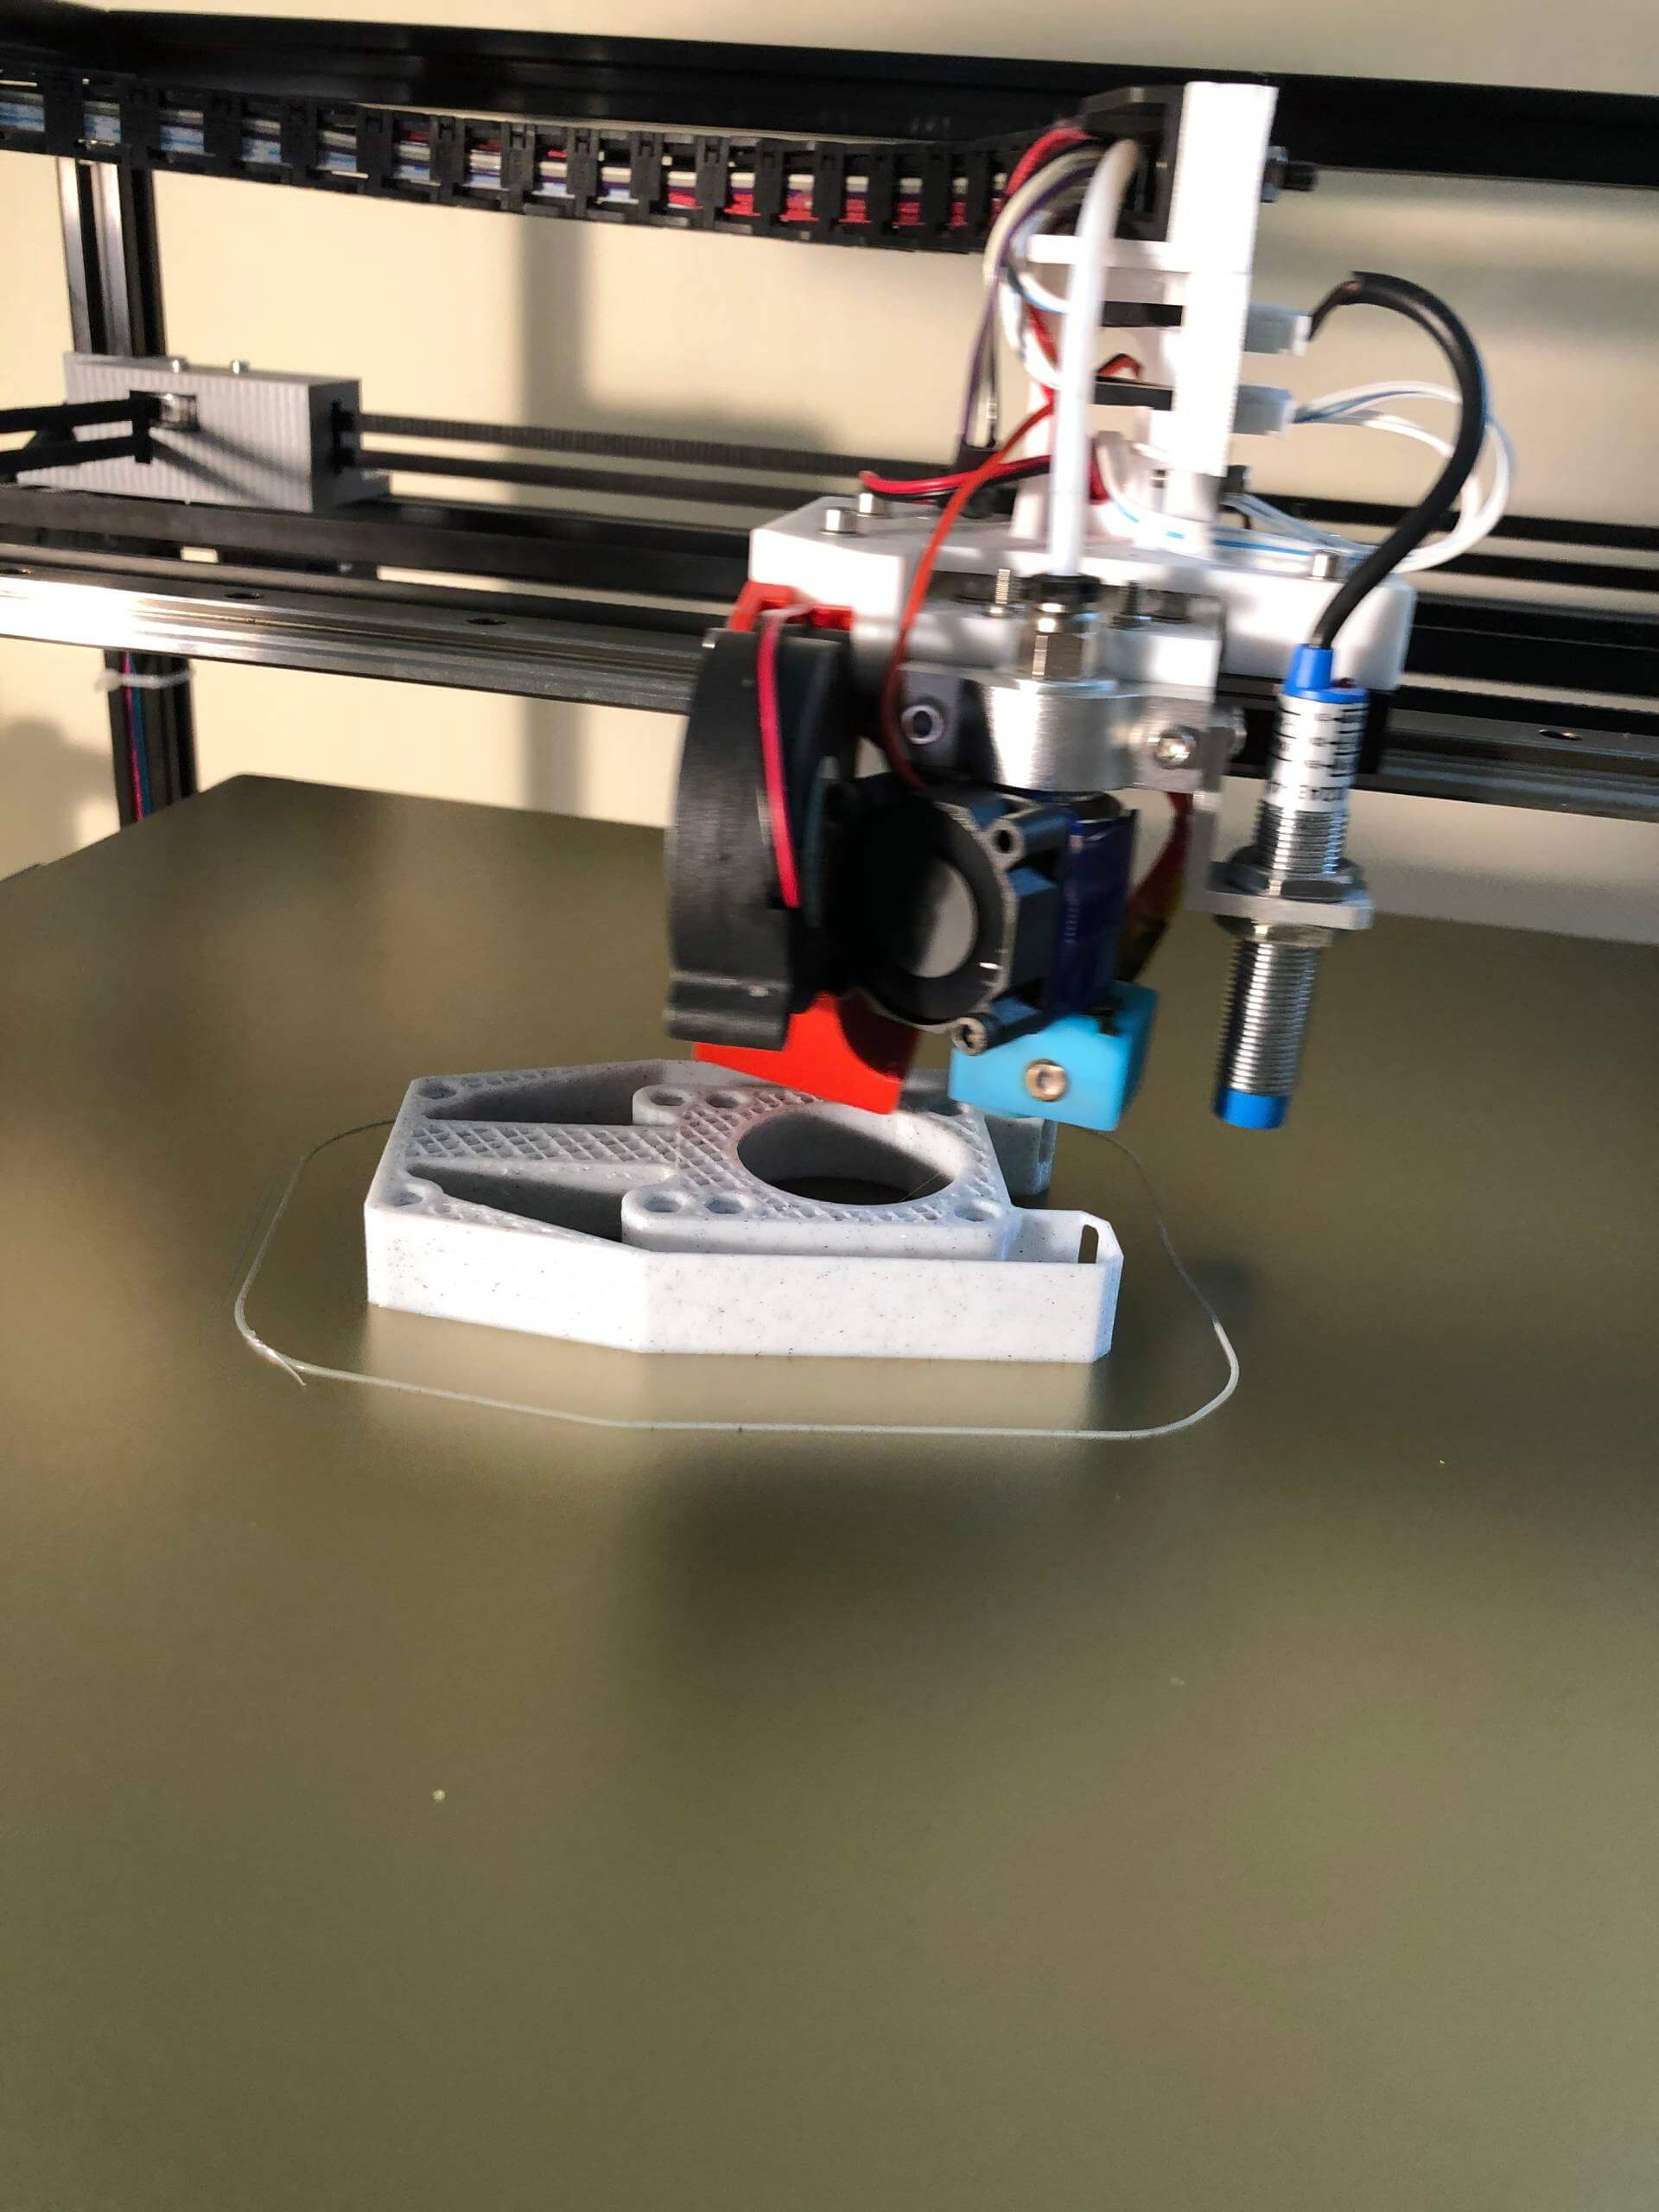
Bonus: It Actually Worked
After tuning everything - flow, temp, retraction, PID, firmware offsets - the difference was clear.
I printed a part that used to fail every time. This time?
Perfect first layer. Smooth walls. Clean overhangs.
First layer so smooth it shouldn’t be legal!
What I Learned
This little mod taught me more than I expected:
- I learned SketchUp from scratch
- I learned how fans and airflow actually affect print quality
- I learned that cable management isn’t just about looks - it’s about making things easier when something breaks or needs a tweak later
- I learned that even small changes to hardware can unlock big improvements
But the best part? I experienced the feeling of turning something in my head into something I could hold. A part I designed, printed, mounted - and it actually worked. That moment still sticks with me.
3D printing isn’t just a tool for making things. It’s a way to bring ideas into the real world. And once you’ve felt that, it’s really hard to stop.
The best part? I shared the final design on Thingiverse, and to my surprise - people actually used it.